410customs

Idahome

Joined: Wed May 2nd, 2018
Posts: 2165
Name: Jamie ... Occupation: Elevator Design Worlds Tallest Buildings ... Interests: Ranger Based Vehicles and OFFROAD ...
Reputation Points: 2165

|
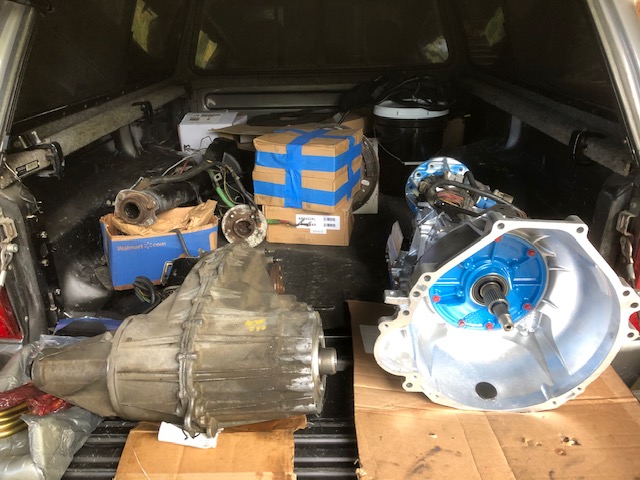
All right headers are on, engine is prepped and installed, transmission was prepped and installed here we go!
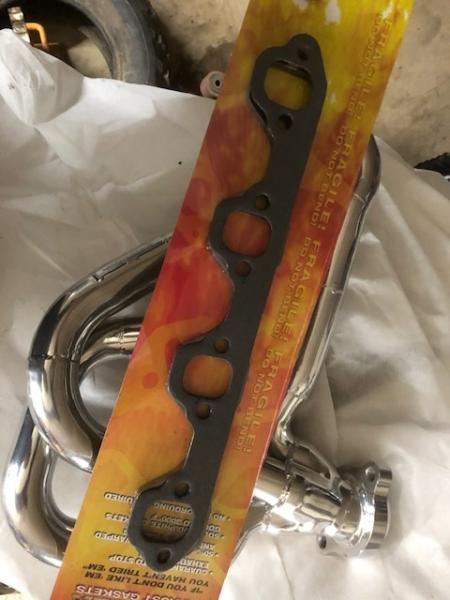
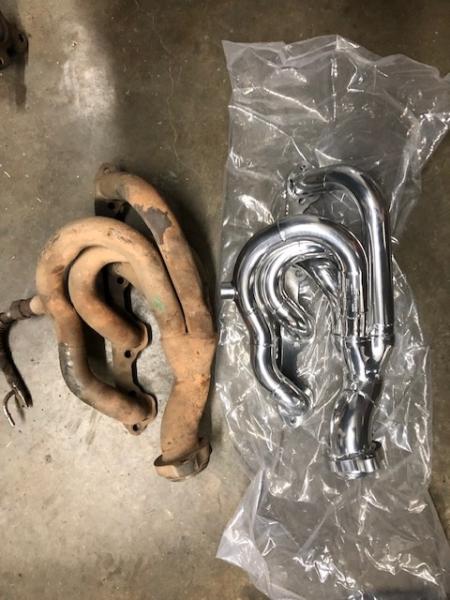
First up I had a heck of a time getting some gaskets here for these headers, Amazon delivered the Remflex ones, Autozone kinda came through with some Mr Gasket ones and one set is now in the store for me to go pickup...but thats too late. I went with the remflex units and I am happy I did, I will be using these gaskets for TMH installs from now on....they are wicked cool!
The Mr gasket ones 7410G to be exact as for square port 302's, not our GT40 oval port 302....they can be modified to work ok and I have done this in the past...but they are not the best choice. The Mr gasket 7411G would be the ones to use, except I was turned onto these Remflex gaskets by Rick from the Explorerforum. I can see why he likes them! 100% graphite, they crush to conform to the heads and headers to close any gaps, they will never deteriorate, and never fall apart, they are basically heat proof. They also do not need to be re torqued after some heat cycles...its like a dream come true!
So Remflex is the way to go
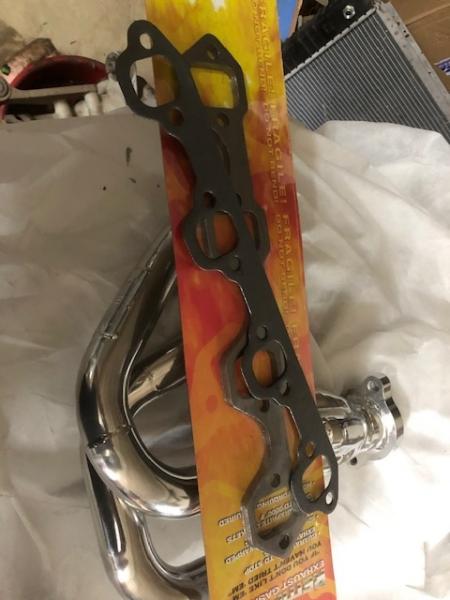
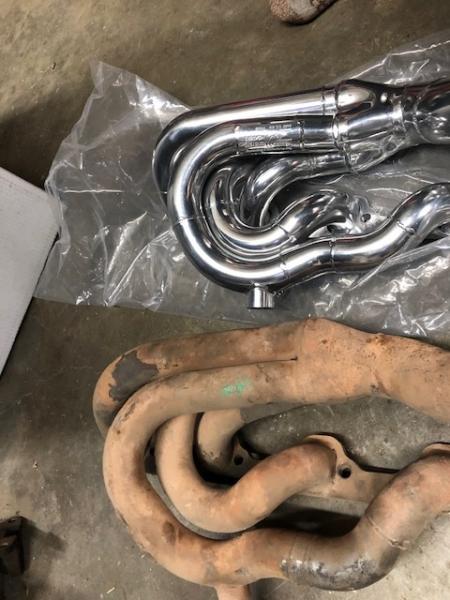
Gasket compare
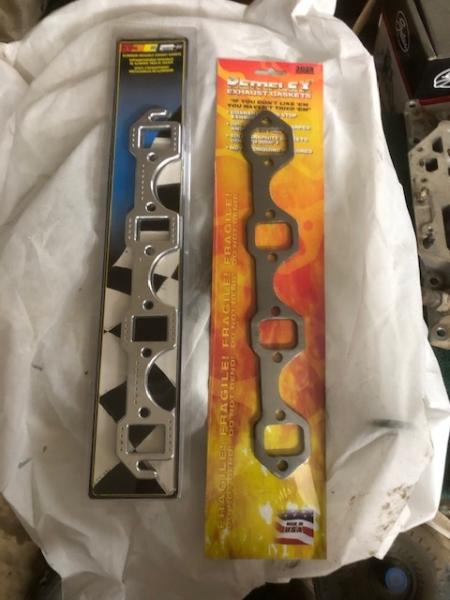
The Remflex part number is 3028
they match the Felpro gaskets that Robert ships with the headers perfectly as far as bolt locations and ports
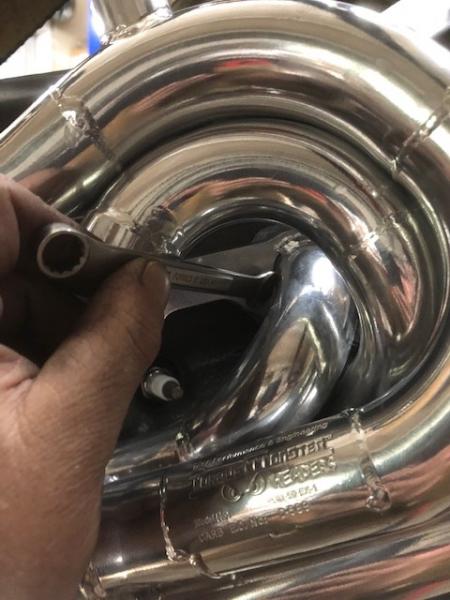
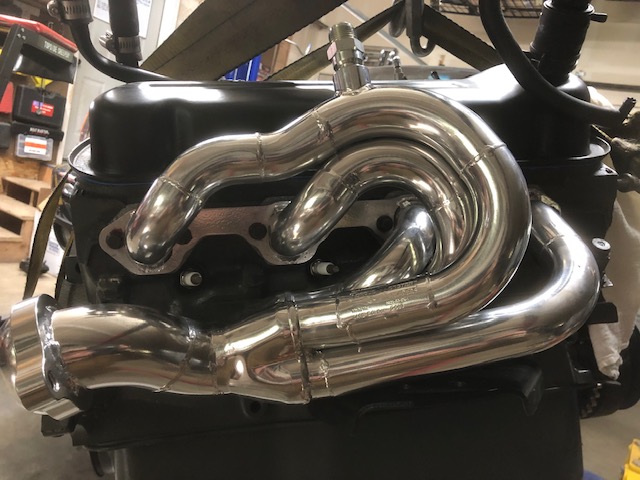
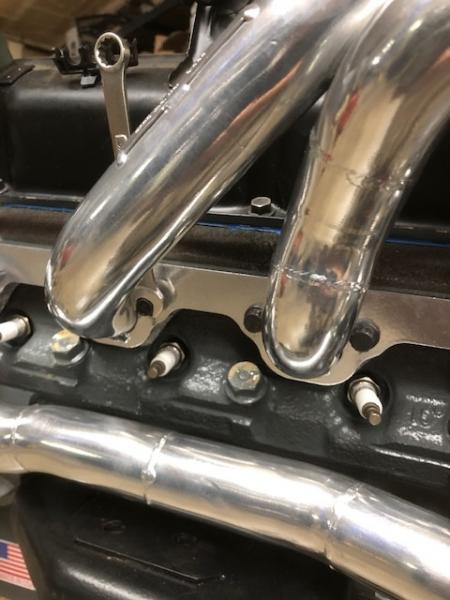
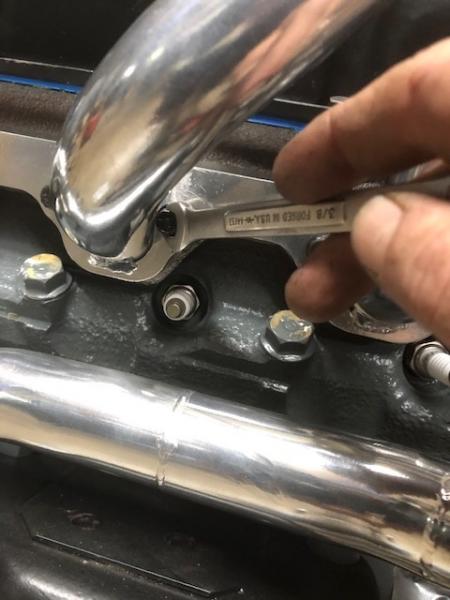
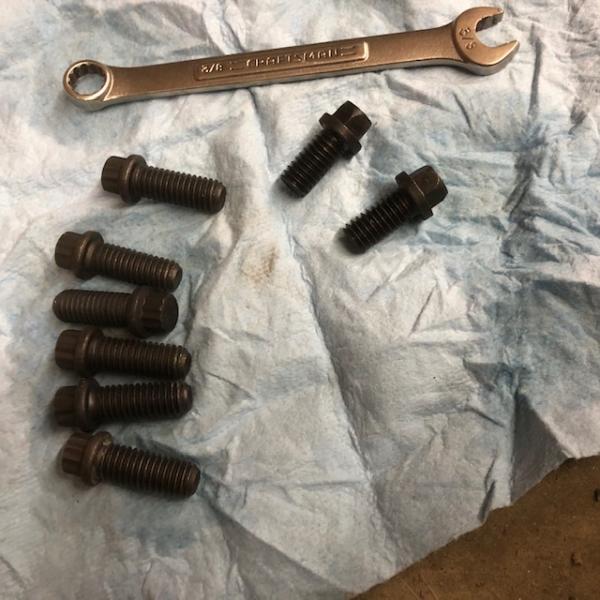
Finally with the gaskets sorted out, TMH installed to engine. All mating surfaces cleaned and wiped free of any dirt, dust or finger oils. Bolts prepped with red loc tite. Now you can see why I wanted to install the headers to the engine and then drop the engine in.... installing a set of TMH has some challenges. There are a few bolt locations that can only be accessed with a wrench. And some of these locations can only be accessed with the open end of a wrench. So Robert of TMH supplies us with 4 bolts that have a 6 point head, these are to be used in those locations. All other bolts are 3/8" 12 point head. This is one of those things where you have to install all of the bolts at the same time, a few turns on each until the header is flush to the engine...otherwise you will run out of length on the bolts and not be able to fit your wrench in there. This fine fingered "wrenchwork" is why we like to put the headers on FIRST.
Remflex gaskets installed and torqued down, very happy
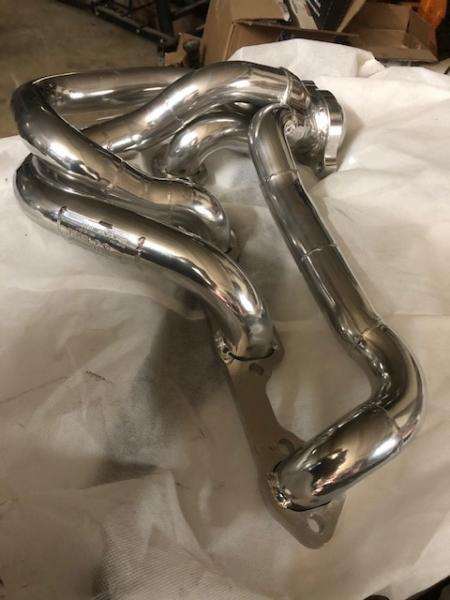
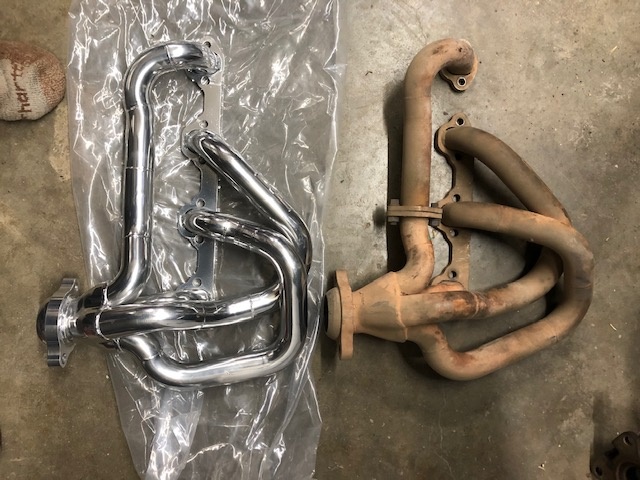
Some pics of the 2020 TMH before install
Now the good stuff
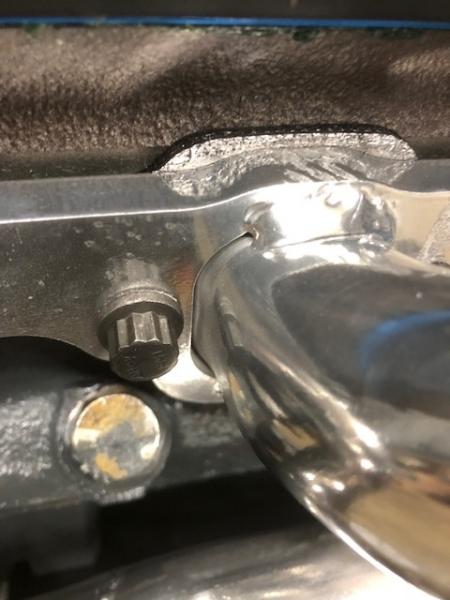
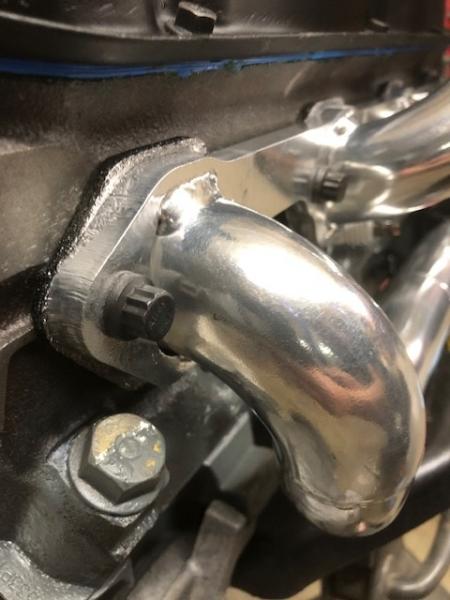
one of the 6 sided bolt positions
drivers done

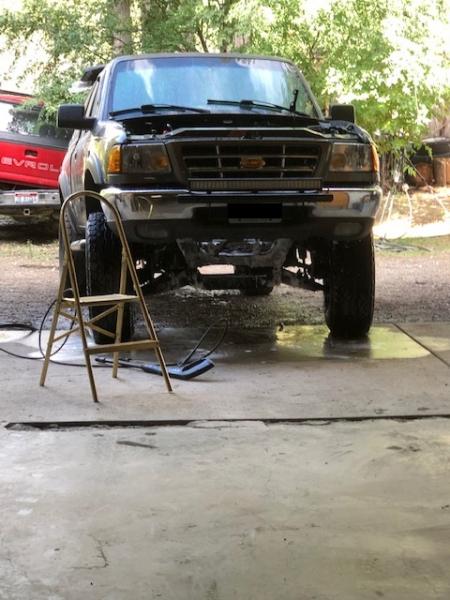
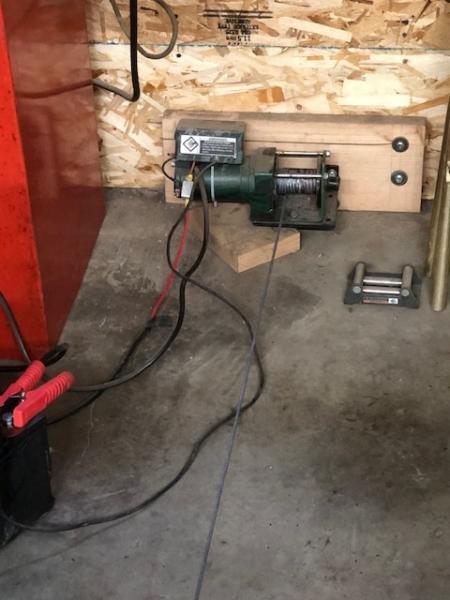
Please excuse the jack stands and ratchet strap all of my engine stands are being used right now!!!
Passenger done
more "wrenchwork" locations


Remflex for the win!!
12 point and 6 point
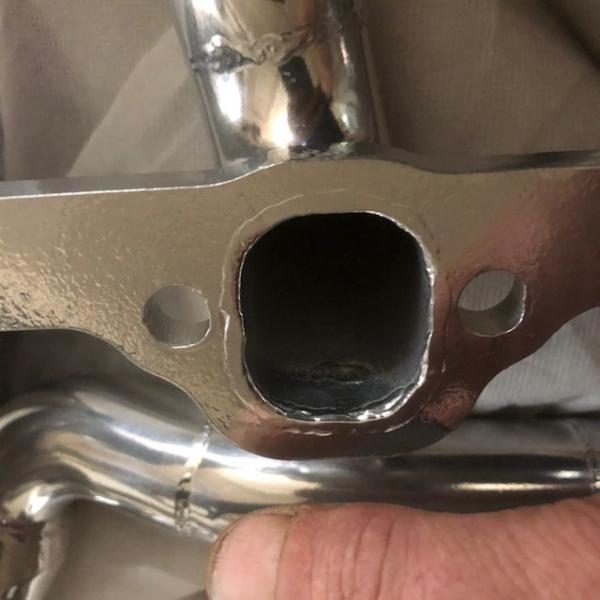
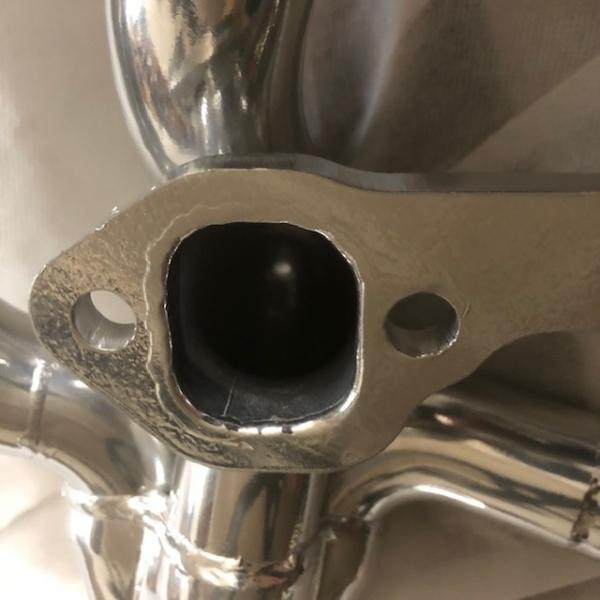
TMH ports / quality
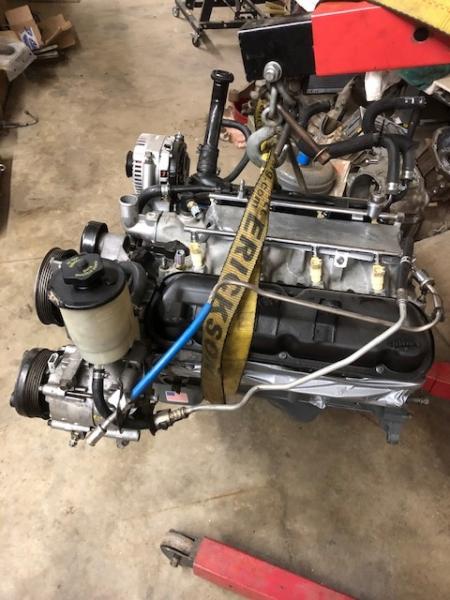
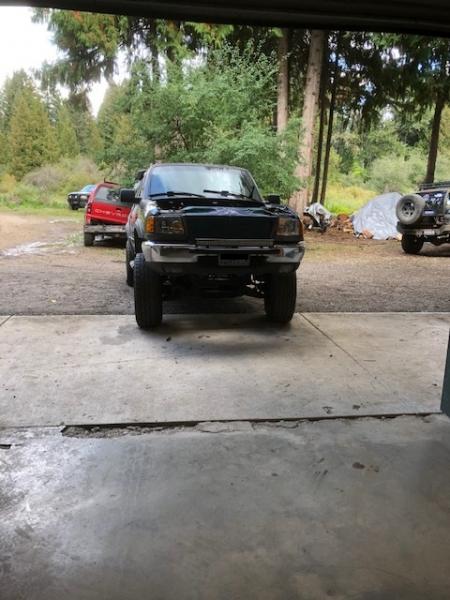
Now the headers are on the engine, dipstick installed, engine plates mounted.......time to drop her in!!
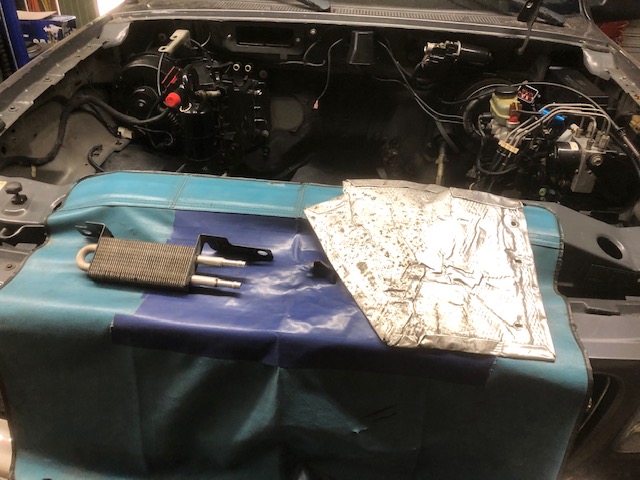
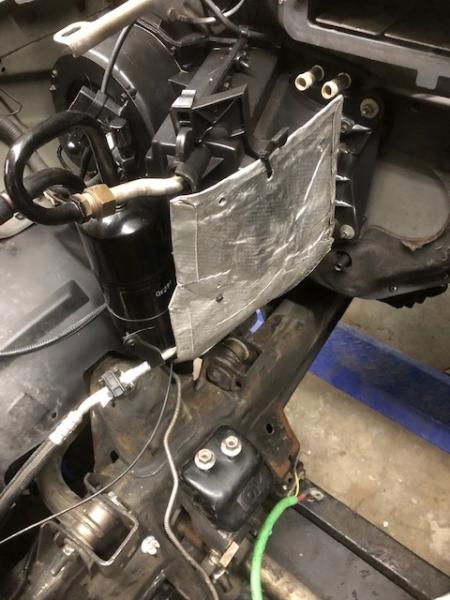
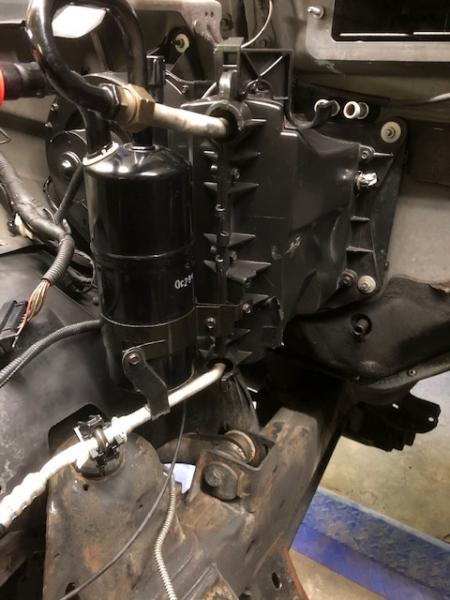
But first we need a heat guard on the HVAC box, luckily I have been saving this piece for just this instance. This is a very nice heat shield that fits the HVAC box perfectly. I installed it with one existing screw and a zip tie....perfect
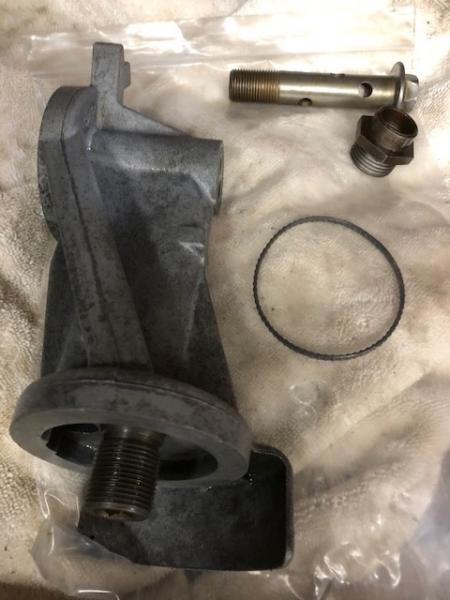
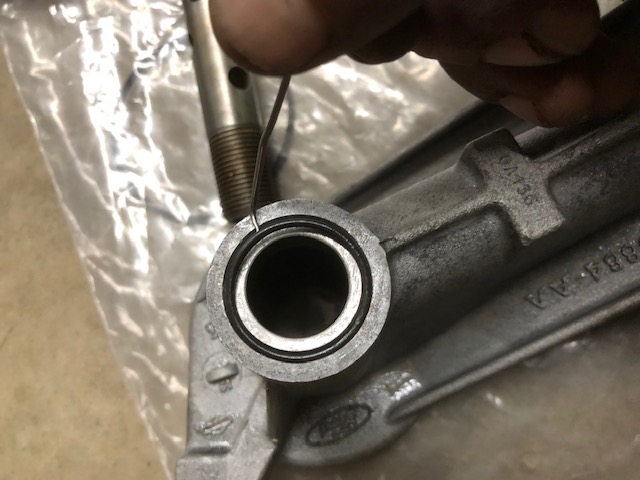
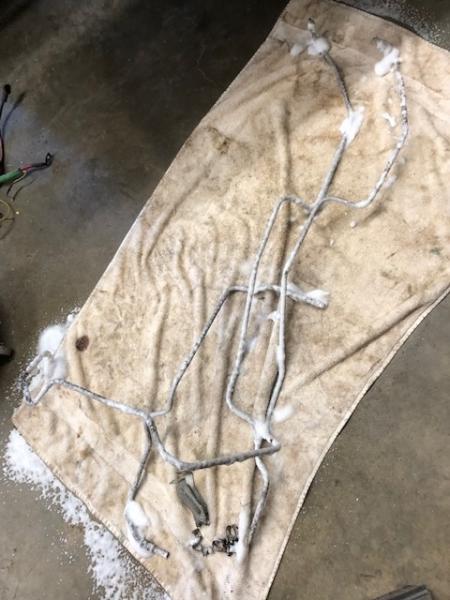
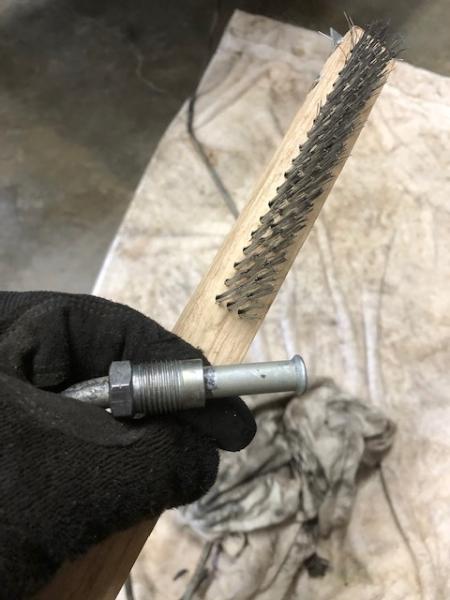
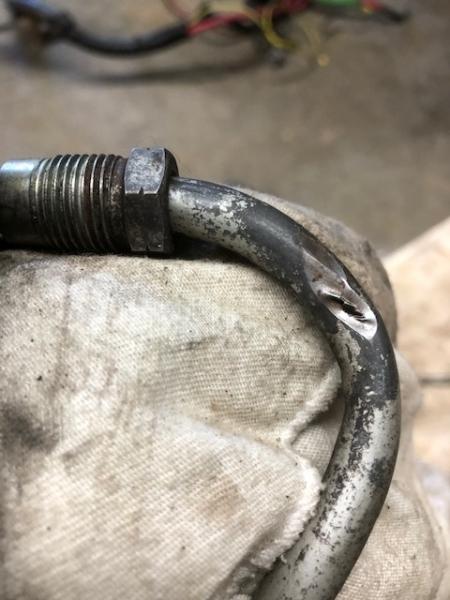
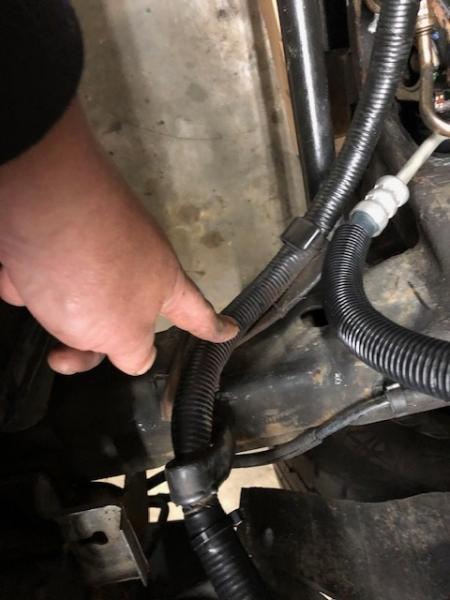
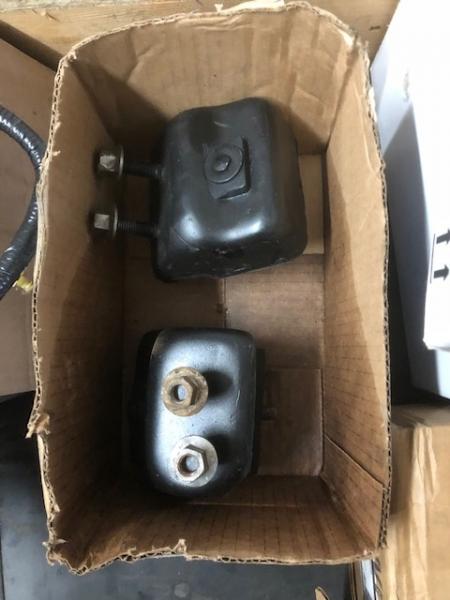
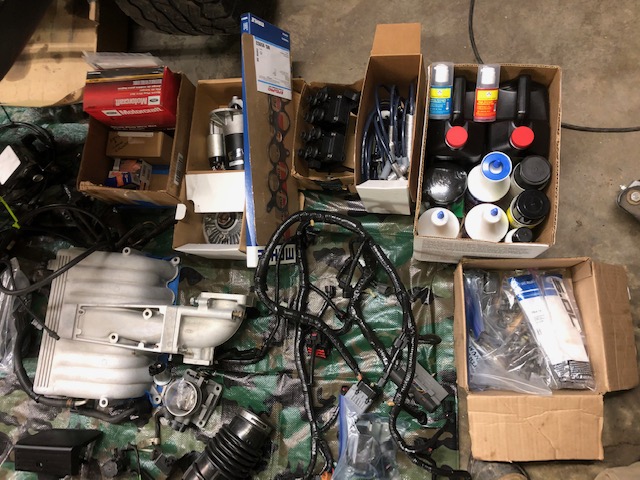
Also a good shape power steering cooler was cleaned up, fins straightened and will be used on this truck
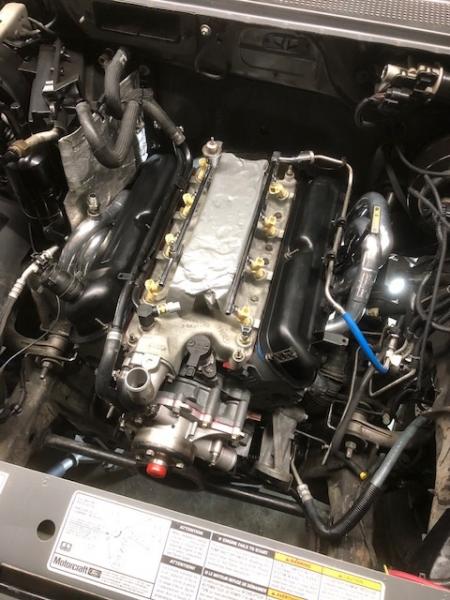
Now raise up the engine and get lined up to drop her in place
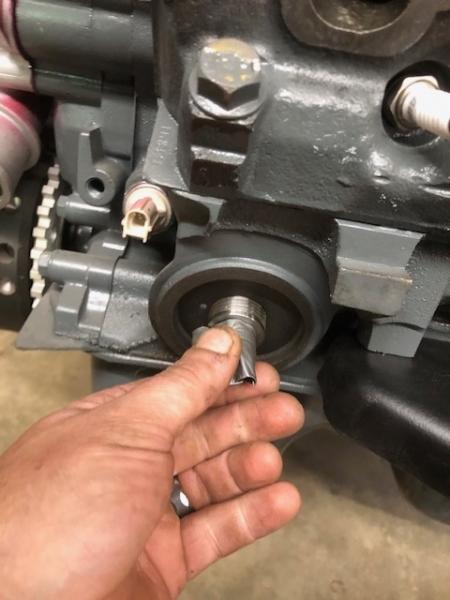
This presents its own set of challenges, you see with the TMH attached to the engine the engine mount studs can be very interesting to access.. now you have to actually lift the engine and tighten the studs at the same time..... I have a 18mm wrench I cut in half just for this purpose. Tighten nut 1/4 turn, flip wrench over, tighten 1/4 turn, repeat until engine is seated fully down. Final torque on that back nuts is done with a pry bar on the end of the wrench wedged between the engine. CAREFUL not to scratch the paint!!
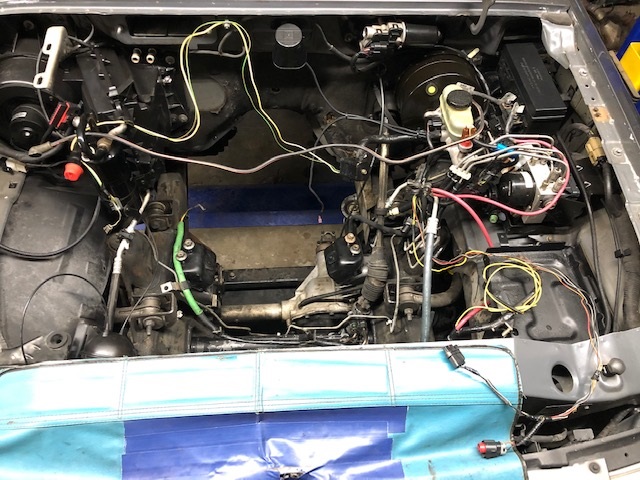
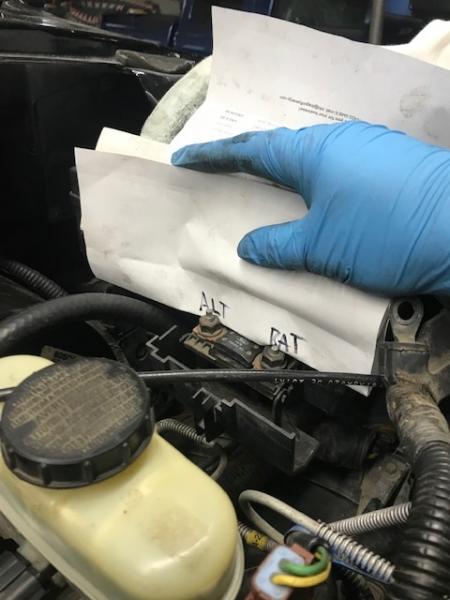
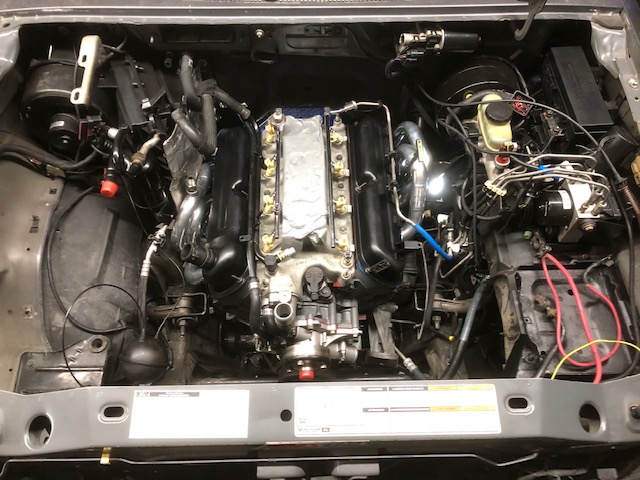
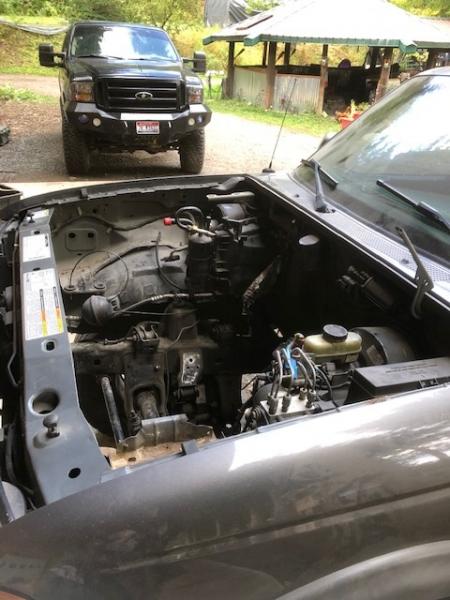
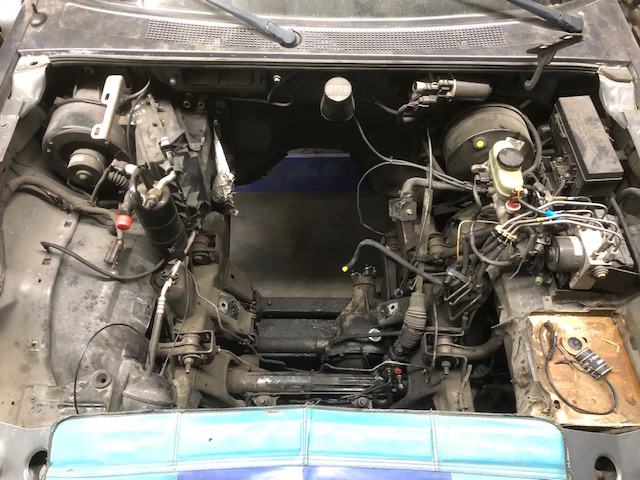
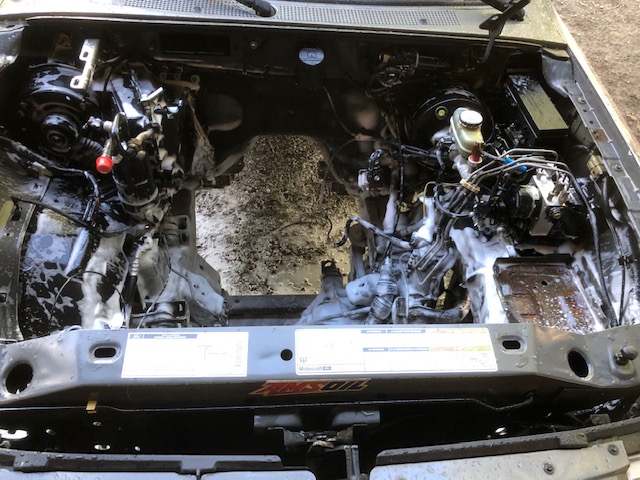
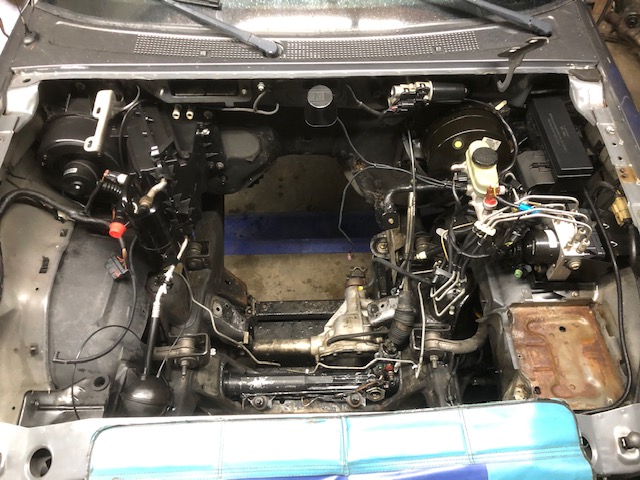
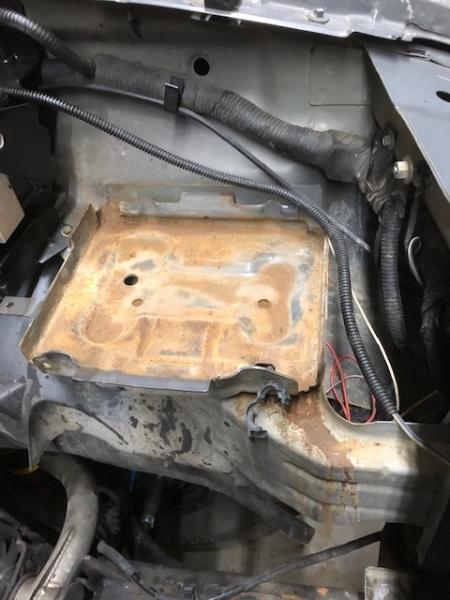
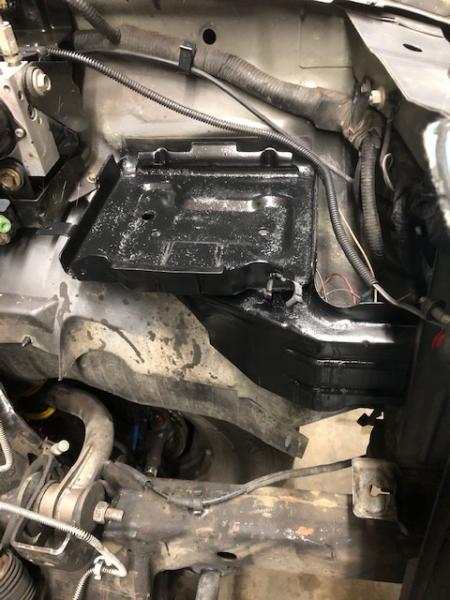
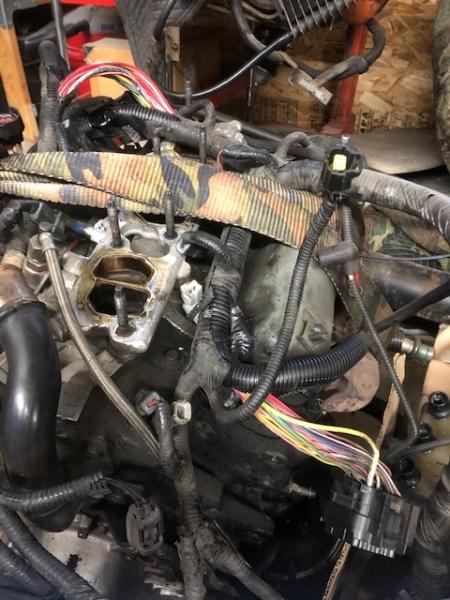
Engine bay full prepped, anyone see what I missed? Here I am the guy trying to teach and I still miss stuff.......... I get excited when its time to drop the engine in the bay and sometimes get ahead of myself
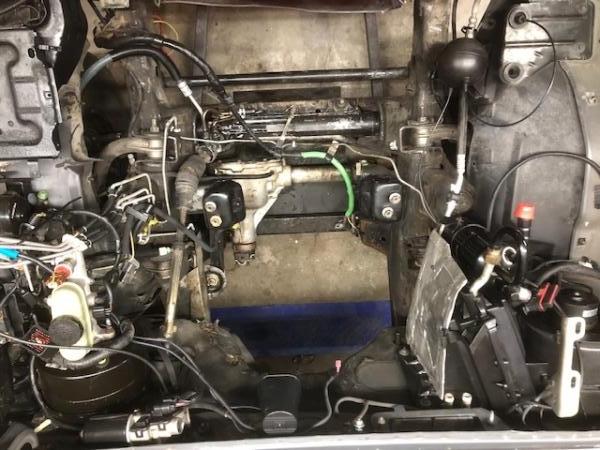
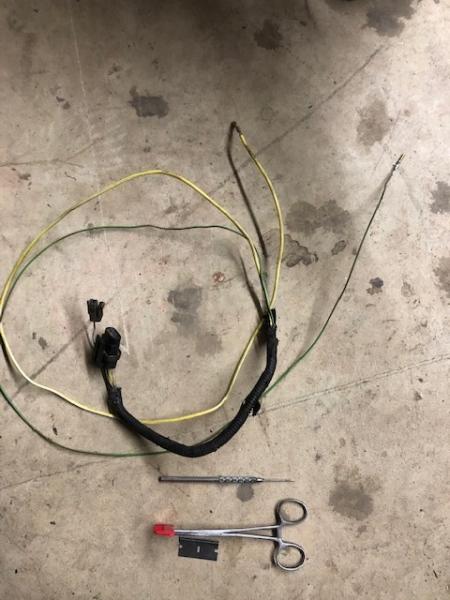
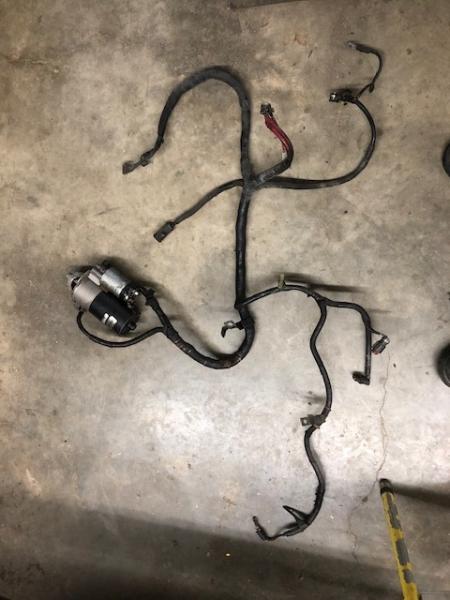
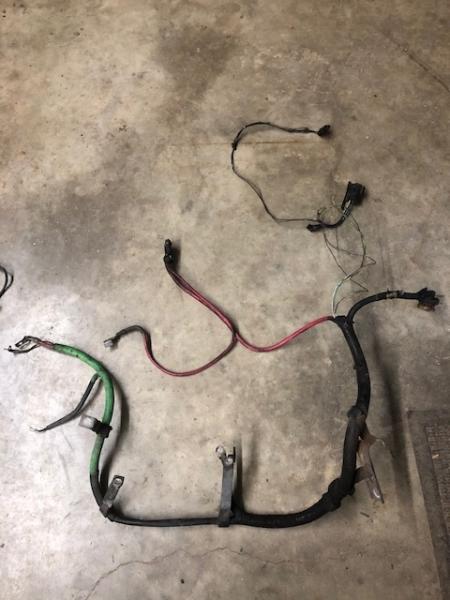
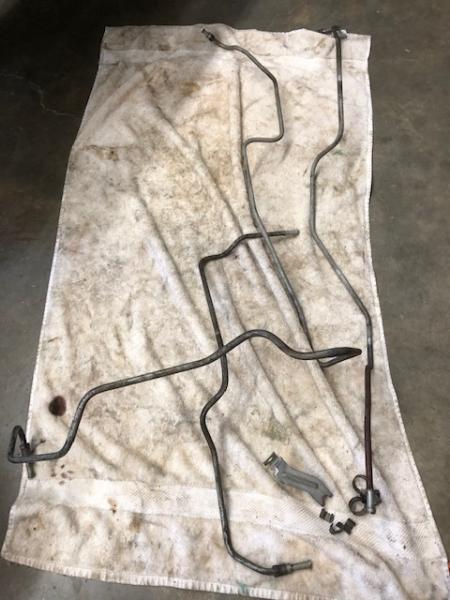
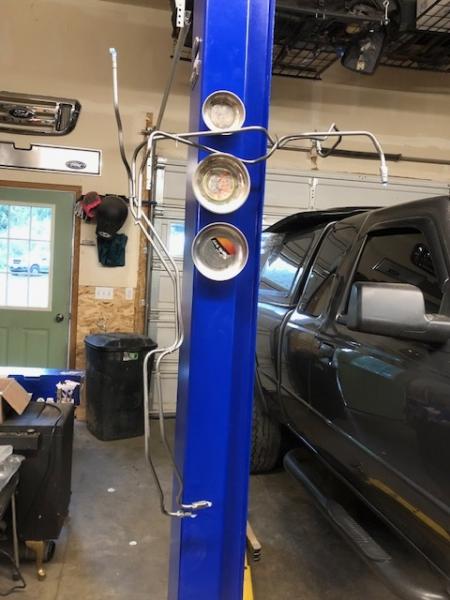
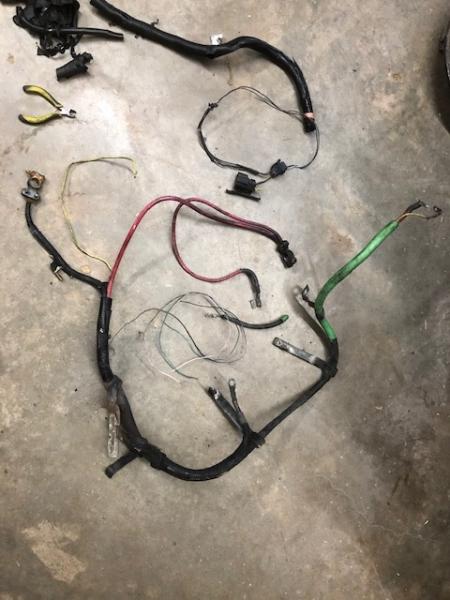
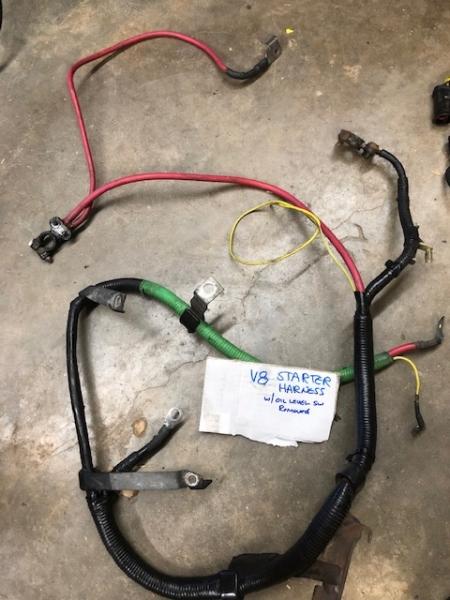
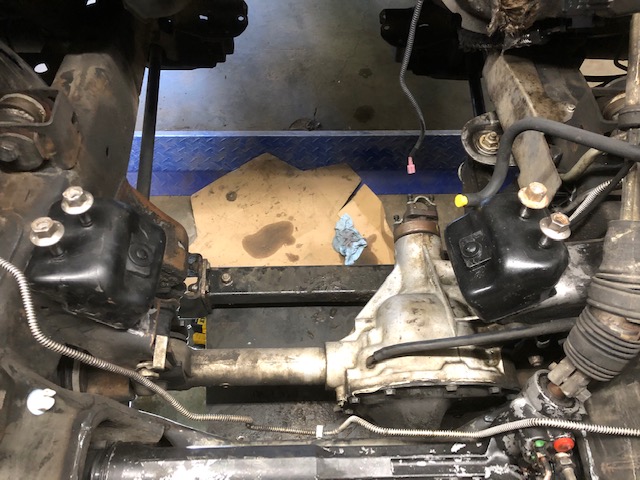
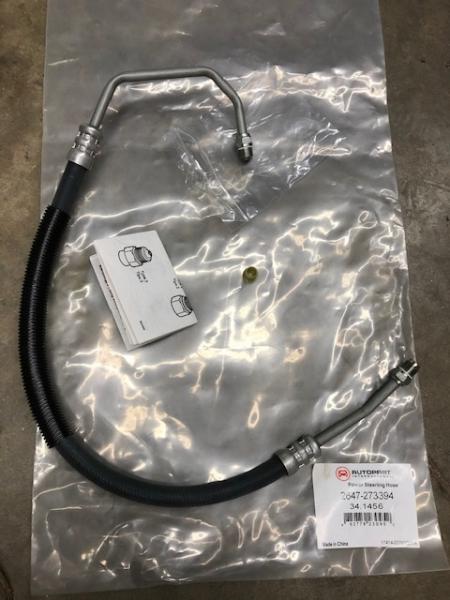
PS lines are in, battery cables are in, mounts are in..........something is missing
Also note I had to remove the steering shaft with the engine half way installed....so make sure you remove the steering shaft first if you are attempting this
Also before you install an engine you might want to install the plugs and dipstick
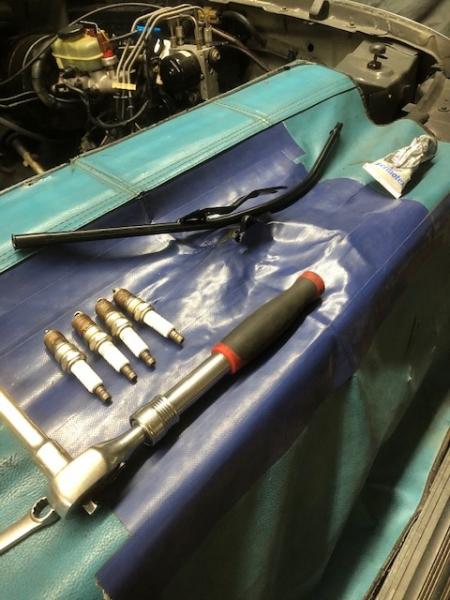
Dipstick is sealed with some permatex and slammed into the engine block using a block of wood and mallet
then bolted to the header bolt to act as the hold down
Plugs are Autolite Irridium, I checked gap on one plug it is spot on, no need to try and gap these I do not want to disturb the irridium tips
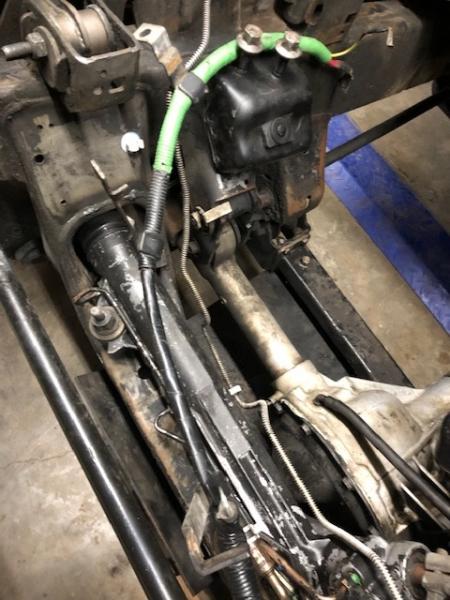
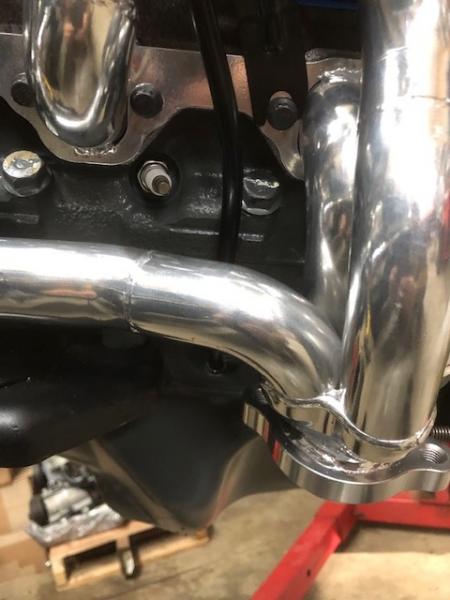
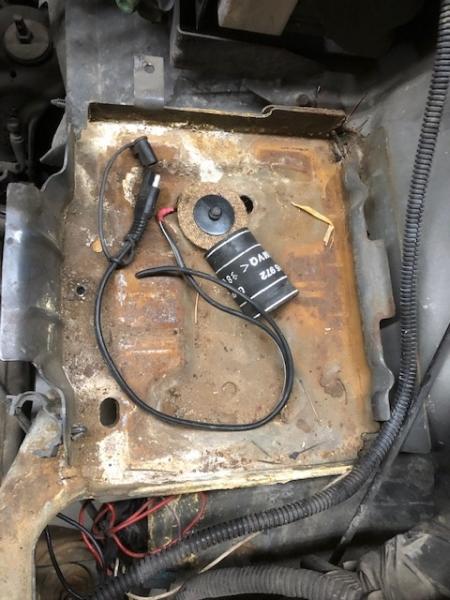
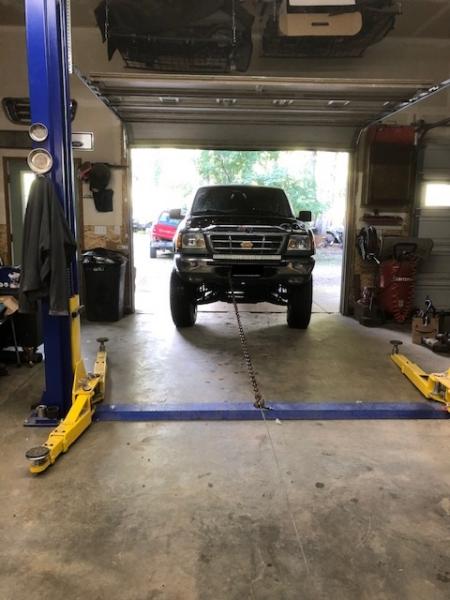
A little bit of a battle with the hoist, some pry bars, I had to remove his alarm siren/horn from the firewall to make room, she is finally sitting on her mounts
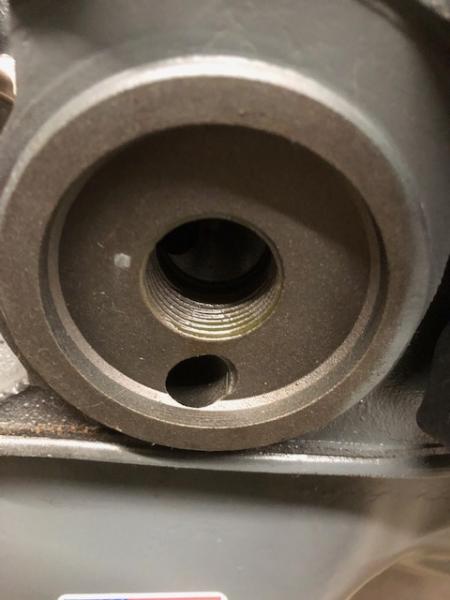
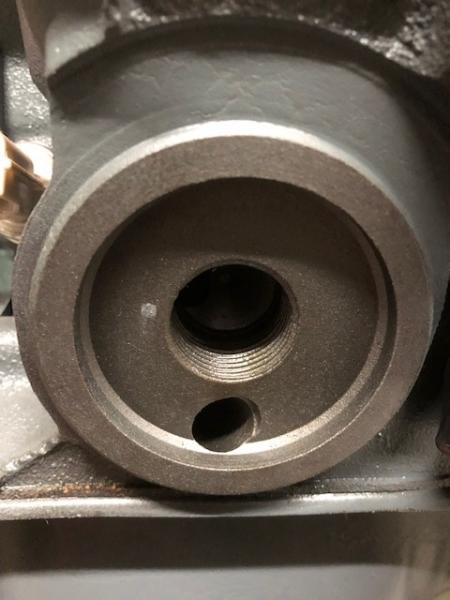
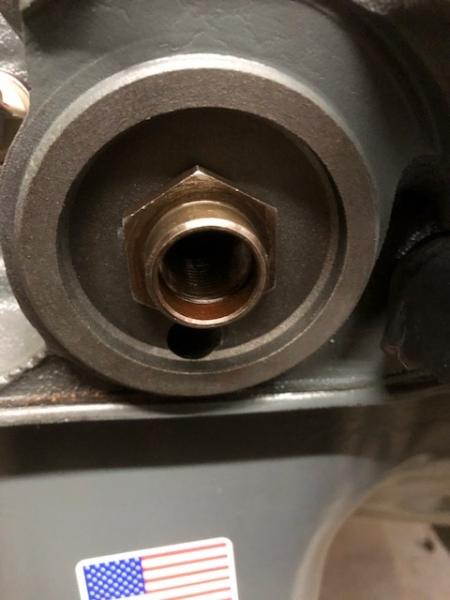
Here you can see the access to the hold down nuts is rather tricky with the TMH, these are put down with a 18mm wrench, you will not get a socket on 3 of the 4

18mm wrench cut in half, 1/4 turn at a time....... while lifting the engine still with your sling, you have to slowly tighten the rear stud on pass side...... once that one is driven home you can finally remove the engine from the sling and attack the other 3
More pics later...I gotta run some errands
____________________
I build custom RBV, specializing in drivetrain conversions, wiring, suspension and complete custom trucks
|


 '
'