Eddie Money
Member

Joined: Mon Nov 13th, 2017
Posts: 1587
Name: Occupation: Interests: Burt gummer life ...
Reputation Points: 1587

|
"Added by eddie, posted by 410custom"
okay I documented the whole build of the drivers seat, so there are alot of pictures.
There was ALOT of trial and error, putting the seat in taking it back out etc etc to get this right!
End result is seat is centered, as far down as possible, as far back as possible, retains 4 of the "6 way power" functions, the seat is mounted to factory manual slider for forward and back movement. Factory heat is retained and wired up, also the lumbar support and power recline backrest all function like a factory seat.
The first attempt had the seat sitting too high in the cab
The 2014 Edge power "rails" had to go
So first I needed donor parts, 2000 Ranger 60/40 bench, drivers sliders were removed
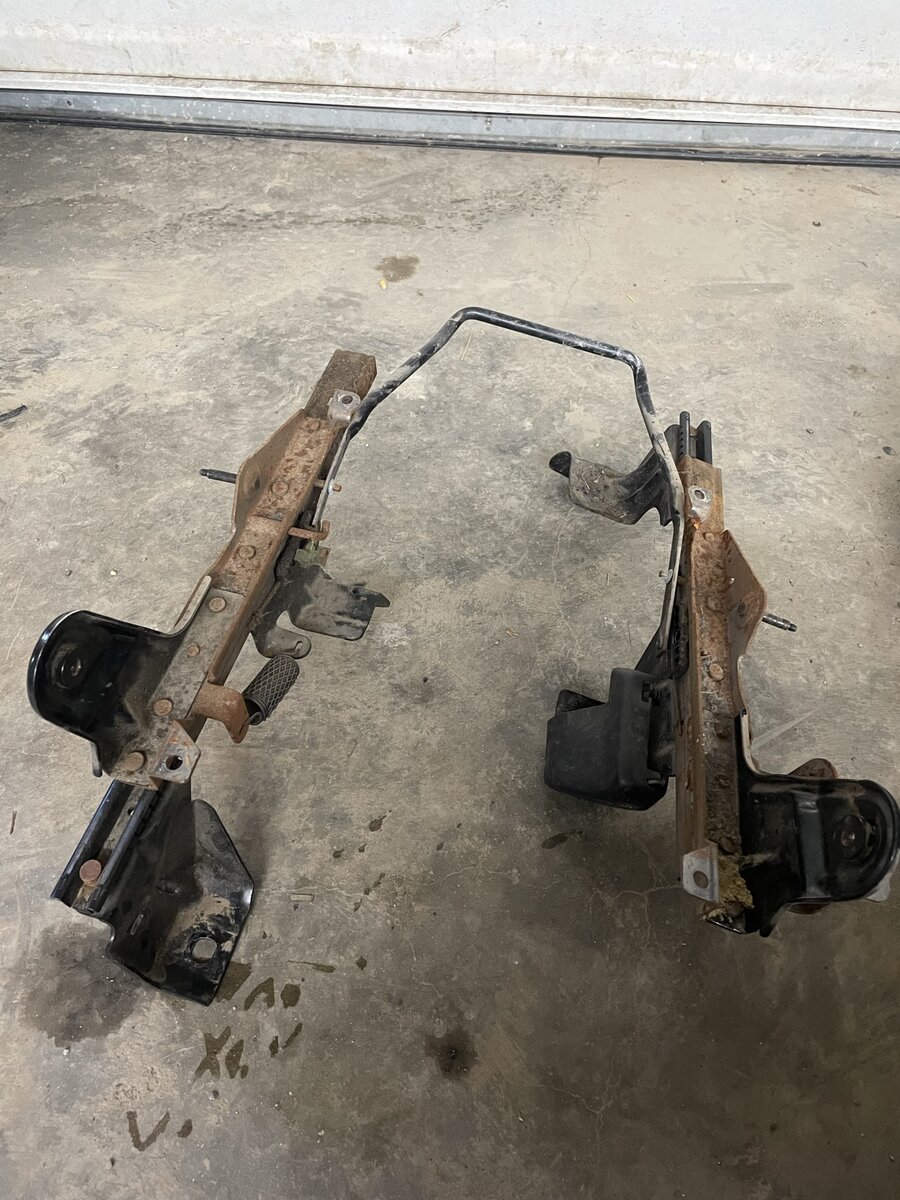
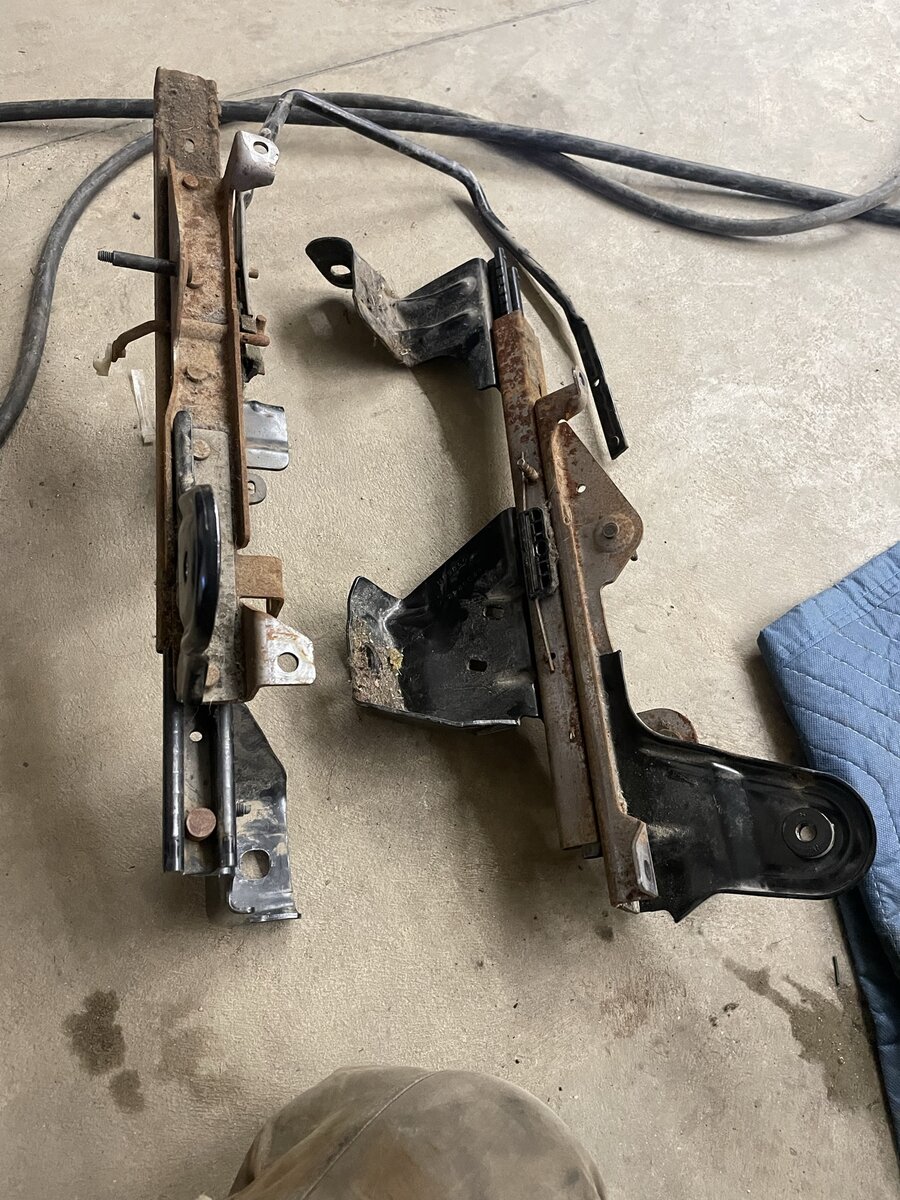
Now the factory rails get “shaved†with a grinder.
Basically the only thing I keep is the slider and the slider actuator rod and all 4 “feetâ€
More parts removed

Keep all hardware and the spring for later use
This is the 2014 edge power seat rail assembly from my first attempt. The structure is too tall and too wide for our ranger floor pans
Time to get to grinding. I stocked up on cutoff wheels for this job
Plasma cutter could work as well but I did not want all the slag cleanup later
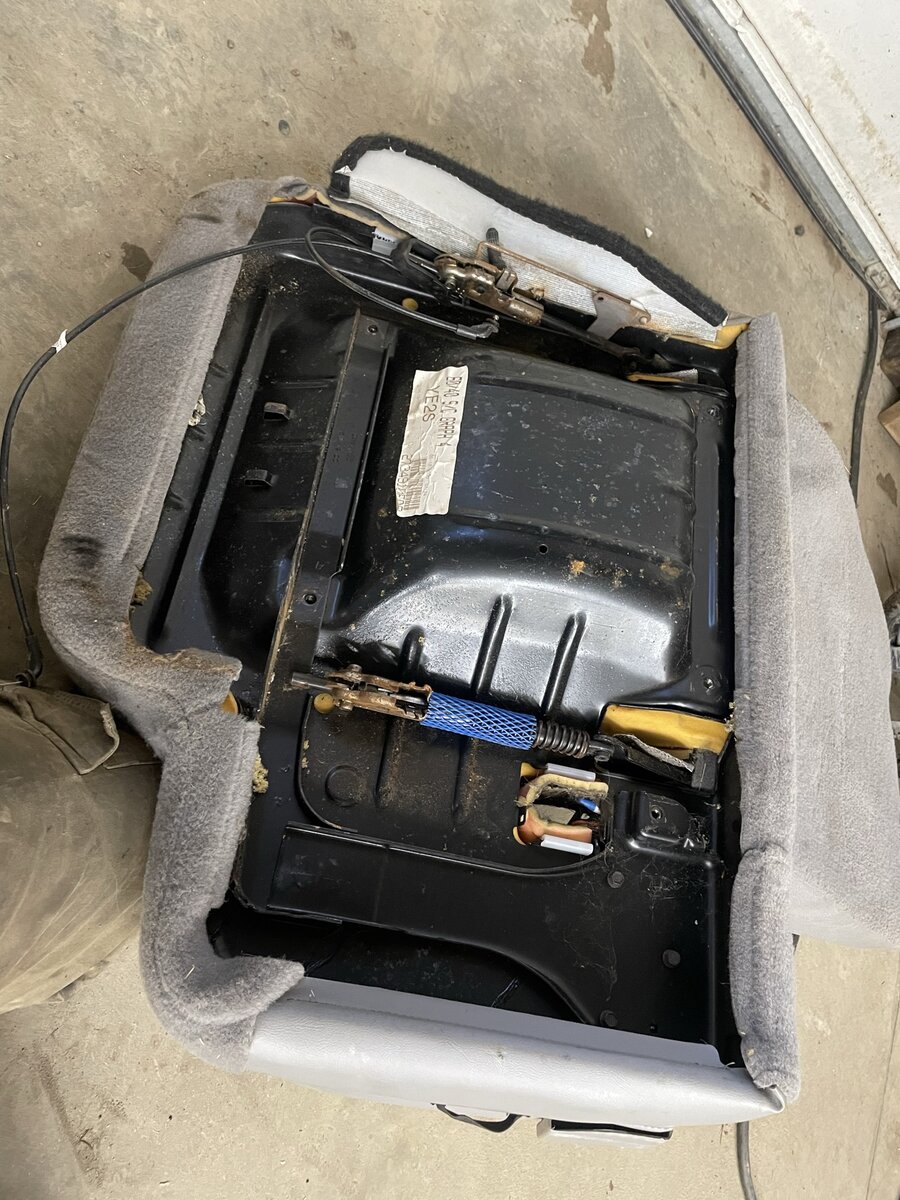
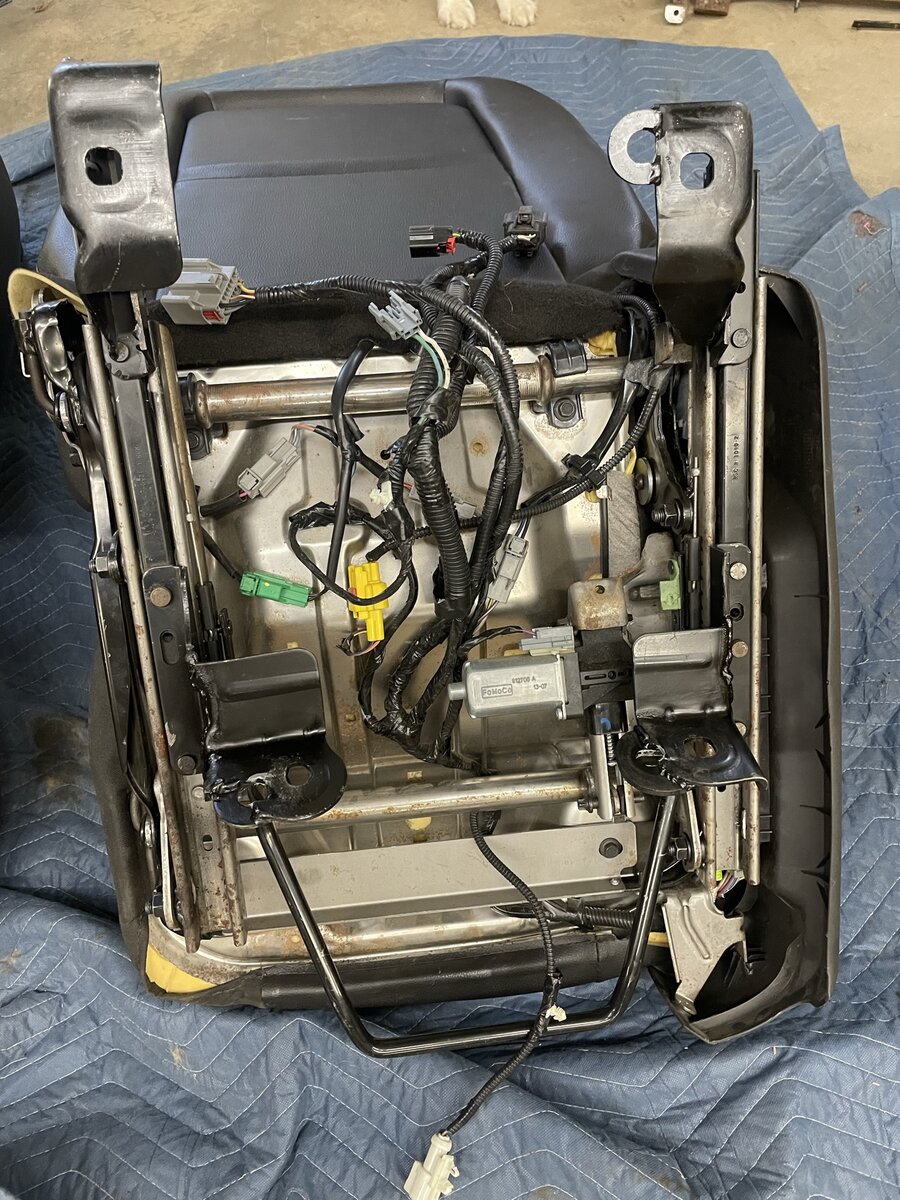
This is the passenger seat, it has been completed already. We have a similar goal for the drivers seat here
okay I documented the whole build of the drivers seat, so there are alot of pictures.
There was ALOT of trial and error, putting the seat in taking it back out etc etc to get this right!
End result is seat is centered, as far down as possible, as far back as possible, retains 4 of the "6 way power" functions, the seat is mounted to factory manual slider for forward and back movement. Factory heat is retained and wired up, also the lumbar support and power recline backrest all function like a factory seat.
The first attempt had the seat sitting too high in the cab
The 2014 Edge power "rails" had to go
So first I needed donor parts, 2000 Ranger 60/40 bench, drivers sliders were removed
Now the factory rails get “shaved†with a grinder.
Basically the only thing I keep is the slider and the slider actuator rod and all 4 “feetâ€
More parts removed
Keep all hardware and the spring for later use
This is the 2014 edge power seat rail assembly from my first attempt. The structure is too tall and too wide for our ranger floor pans
Time to get to grinding. I stocked up on cutoff wheels for this job
Plasma cutter could work as well but I did not want all the slag cleanup later
This is the passenger seat, it has been completed already. We have a similar goal for the drivers seat here
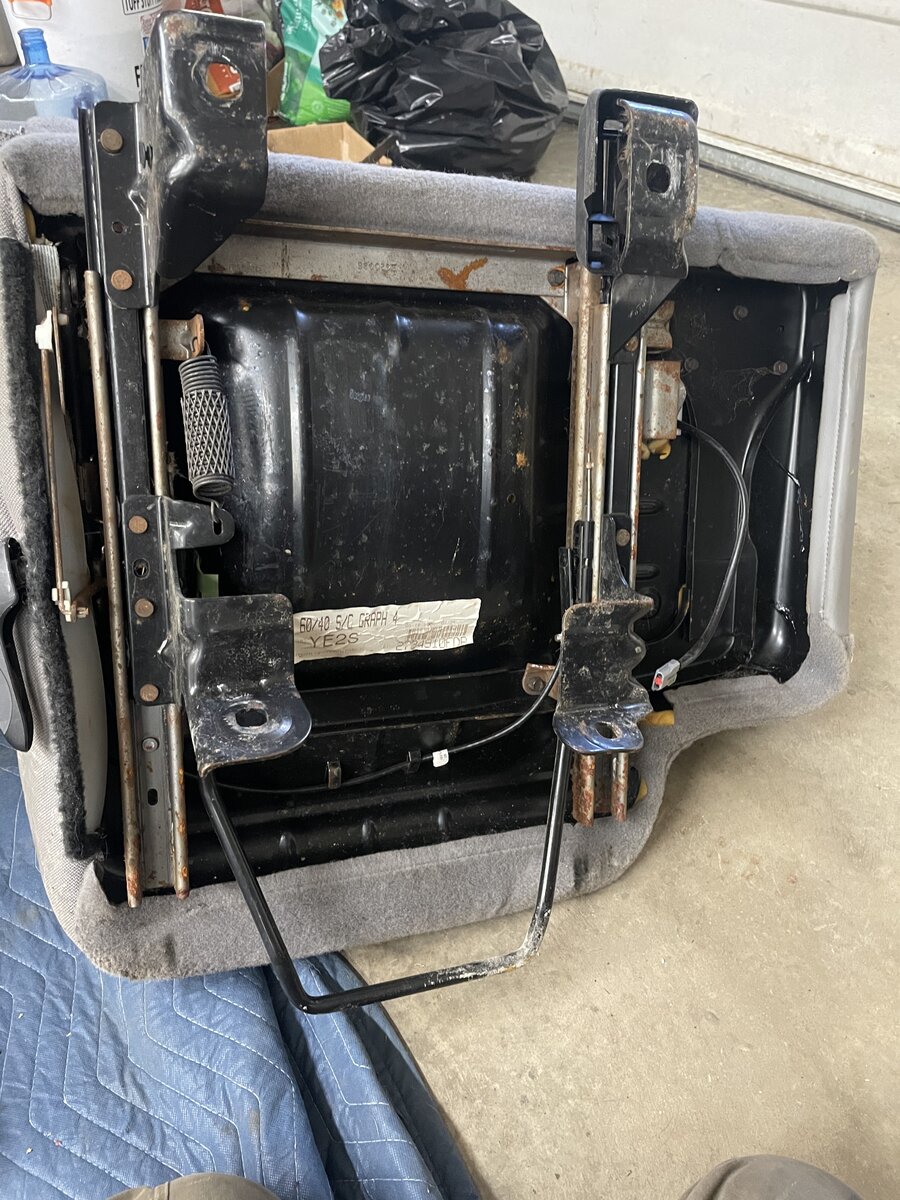
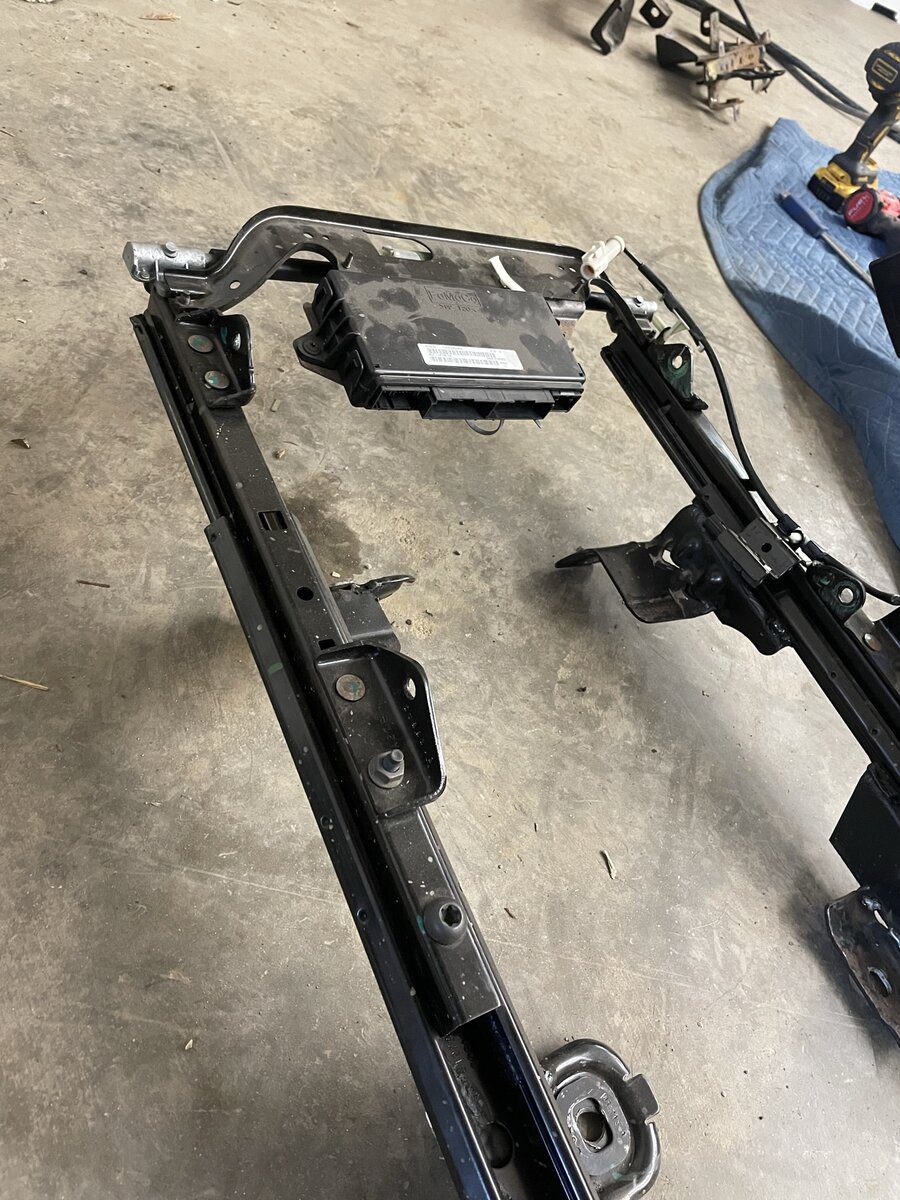
On the bottom of the 14 edge seats there are 4 mounting studs where the pivots take place for the front and rear “height†motors. These 4 studs will be the mounting locations for our new ranger manual slider rails
Previously the seat was mounted on top of the power sliders. My idea to lower the seats was to mount the manual slider rails off to the sides.
It works!
But not without some headaches
Pass seat seen here you can see the slider rails and how they are
Mounted.
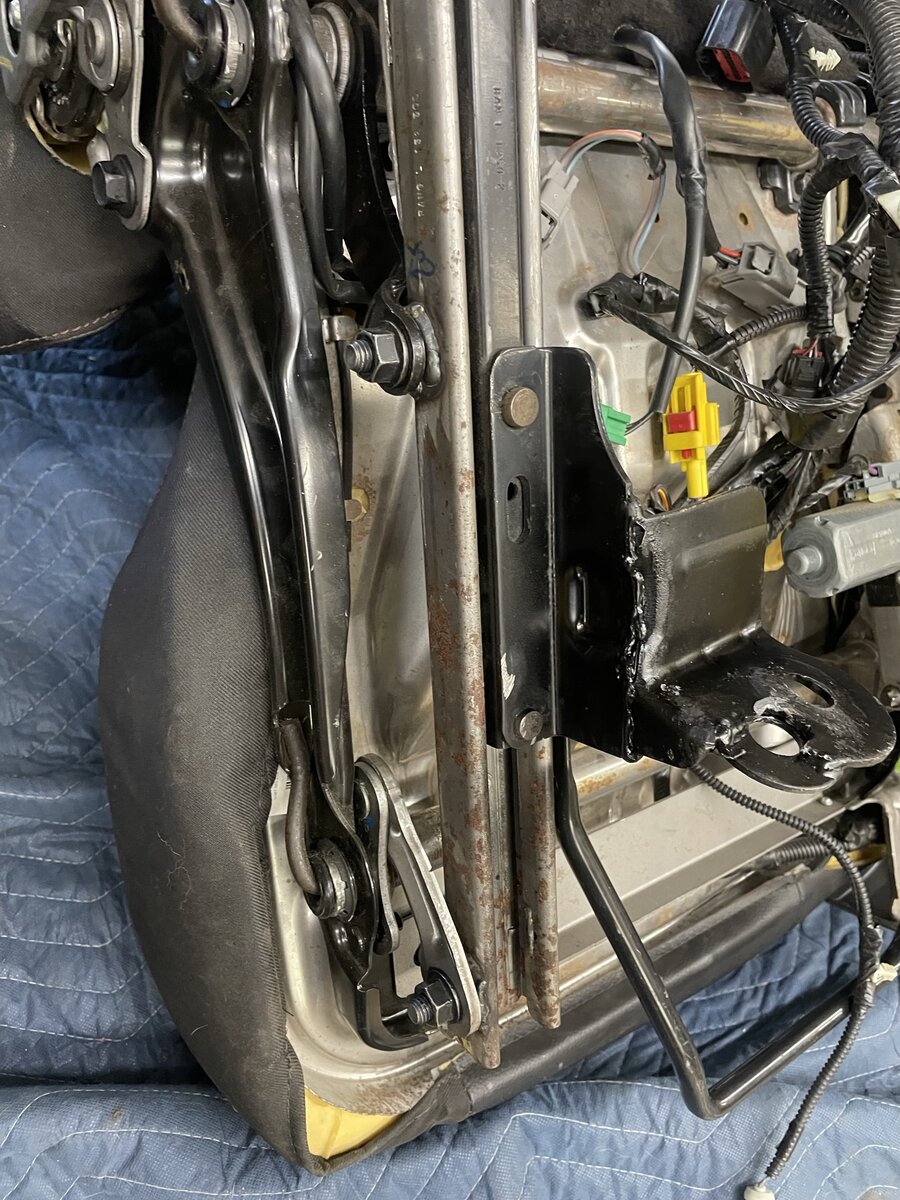
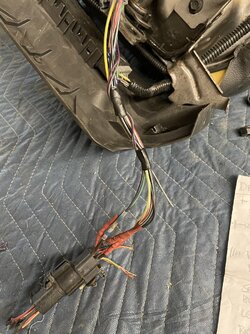
So first up I need to press the little studs out of the seat base so they can be flipped around and welded to the ranger sliders
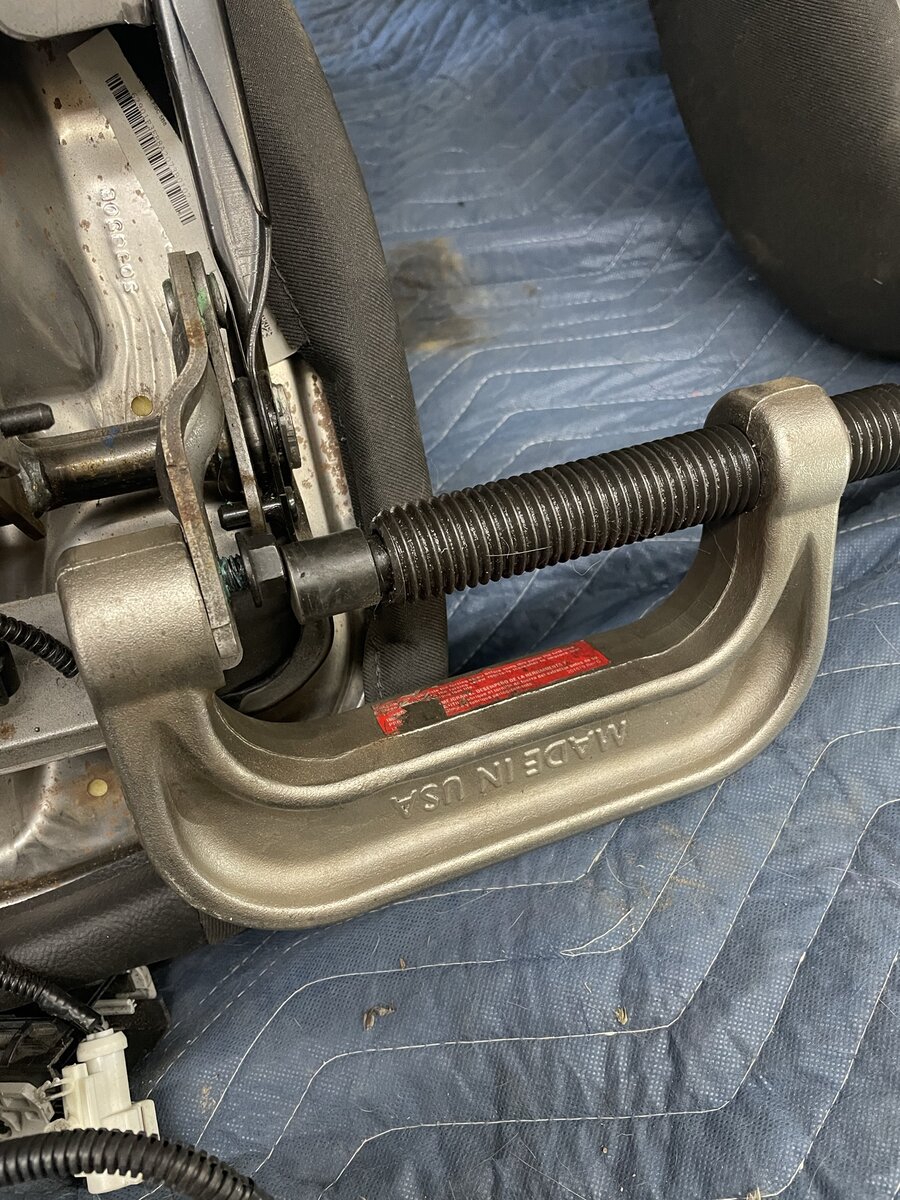
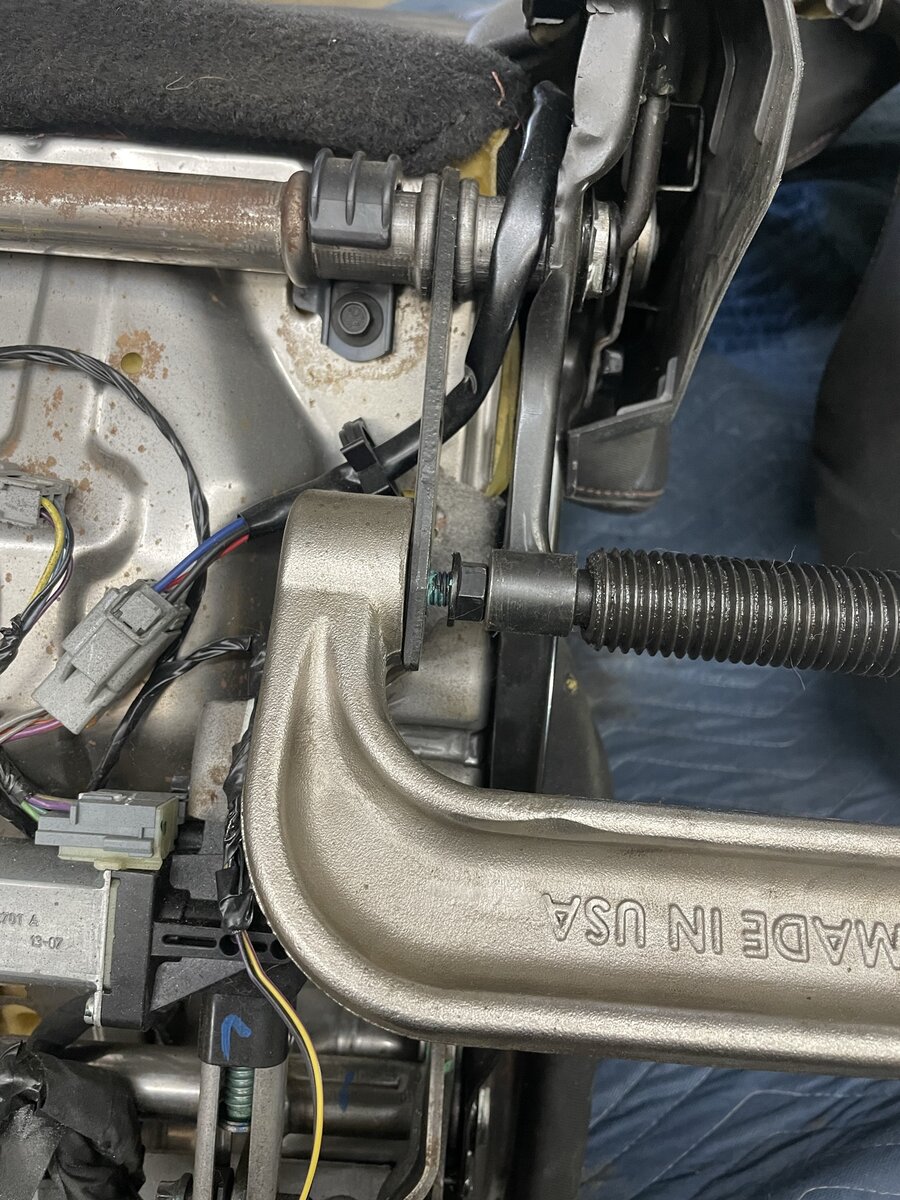

Drivers seat no rails no studs ready for new parts. Well kinda
So first up I need to press the little studs out of the seat base so they can be flipped around and welded to the ranger sliders
Drivers seat no rails no studs ready for new parts. Well kinda
____________________
I know my crazy! Do you?
2007 Sport 4door 4x4 4.0L SOHC V6 Ranger
|