JAMMAN

Owns A Torsen

Joined: Mon Sep 18th, 2017
Posts: 6436
Name: Jim ... Occupation: 5 axis cnc programmer ... Interests: RBV's ...
Reputation Points: 6436

|
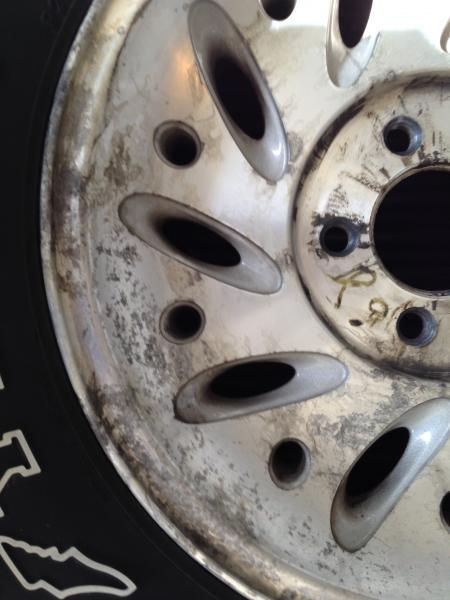
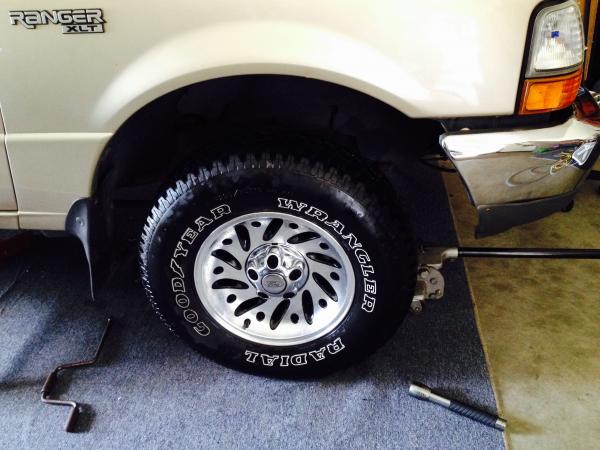
I did the easiest wheel bearing and stabilizer bushing job I have ever done. Only needed one bearing. I had replaced the bearings once before and used anti seize on everything including the outside of the bearing housing.
I was able to take the nut off the half shaft, took the entire caliper bracket off with 2 bolts caliper still on, pulled rotor off, 3 socket heads I put in the dust plate, 3 bolts from the back for the bearing, pulled it forward. Pushed the other one in, 3 bolts from the back, it already had clips on the ABS wire so I cut the old plastic clips off at the frame, pushed the new ones in the slots. 3 socket head screws put the dust plate back on, one in and out behind the knuckle (the one plastic clip for the ABS wire that has a screw in it), rotor on, caliper/bracket assembly back on 2 screws from the back, nut back on the half shaft, zipped it pre torque with mr. impact, then did the stabilizer bushings. I had a carbide tipped sawzall blade I bought last year for a metal job, it chewed right through the broken rods. So much easier to do 2 together than one with one still on.
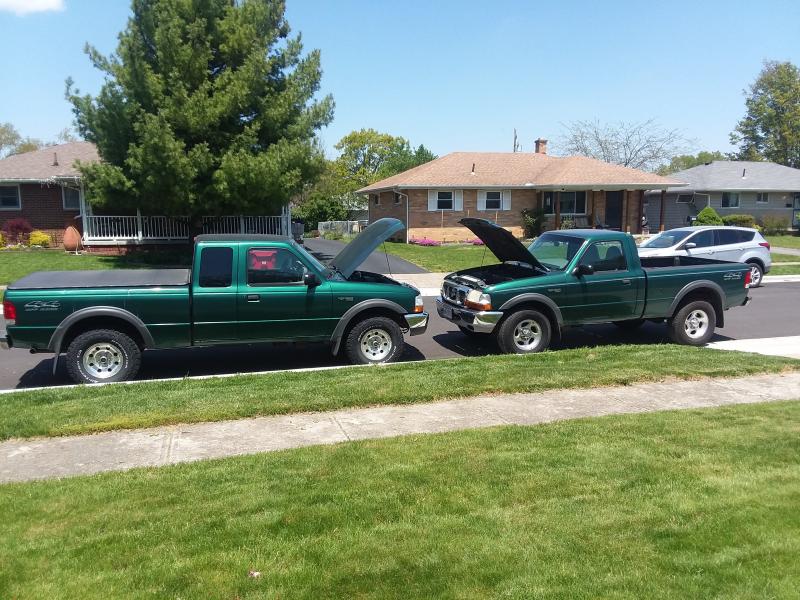
Put wheels back on, lowered off stands, torqued the halfshaft nut, threw the hubcaps back on and scratched my head wondering what I was going to do tomorrow. I allotted 2 days for this job and it took me 1.5 hours. Went for a drive it is back to its great self. I hate to sell this thing but I have no place to put it. I'm sure the neighbors are sick of the green rangers scattered around parked in front of this and that house.
____________________
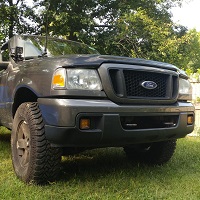
00 XLT 4WD RCSB 3.GO! Jalapeño
01 XLT 2WD RC Steppie 3.0 auto Silver
The future belongs to those who show up.
|


 At least you kept all the stock stuff!
