Scrambler82
Old Bastard !

Joined: Fri Dec 22nd, 2017
Posts: 2108
Name: Grev B ... Occupation: Quality Assurance Engineer ... Interests: Rangers, Photography, Metal Bending ...
Reputation Points: 2108

|
I started the finishing steps "The Raptor Styled LED Grille Lights" !
Here is the pictures so far, not completed yet but some is better than none !
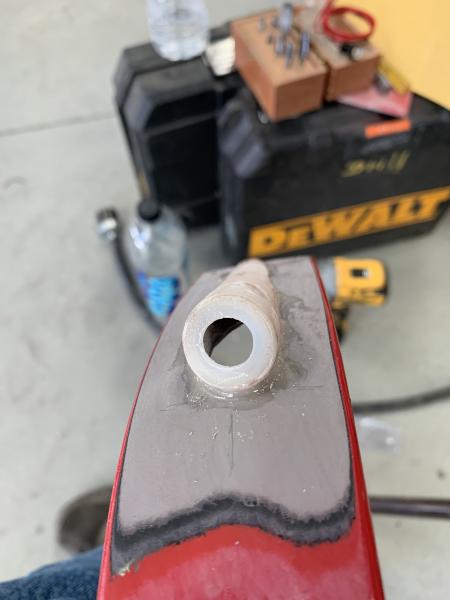
Here is where we stand, Homemade Pod, JB Welded to Grille Shell, pending Fiberglass, wiring, and paint.
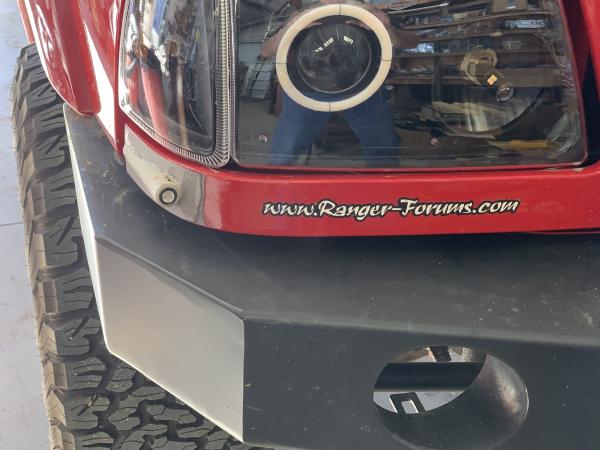
A little closer look.
Using a Drill I started the opening, my main concern here was getting the hole inside of the pod area.
Then went to a Grinder Bit, attached to my Hand Drill.
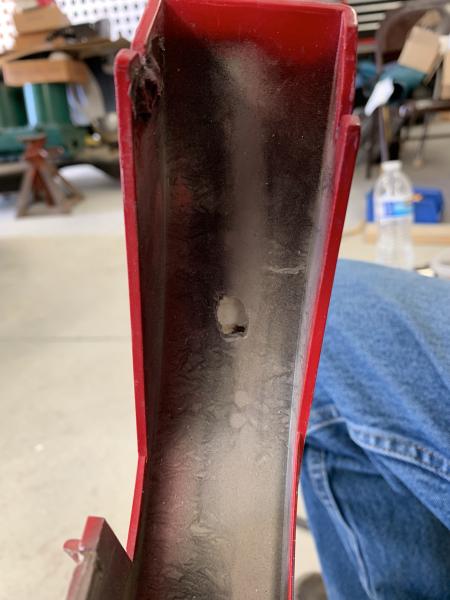
Opened it up some, fit the LED, still too tight; need more room for the wire to move freely.
Ended up cleaning out the area behind the LED, gives me room for the wire not to rub.
Ended with about twice the opening I started with.
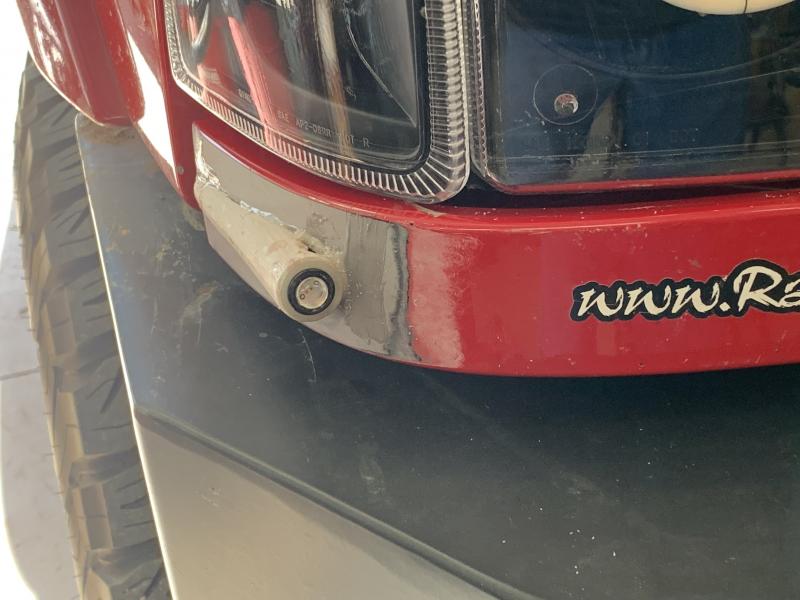
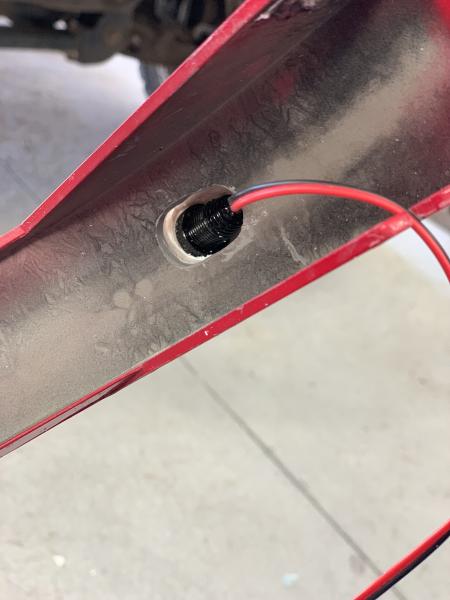
The next two pics are just the JB Weld attachment.
You can see in the second pic, the hole on the inside is already in place.
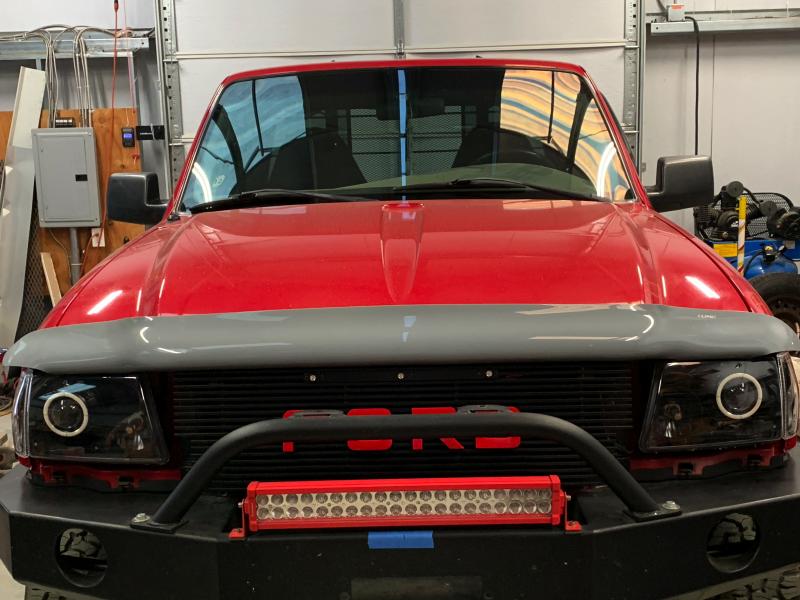
A little different angle of the front view.
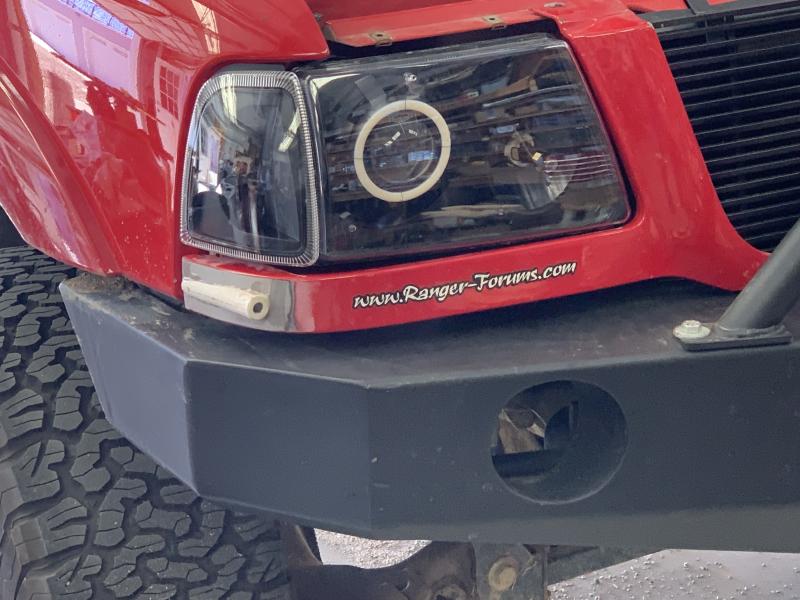
First sorry to the Site for the STICKER on the Grille Shell, been there for long time.
Sanding the paint on the grille shell was more of a task than expected. The paint was thicker than hand sanding could remove in short order. I ended up using a small area vibrator type sander and the paint came off.
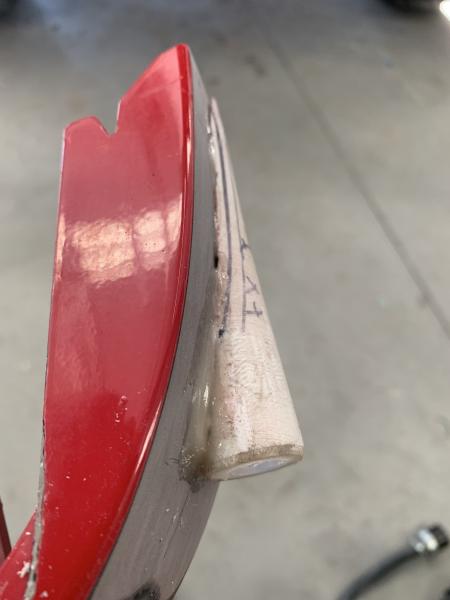
The Pods are Homemade PVC Pipe with a thick Fiber Washer attached to the end with... you guessed it, JB Weld.
I drilled the Washer to fit the LED Lamp after being attached to the Pipe, didn't have to waste my time and fingers, drilling a washer that was going to grab and spin while drilling. I fit the LED in the washer, verified fitment and proceeded to cut the curve in the Pod to fit the Grille Shell; not too hard since the adhesive and the fiber glass will cover the imperfections.
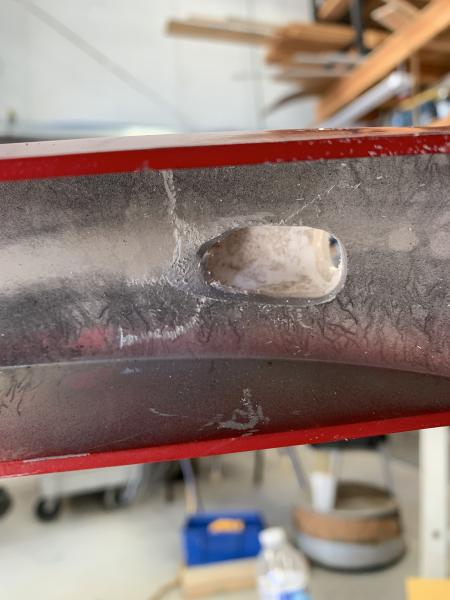
Then I took a 7/16 Drill Bit and drill through the back side of the Shell, allowing me room to get the grinder bit in, and started grinding the PLASTIC Grille Shell away from the inside of the Pod, watching the edges so I didn't grind through.
I started with a smaller grinder bit at a faster speed, found the plastic that the Grille Shell is made of did more melting that chipping away. Went to a larger bit and a slower speed, that worked the best.
Where I stand now... I have the Pod attached, the opening in the backside of the Grille Shell is done, LED fitment is complete, now on to fiberglassing and wiring.
The wiring will be attaching the LEDs together, adding a connector and then to the existing Grille Lights under the Hood edge; shouldn't be a problem.
Adding a connector is a must... IF you intend to ever remove your grille without cutting wires.
The fiberglassing, haven't done it in a while, never was good at it but it should work out.
There you have the next and final step in the Raptor Style - Grille Light Project.
My next decision on the Grille Project is do I paint the Grille Shell "Black" or leave it "Red" ?
I will set up a Poll, that will get some thinking on it.
I'm was thinking black would look different but looking at the red shell back in place, the division of the red and black doesn't look too bad, up in the air again... decisions, decisions, decisions !
____________________
Ltr,
2003 EDGE, Std Cab, Steppie, E4 Red, 5sp, 4x
5" SuperLift, 33" x 12.50 x 15"
Hurst Shifter
Mod'd Backrack to fit Steppie
Front and Rear Bumpers by Custom 4x4 Fabrication, OK; now Mike's Welding and Fabrication.
Working on more Mods, just need more time, longer days would work !
|