Kealel
Certified Ranger Nutjob

Joined: Sat Oct 21st, 2017
Posts: 174
Name: Keegan ... Occupation: Engineer ... Interests: Rangers. Duh. Also Robots. ...
Reputation Points: 174

|
JAMMAN wrote: Resurrecting this thread, I have a collection of clusters and a tester I am building to ignite certain bulbs separately.
Recently Kegan posted a picture of one completely disassembled so the insides were exposed for placement of "Mo LED's". I don't see an easy way of disconnecting the gauges from the back board, perhaps we could get a mini tutorial?
Thanks-
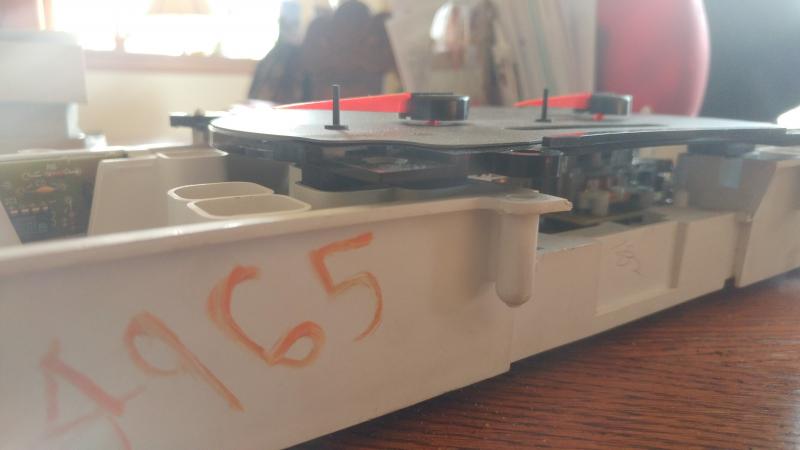
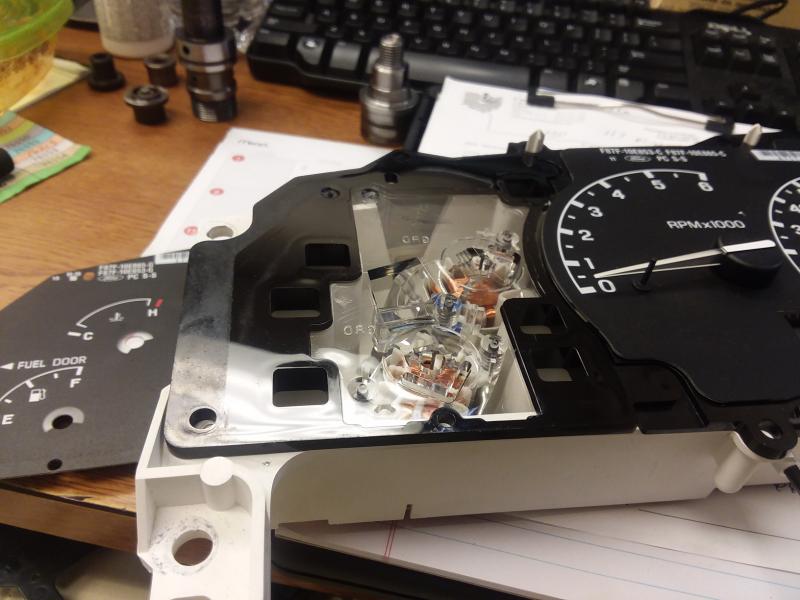
I am assuming since you are talking about my cluster that the "back board" is the white casing and now the see-through plastic that the motors are physically screwed to. If I am wrong, just let me know!
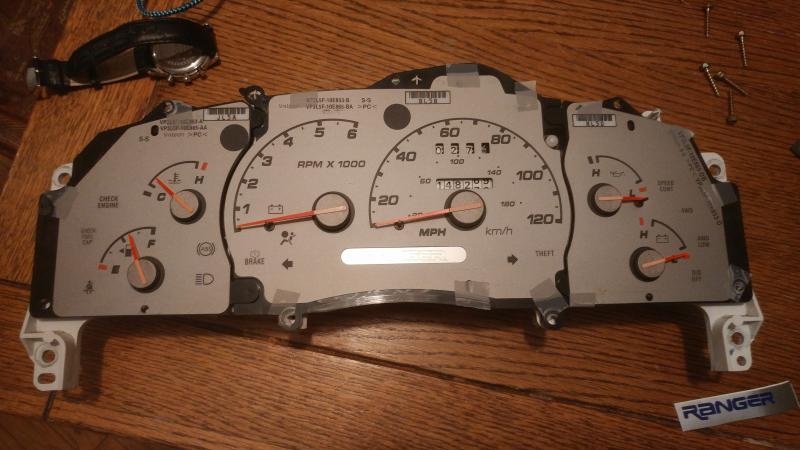
Looking at the cluster with the outer lens off looks something like this... Notice how the gauge outlines split off into 3 sections... Each section is removed separately with the outer two removed first.
The way you do this is to pry the black base plastic up with a screwdriver ( I have done this so many times however I can do it with my hands) carefully. It feels like it will break but unless you are prying too forcefully or at an obvious weak spot (like the sections that pop out for screws) it will not.
The reason it pops up is because how this cluster works. Let me break it down to how everything is powered.
Lights: All of the lights on this cluster are attached to the white housing meaning no wires or extra electrical mess, they just clamp themselves down directly on the circuit board to get power.
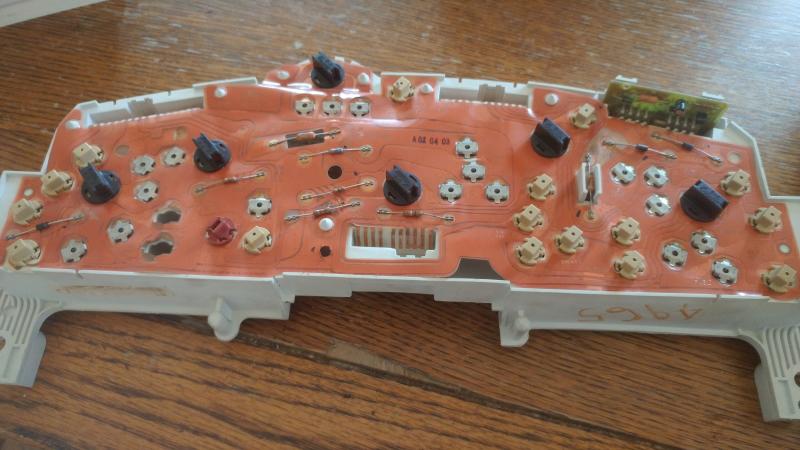
Motors: that's really all that is getting power on the circuit board, motors and lights. The motors in a way get their power the same way as lights - Their connection contacts are press fit into (lets call them clamps) clamps mounted on the circuit board (The silver things in the previous picture.
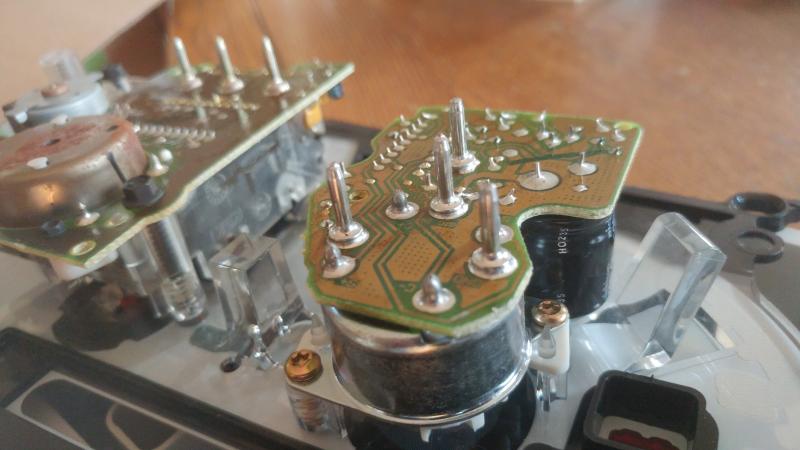
The only two things holding this whole cluster together (well the parts most people want to remove) are screws (7 T15 screws) and tight fittings.
Since I can see this thread may become a sticky, I'll toss out some more information.
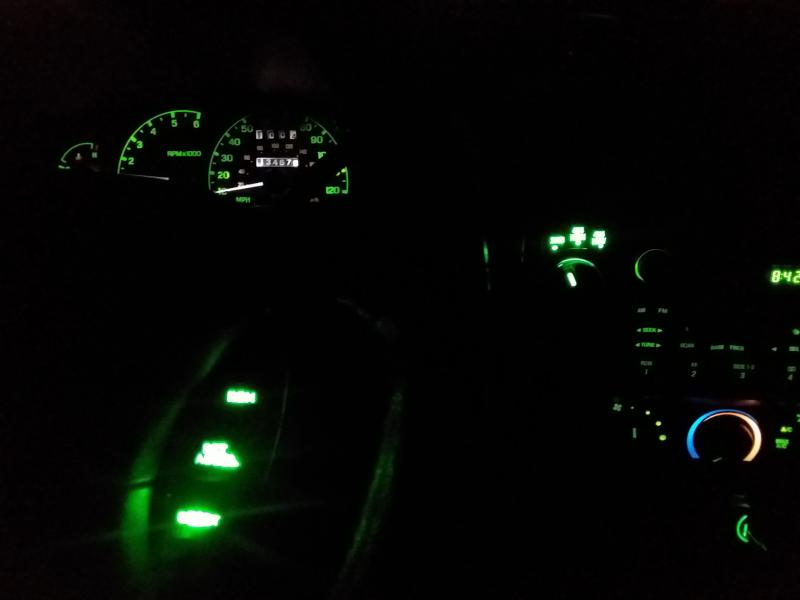
Lighting:
~There are 6 gauge illumination bulbs, size 194 on these clusters.
~ There is a total of 18 spots for smaller (I believe 74) bulbs, however none of our trucks use all of them, whether it be the 4x4 ones, the overdrive or cruise control ones, or the Check Suspension light (Yes that actually exists, it is located left of the battery gauge).
LED: There is only one stock LED light, the red flashing "Theft" light that you see when your truck is parked and off.
Gauges: if you are removing your gauges to sand them down and do a color swap, or just swapping in a new gauge here is how each gauge operates from left to right.
Fuel:
This gauge stays at the spot it was last positioned, so if you remove the needle mark where it was pointing and try not to bump the motor when the needle is off so you can put the needle on immediately rather than wait until you fill your gas tank. Giving power to this gauge before you put the needle back on may cause the motor to move to a new location and mess your calibration up (Until you fill your tank and put it at full)
Temperature:
Operates the same as the Fuel gauge but instead of putting the needle at "hot" or "cold" when you mess up, go for a drive in your truck and put it where your truck normally rests.
Tachometer:
There is a stop at this needles end and if you remove that stop the gauge will spin around and be untraceable to where it is pointing while powered. Best way to realign is to put it on while your truck is idling and point it to where your truck likes to idle (with a OBD-II reader you can read exact RPM and put it on a such). I have yet to find a way to align without being in a truck.
Speedometer:
Similar to the Tach only there is a way to realign with a battery (I like to use 2 AA in series however other power methods work as well). I will go more in depth on this another day. I do not recommend setting the speedometer while driving on public roads.
Oil Pressure:
Similar to the previous two gauges this one also has a stop for a reason. Similar to the Tach I only know how to set it with a running truck. If your truck is in good health after 30 seconds of idling the gauge should be pointing dead middle.
Battery:
The easiest one, the needle when not powered always returns itself to the red zone. Just remember if yours sets on the bottom or top part of the red.
____________________
Past:
Baby Girl: 2006 XL 3.0 ~RIP~ 1/26/2015
Current:
Penguin: 2002 XLT 3.SLOW 4x2
River/Kaitlyn: 2003 EDGE 3.GO! 4x2... For now?
~Aspiring Mini Level 2~
The Duck: 2003 Ford Ranger FX4 Level 2 - TWIN STICKS!
|


 MG power