Scrambler82
Old Bastard !

Joined: Fri Dec 22nd, 2017
Posts: 2108
Name: Grev B ... Occupation: Quality Assurance Engineer ... Interests: Rangers, Photography, Metal Bending ...
Reputation Points: 2108

|
Waterlooboy2hp wrote:
Scrambler82 wrote:
Just asking... why didn't you run them full length... wheel well to wheel well ?
How do they connect underneath ?
My OEM Step Rails only do the cab, always thought "wheel well to wheel well" would be the way go, but that's another story !
Also, just noticed your Mirrors... how are they working out ?
I always wanted to do that too, great projects you've done !
How did you attach them, through bolt and nuts. ===========================================
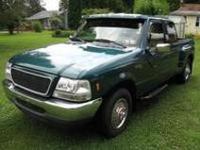
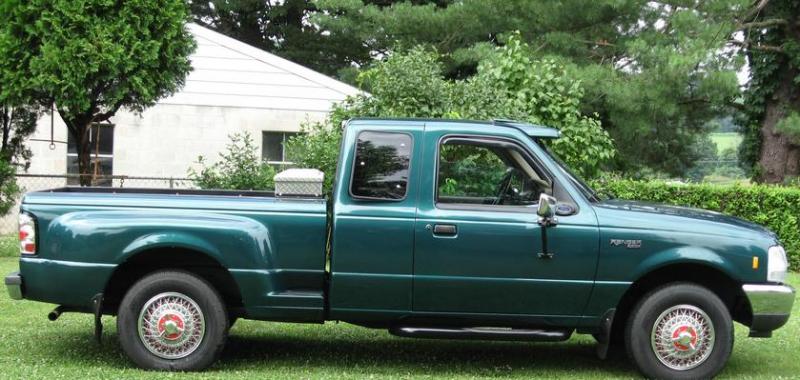
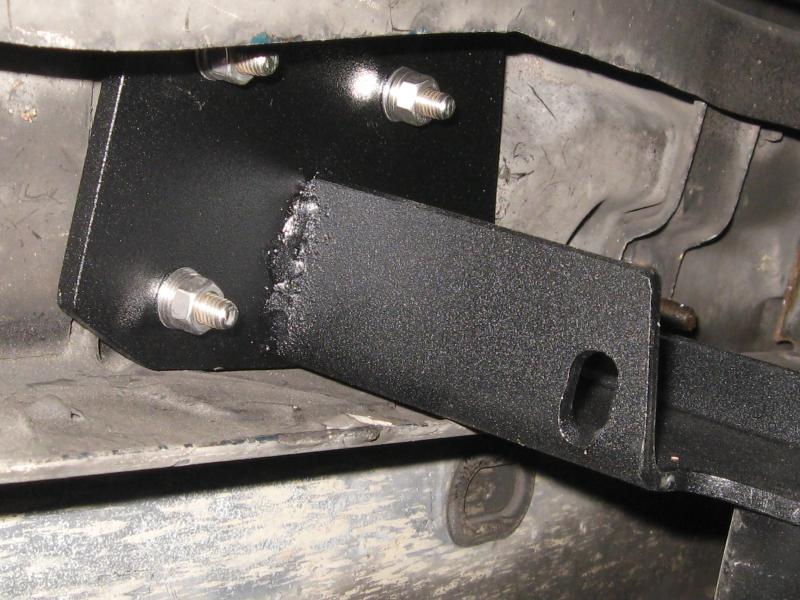
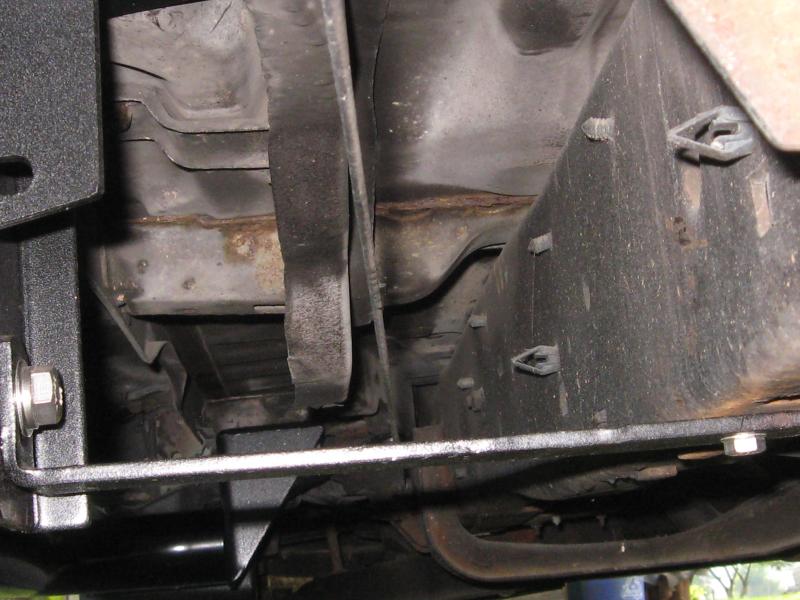
The 2D & 4D extended cab trucks all used the same rear mounting brackets. Only difference is one less pad on the 2D step rail. The rest of the rail serves no purpose, except to reach the rear mounting point. I used steps meant for a standard cab truck.
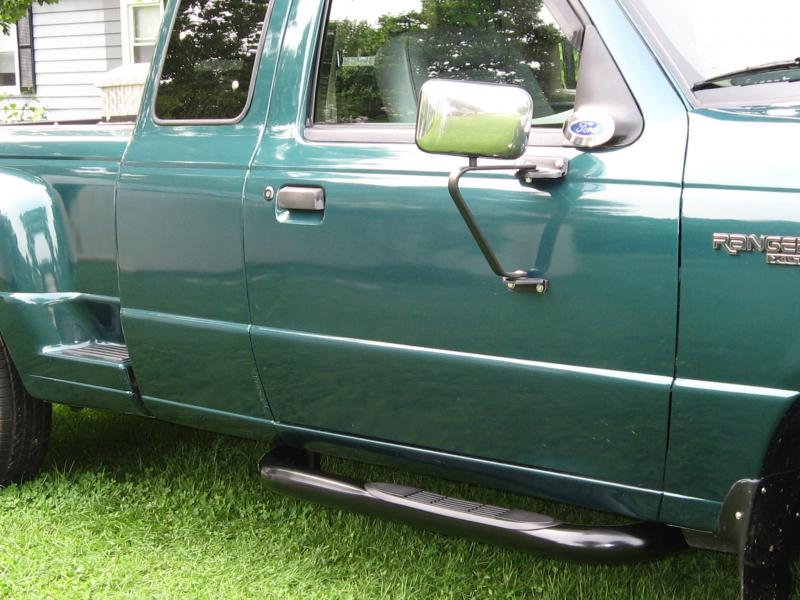
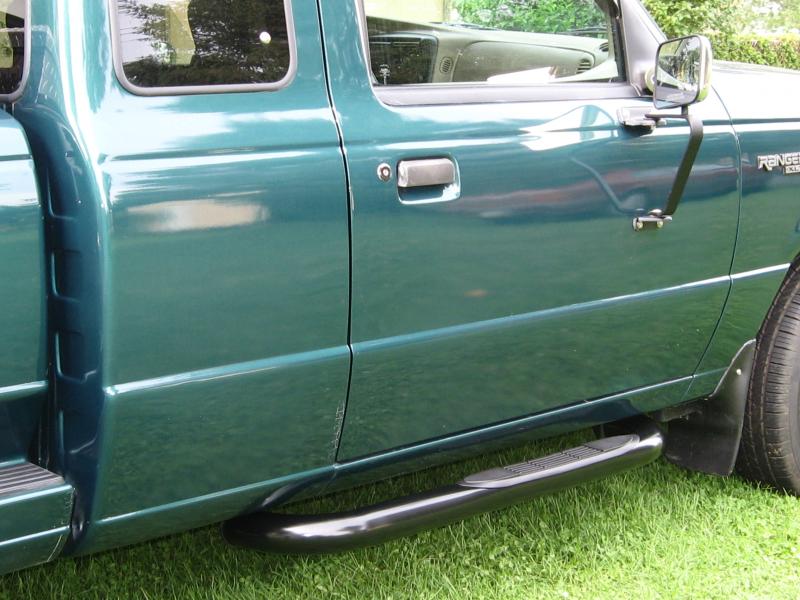
I reversed the rear brackets and welded a 1/4" plate to the top of each one. By reversed, I mean the DS is now on the PS. 4 of the jump seat bolts were replaced with slightly longer ss. The extended bolts were used to mount the modified brackets. Although not really needed, I also added a strap to the frame, like the one on the front step bracket. All of the nuts, bolts and washers that came with the rails, were replaced with SS. The step rails are also SS. Hard to get photos, but these might give you an idea.
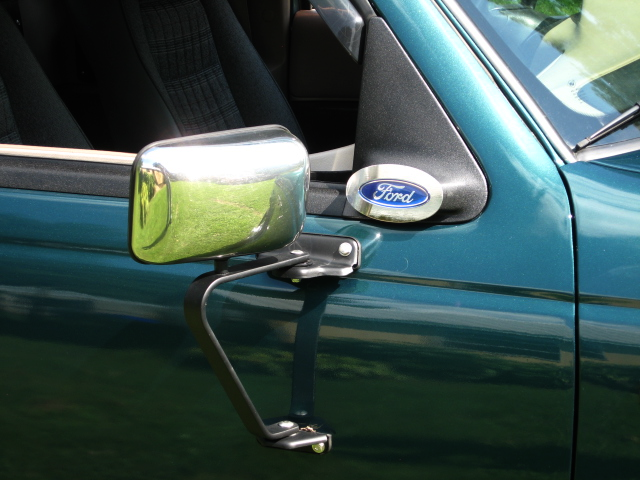
As to the mirrors, they are from a mid 80s Ranger. I saw how the factory mounting brackets were made inside the old Ranger door and just used a piece of 1/4" x 1/2" aluminum bar stock as a back-up in my doors. I drilled and tapped the bars to accept the SS mounting bolts. Once the mirrors were mounted, I also bonded the aluminum bars to the inside of the doors with some silicone. That way, I can remove the mirrors without the bars dropping inside the doors. Mounting the mirrors was easy. Working out how to finish off the original window corners took a bit more figuring. ------ John
Nice work, good to see the mounting.
Interesting how you did the mirrors !
____________________
Ltr,
2003 EDGE, Std Cab, Steppie, E4 Red, 5sp, 4x
5" SuperLift, 33" x 12.50 x 15"
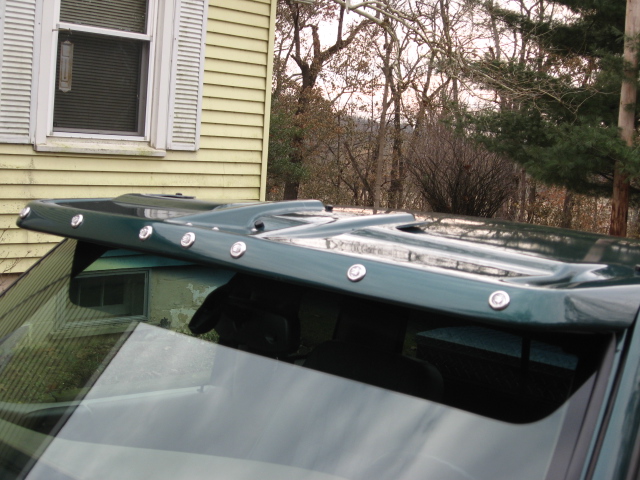
Hurst Shifter
Mod'd Backrack to fit Steppie
Front and Rear Bumpers by Custom 4x4 Fabrication, OK; now Mike's Welding and Fabrication.
Working on more Mods, just need more time, longer days would work !
|