12° North Industries
SITE SPONSOR

Joined: Thu Nov 23rd, 2017
Posts: 389
Name: Occupation: Vehicle Upfitter ... Interests: The great outdoors, nature, back to basics ...
Reputation Points: 389

|
Wanting to add something to your truck for aux lighting or other features but wanting to do it in a clean manner on the cheap doesn't always offer the best solutions and can still look like a mess. At the same time doesn't mean you need to dent your wallet to the tune of $700 for fancier systems either. So while we recently did the last setup in a 2011 GMC Sierra, we know.. it's not a Ford Ranger build and we suck because of it.., but just hear us out.
You can spend your own time looking at the U-Con 2.0 PDM Relay Switch Panel while we dive into the pics and write up below. At the end if you have any questions or further info feel free to comment below or contact us directly at the information below or PM us.
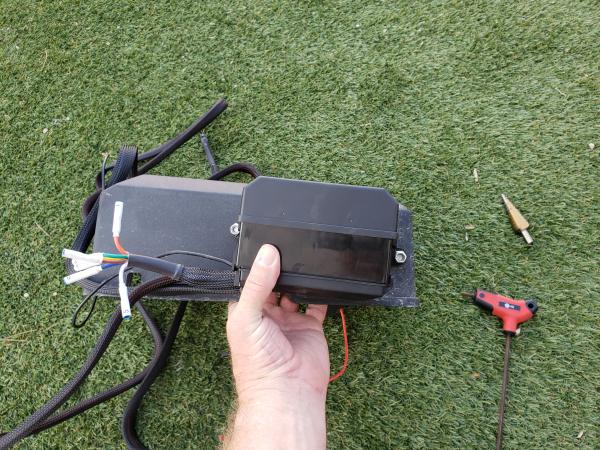
What comes in the kit for the most part is: Switch Panel, Relay Box, Plug & Play Wiring Harness, Trigger Wires.
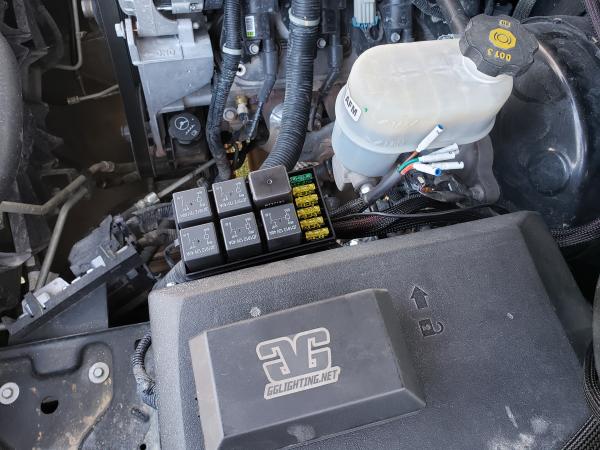
We start under the hood of the truck by finding a optimal placement of the fuses and relays. We chose to get a little creative with placement right next to, or actually attached to the factory under hood fuse block opposite of the battery but near the future secondary battery for this particular truck. We'll cover that later. The main reason why this route was taken is because the owner deemed the amount of unnecessary wire runs and added relay packs were a bit much and not all mounted in the same fashion as two different installers previously had their hand in wiring up existing auxiliary lighting systems.
This truck currently has a set of 3x3 GG Lighting forward facing cowl pod lights in a spot configuration and a second set of 3x3 GG Lighting ditch pods in a combo spot/flood pattern, a 20 SR [Single Row] light bar in the front bumper opening, a pair of rear facing 3x3 GG Lighting pods in a flood pattern for reverse lights, and an ARB onboard air system. Two other switches will remain blank for the time being for future use.

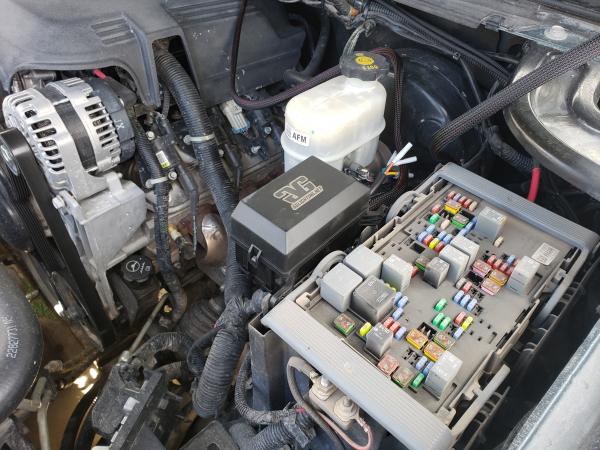
Next we had to come up with a secure but efficient way to secure the unit that would also lend to how we wanted to lay out the main power line, accessory wire, grounds, and of course the actual circuits themselves. With this mapped out and keeping with factory harness runs we kept the wiring looking simple and removed a lot of extra wires and misc. fuse holders cluttering up the battery terminal.


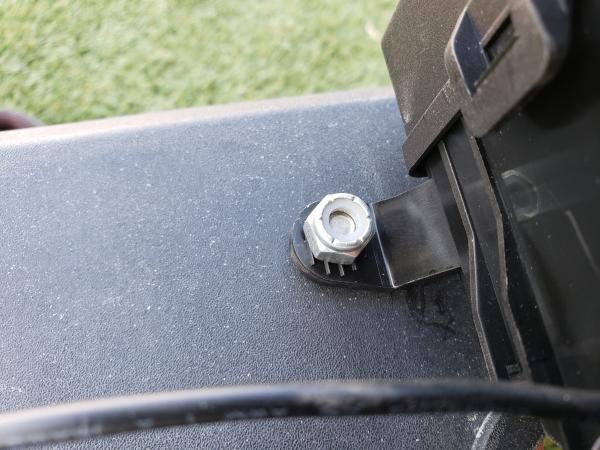
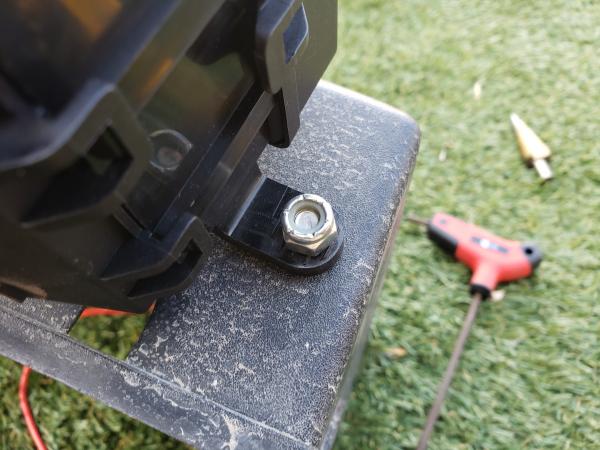
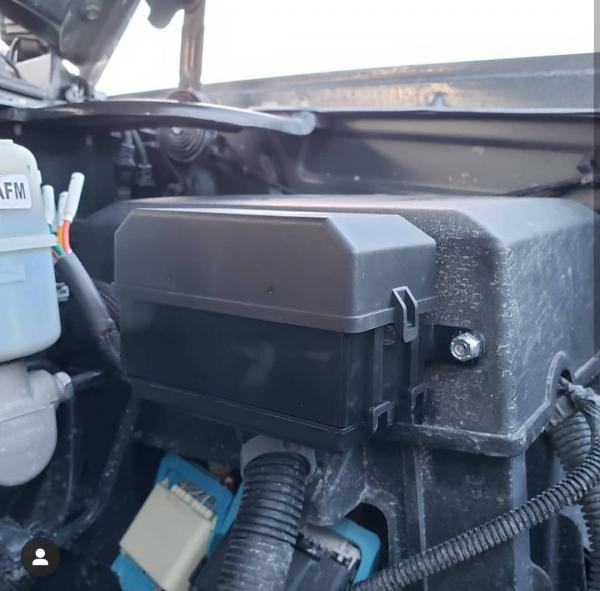
Because the way it is mounted to the factory fuse box, we had to make sure there was no contact to the inside so the top can come off as intended. As you can see the use of lower profile stainless steel bolts and nylock nuts to minimize the amount of possible corrosion being left partially open to the elements. The slight added cost has better long term benefits than not spending a few cents more.

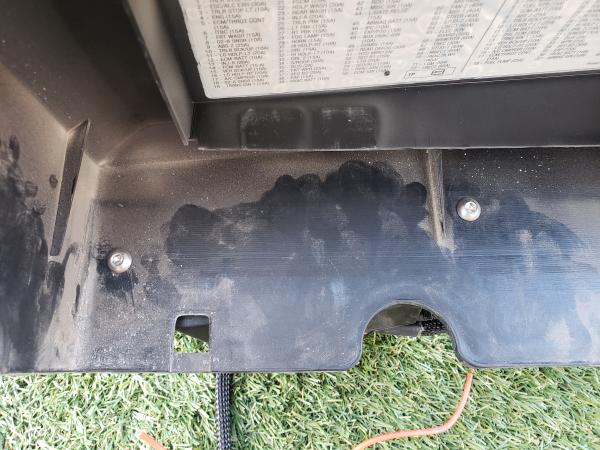
As it sits, it looks quite at home and unobtrusive to the unwary who may mistake it for being something factory at first glance. Main power line harness runs along the the OEM main harness across the cowl along with the accessory line as we want this box to have power at all times. The relays are only actively on if the switch is left on but the customer want to be able to turn on the onboard air or any of the lights without having to have the key in the ignition.

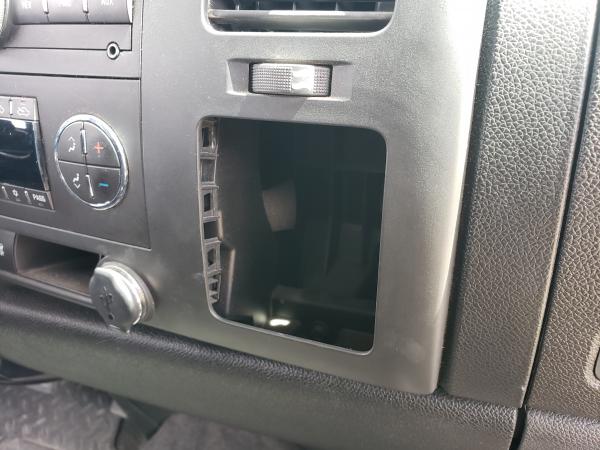
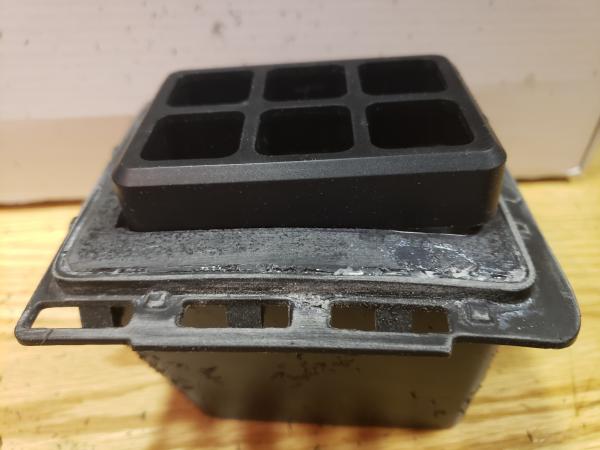
Now that the easy part is done our attention was redirected to the dash work inside. Chevy/GMC in our opinion over the last decade or so has added a small pocket to the right of the radio on the dash that only seems to be useful for supporting a bad habit. otherwise the pocket is virtually useless to say the least. Rather than leave the pocket only useful for collecting dust from the trails here in the Silver State and having something that looked rather cut & paste to the dash. We chose to integrate the use of the pockets location and the switch panel with the only sacrifice being the pocket. This keeps the dash still looking OEM, no unnecessary holes drilled into the dash and continuing on with our clean install.
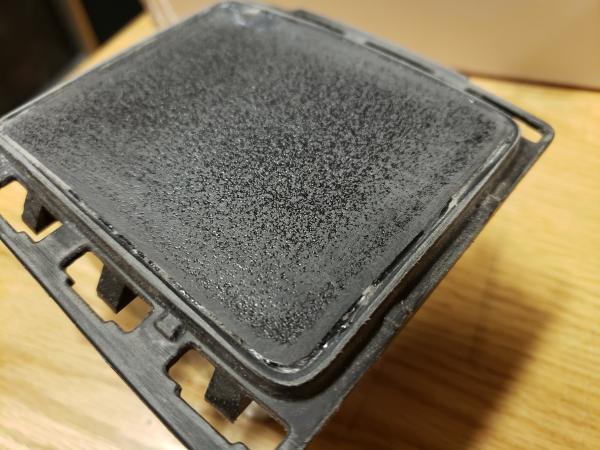
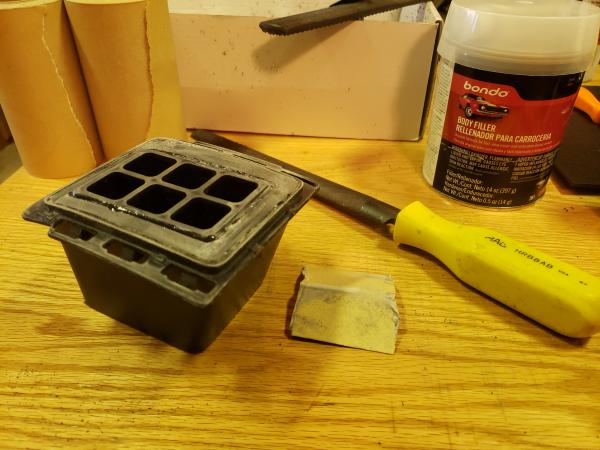
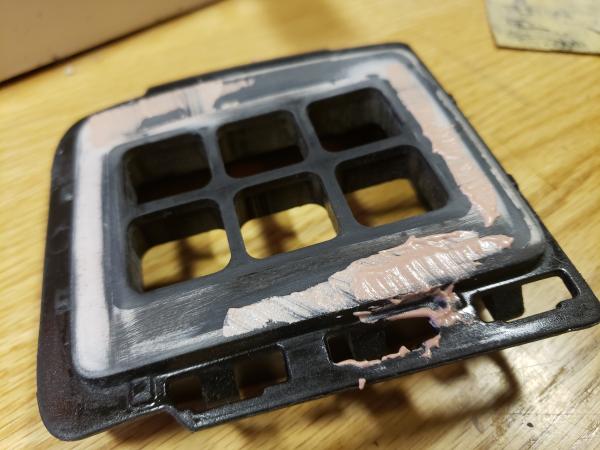
This part of the installation carries a little more effort than most shops would take on but with the backgrounds our crew has, the creativity and design aspects were there for motivation. So what we started off with was a pocket, a 0.125" [1/8"] thick ABS plastic plate, and a hole in a GMC dashboard.

We cut our rough shape and used some heat to bend to the slight curve the pocket mimics from the dash plate face. Then we continued to file and shape the ABS plate to fit inside the pocket where it was secured in place and the epoxy was let to dry overnight. After it was dry we were able to do some mild filling of the edges and sand them down.

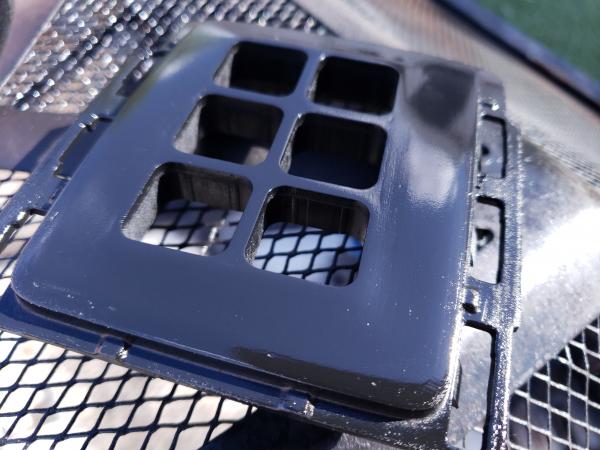
Next a rough hole was trimmed out and again, filing was necessary to keep the fit and finish of the now disassembled switch panel. Several test fits were needed as we didn't want to lose the tight tolerance of the switch panel plate.

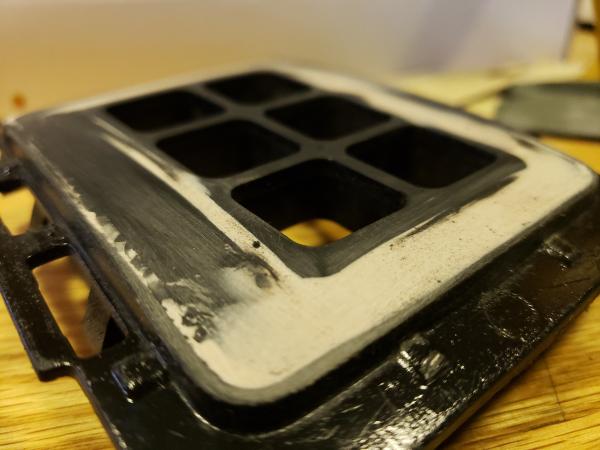
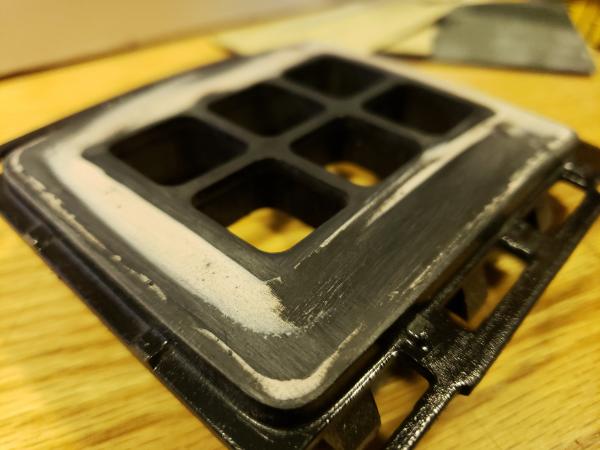
The next few pictures just show the several layers of filling and sanding. As of the writing of this we are currently waiting for a shipment of special primer and paint meant for plastics so we can match the dash color and texture of the new switch plate pocket combo perfectly further enhancing how well it should blend into the dash than stand out from it. Once that material comes in next week, final assembly of the switch panel and installation of it will wrap up this part of the customers build and rewire of his AUX features.


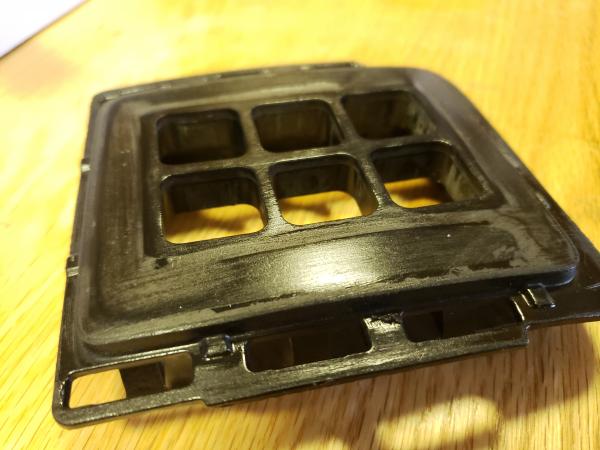

With these two pics, you can still see some micro flaws... yes, those had to be filled and sanded out equally as well because OCD is how we roll in this shop..

Of course we will be adding to this story and the pictures afterwards as a finished product but as of now enjoy the write up and as always.., leave your comments below.
.
____________________
North Industries
Las Vegas, Nevada 89118
Web http://www.12degnorth.com

|


