| PM | Quote | Reply | Full Topic |
Certified Ranger Nutjob

Joined: Sat Oct 21st, 2017
Posts: 174
Status:
Offline
Reputation: 

Reputation Points: $user_rep
THIS IS ONLY FOR THE FOLLOWING AXLES:
2002 RANGER FX4
2003 - 2007 RANGER FX4 LEVEL II
2007+ RANGERS WITH AXLE CODE XR8
EXPLORERS WITH REAR DRUM BRAKES
NEITHER I NOR FORD-RANGERS.COM IS RESPONSIBLE FOR ANY INJURIES / DEATHS / LOSS OF MONEY / GENERAL MISFORTUNE THAT MAY OCCUR WHILST YOU ATTEMPT THIS ON YOUR OWN. RESULTS MAY VARY.
The disc brake we will be using is the Explorer one. The years range from 1995 to 2001, Any 2 or 4 door Explorer minus the Sport Trac.
Needed parts are:
~Explorer Disc Backing Plates~Rotors~Pads~Calipers~Caliper mounting kit~Parking brake kit~Brake lines~Parking brake cables~Differential Fluid
With all that ugliness out of the way now, lets continue.
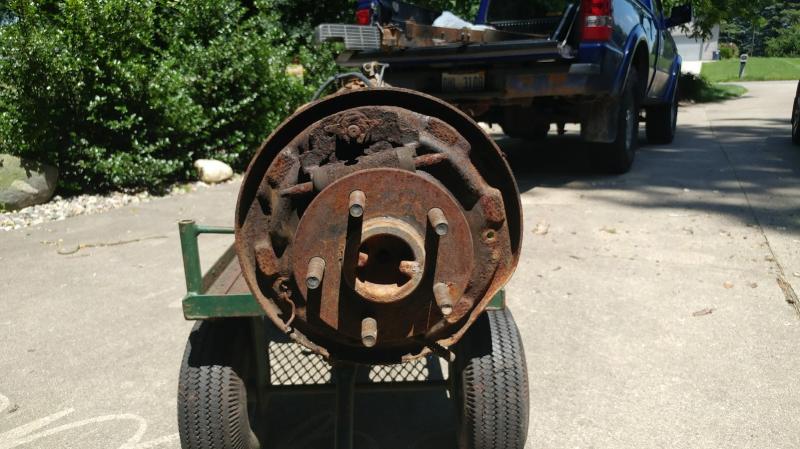
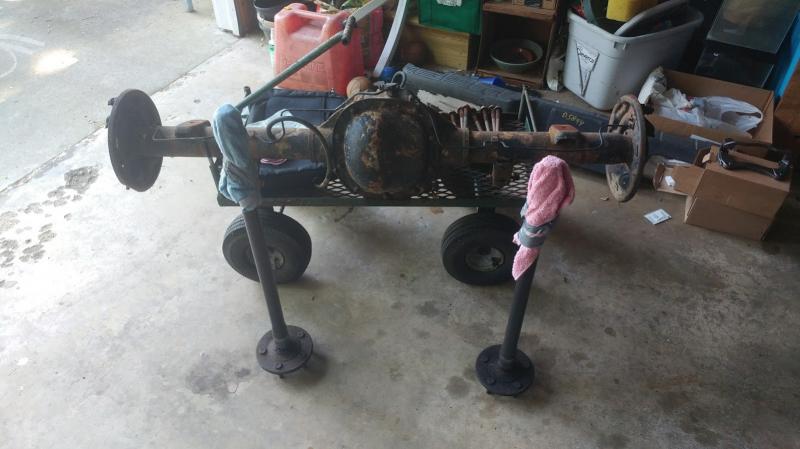
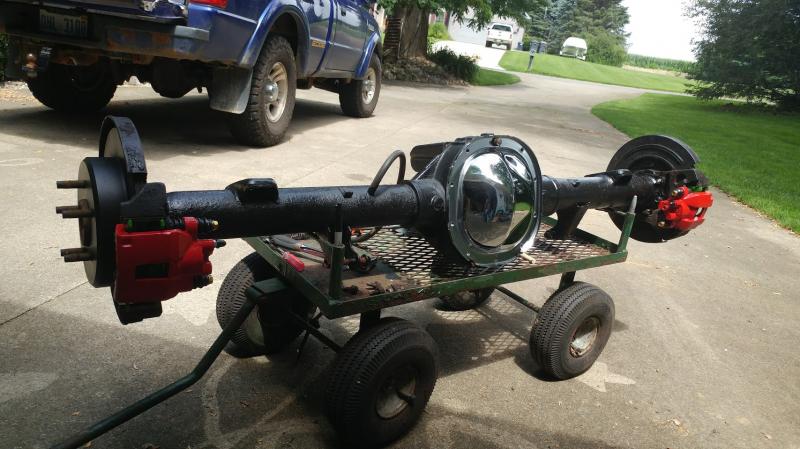
Step one: remove everything off of the ends of the axle that you can (Wheels, drum and hardware, parking brake cable, etc.). You really only need to remove the wheel and drum, but this eliminates adding in extra steps of removing all the extra parts later.
Note: If your axle is in your truck and not on a bench like mine, remember to put the rear end on jack stands and put blocks on the front wheels to minimize the possibility of being crushed.
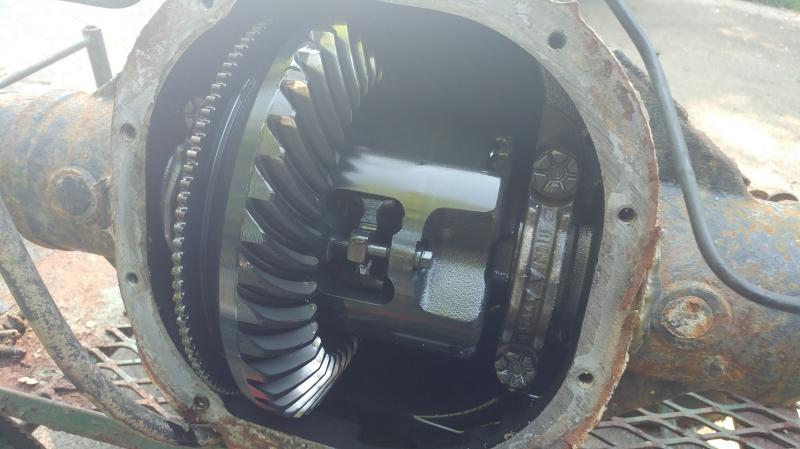
Step Two: Now that the external parts of the axle shafts are free, it is time to free them from the inside. For this step, remove the 1/2" bolts holding the differential cover on. I left the top bolt halfway in and had a drain pan underneath to catch the oil. I then gently pried the bottom of the cover off so that the oil would drain and the top bolt kept the cover from falling.
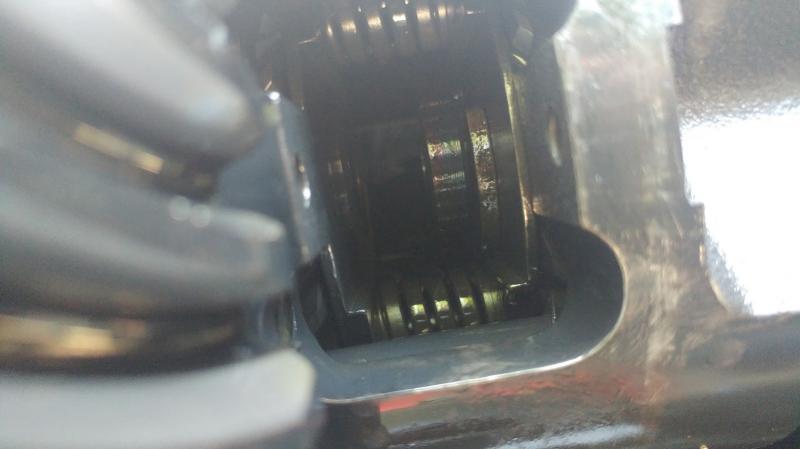
Step Three: Once the diff fluid is drained, you want to remove the center pin. This is held in by a 8mm bolt. Once the bolt is removed, the pin slides straight out. It may not matter, but remember what side of the pin goes on the left or right, it is best to install things exactly how they were.
Step Four: With the pin removed, the axle shafts can be pushed in. This is where having the brake hardware removed is helpful, while most of the time is not needed. With the shafts pushed in, You can see the C clip that holds them in place. This pin, if you do it correctly, pulls off directly towards you and frees the shaft allowing it to come off. My hand was too large to get the clip off with my fingers, so I used two bent screwdrivers to help walk the clip off.
Pro tip: To keep the shafts pushed in far enough for the clip to slide off, use a ratchet strap or some rope to keep the shaft from sliding back out. The axle seal that rests against the axle shaft pushes it out and makes this job much harder without any outside help (whether it be a tool or a person)
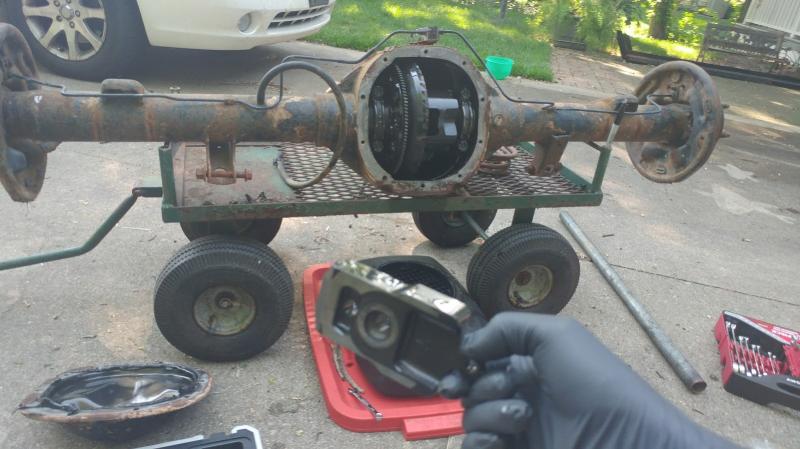
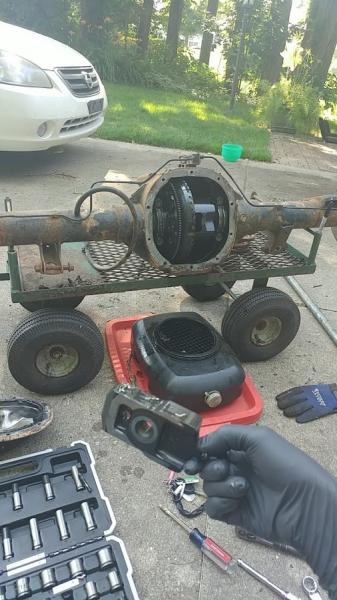
Step Five: Once the shafts can be removed, remove them. If the shafts will be sitting outside for a while, put a rag on them to prevent them from rust and dirt.
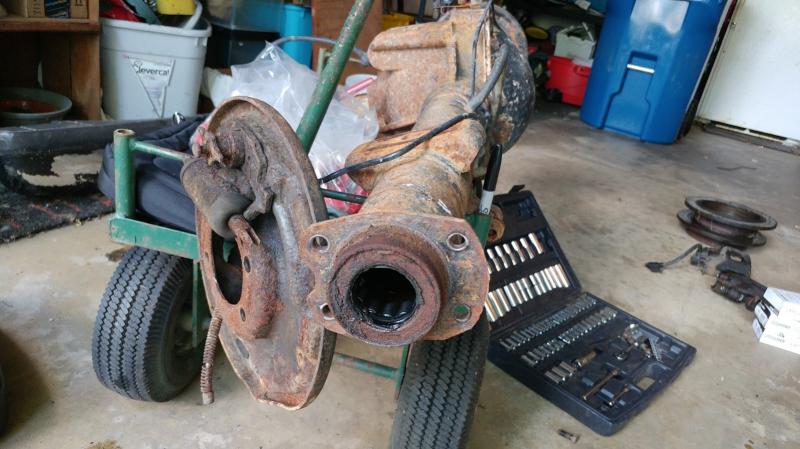
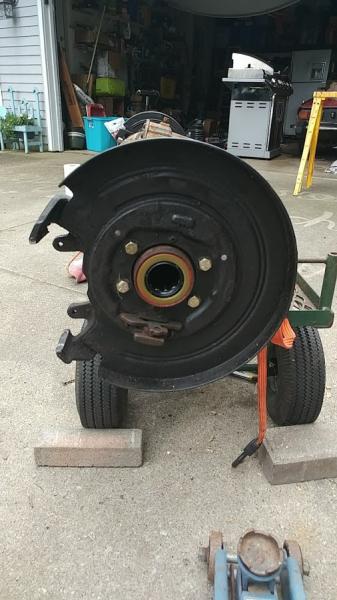
Step Six: With the axle shafts out, you can now remove the drum brake backing plate and install the disc brake one.
Step Seven: Put the axle shafts back in. Do not install the parking brake shoes before this as you will not be able to push the shafts in far enough to put the C clips back on.
Step Eight: Install the center pin the same orientation as it was originally and reinstall the securing bolt.
WARNING: THIS BOLT SHOULD BE REPLACED AS IT COULD HAVE ITS HEAD SNAP OFF WHEN YOU TIGHTEN IT DOWN, AND WHEN YOU REPLACE THIS BOLT, BE SURE TO USE LOCTITIE TO PREVENT IT FROM FLYING OUT AS YOU DRIVE.
Step Nine: Install the diff cover along with the gasket type of your choice. Fill it with oil now before you forget.
Step Ten: Put on the rotors, pads, parking brake shoes, and calipers. This all goes together like any other disc brake setup, so I will not go into detail here.
Step Eleven: At this point, the only thing left is to get the brakes connected to the system. There are many ways to connect the calipers, the easiest option is to use the stock Explorer system which uses more rubber lines than I feel comfortable with as they can wear and remove pedal feel. I went with a custom flexible stainless steel setup, At this step and the next it is best to just let your creativity shine if you want something better than Explorer stock.
Step Twelve: The last thing needing to be hooked up is the parking brake cable. I currently have not passed this hurdle and am creating custom cables, however some claim that Explorer cables will work as long as you adjust the tension slightly.
Step Thirteen: Put your wheels back on and take a nice slow test drive.
Can you stop? Then you are done! If you can't, I recommend a tow truck and a mechanic.
____________________
Past:
Baby Girl: 2006 XL 3.0 ~RIP~ 1/26/2015
Current:
Penguin: 2002 XLT 3.SLOW 4x2
River/Kaitlyn: 2003 EDGE 3.GO! 4x2... For now?
~Aspiring Mini Level 2~
The Duck: 2003 Ford Ranger FX4 Level 2 - TWIN STICKS!