| PM | Quote | Reply | Full Topic |
Seasoned...

Joined: Sat Oct 21st, 2017
Location: Near The Pointy End , USA
Posts: 1299
Status:
Offline
Reputation: 
Reputation Points: $user_rep

And although I'm not going to do a complete play by play of the entire process, I am still going to lay out the plans as they unfold and show you what I am up to.. as annoying as that may be to some lol
So as you can see by the pic above, anyone that may be familiar with Blue Sea Fuse boxes and their other products, this really is the best fuse box setups ever and I primarily use them in almost every install or project when applicable here at 12° North Industries. huge time saver and they look great when done up properly with some attention to detail.
You should also know that this build has a need for 19 circuits and I'll list those up later on. With two of the 12 circuit fuse boxes [Blue Sea pt #5026] there is 24 circuits available, 5 are still left open for future use, 1 is a single circuit for the on-board ARB air compressor but should I decide to pull the trigger and upgrade to the twin-compressor. I have allocated two circuits side by side to feed power to that one vehicle option as each circuit is good for 30 amps [total 100a serviceable for each fuse box].., The twin compressor pulls a massive 50 amps under load where the single HD unit only pulls 24.4a under load. Having the double fused circuit will field the necessity of more power without burdening the fuses or the panel itself.
NOTE: as a rule of thumb I would suggest that you wire your Air compressors and Winches off your main battery. They should be ran off of a regular [main] cranking style battery and NOT a deep cycle battery that you may be using for a second/house battery. You WILL give that deep cycle battery a very short life using a high current device like that. They are meant for slow current draws not fast depletion to drain.


Where this is going to be installed is a slight bit tight fit but it is some real estate I am willing to forfeit for function.
On the drivers side bed rail is where it will be secured. I will be building a bracket that will hold it in place as well as a stud in the bed rail. I'll point those features out. I do need it to sit off the edge about 1.25" to allow for the wiring and for the bracket that the enclosure will mount to securely it well.

Panning back the camera you can now see that the cavity encroaches on the window area. Now there is almost 1.75" space between the glass and the rear of the enclosure and thats about where the bracket will hold it away and leave me the forward room for the waterproof connectors I am using to keep unwanted moisture from inside along with aluminum brackets, matte finish carbon fiber prepreg double twill plates, and all stainless hardware just because it "can be" in what would be considered an outdoor environment by being exposed to different elements rather than say, in a conventional house setting.
This is the stud, minus the extra nut and the temporary attempt at a smaller box tie down; the main reason why I am doing this to this extent is because it really needed to be addressed and done right finally as I am trying to get a lot of small fires put out to showcase some work and more of what we do, or I do if you will. Hopefully this gives some people some better ideas too for their own.

This mini rat nest annoys me considering out of all the detail I've shown in my build.. and this exists to power up a single 12volt power point outlet, the rear liftgate LED light kit from 12° North Industries and the two factory light boxes with LED upgrades in them from Flip-Pac in exchange for the inefficient halogen 921 bulbs that were there. Just as an addendum; the rear light still contains a 7w white [4800K] LED light for use of finding stuff in the bed of the truck. The forward light has a 5w red LED bulb as when the Flip-pac is in use, its reachable from the bed and saves the night vision a bit better when used.


Marking off all of my 0.875 holes to be drilled in the bottom. I need 5 but I have room for a 6th one should I need it for anything later. This is where the 4ga Streetwires power & ground cable will go. The other 3 (4?) will have similar waterproof connectors that hold nine 18ga wires in a 4ga O.D. sized insulation and with the use of 3 (4?) Molex plugs and the Anderson plug for the main power connection. If I should ever have to take the top off, I can without major time or effort into the disconnect. Four main connections will be all that is needed to remove and the top comes off fully all self contained.


Next is the inner workings of the electrical panel. Now this is where I skipped some pics and I do apologize but its pretty simple to see how I made the aluminum bracket so I could minimize some space taken up by the 16-18 relays that will go into this cavity without taking up a lot of space. As you can see in these two photos the first relay is in place.

With simple harness I was thinking I may be able to work with the tight tolerances of the shorter leads but i think as this project starts to really unfold. I think you are going to see a bit more custom wiring done rather than the standard relay harnesses. For purposes of serviceability, there will be connectors soldered onto the wires and used to make the pin out connections vs soldering directly to the relays. if I am out on the trails or just in general needed to swap a relay out, desoldering one isn't going to make me too happy.
---------
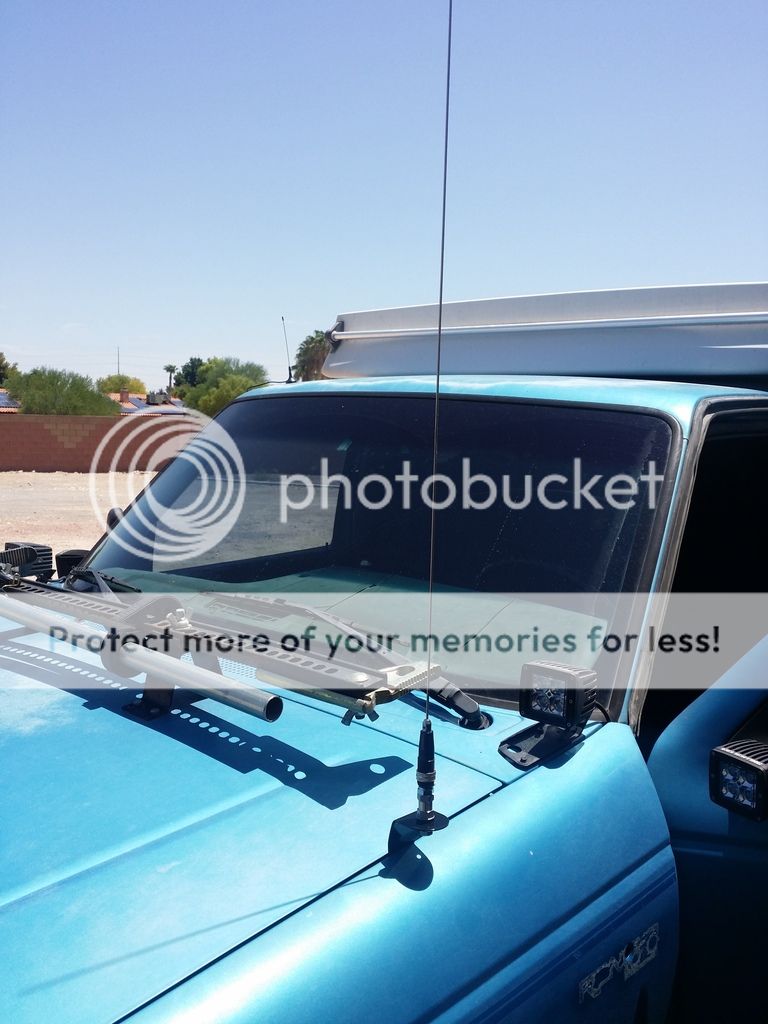
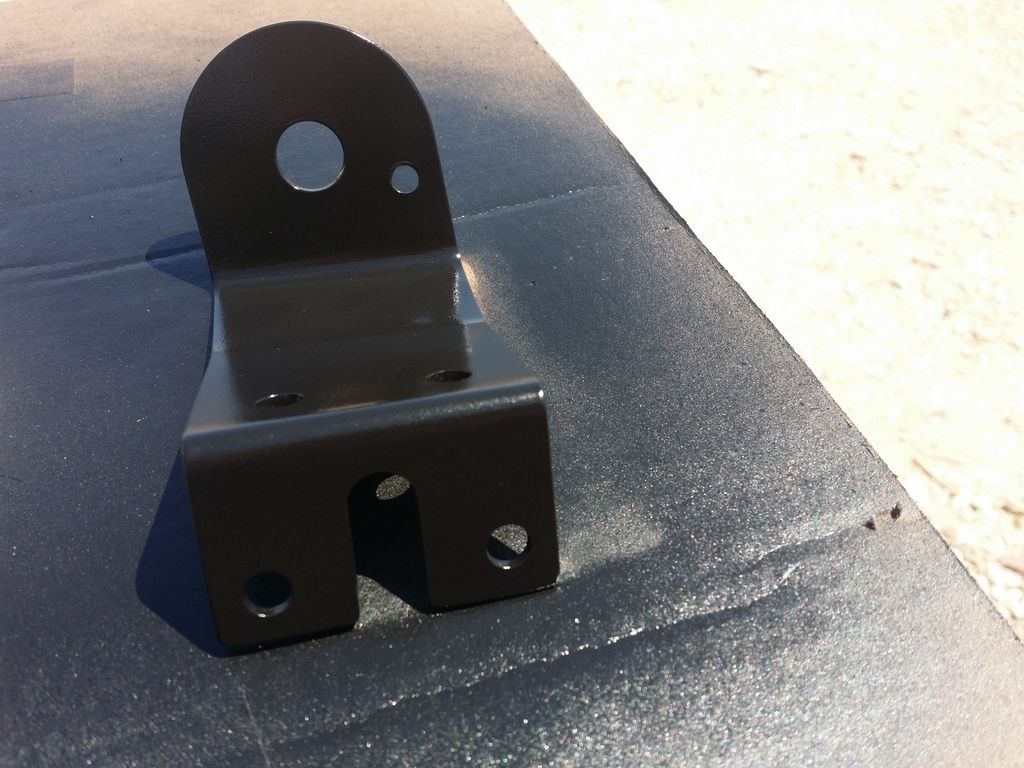
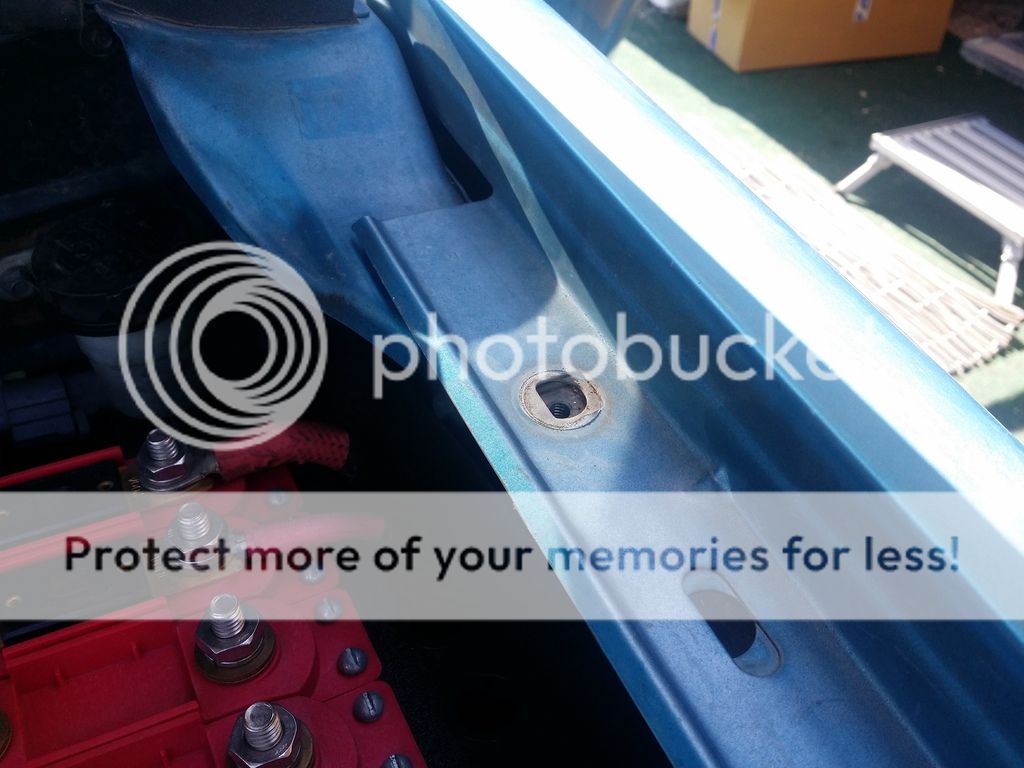
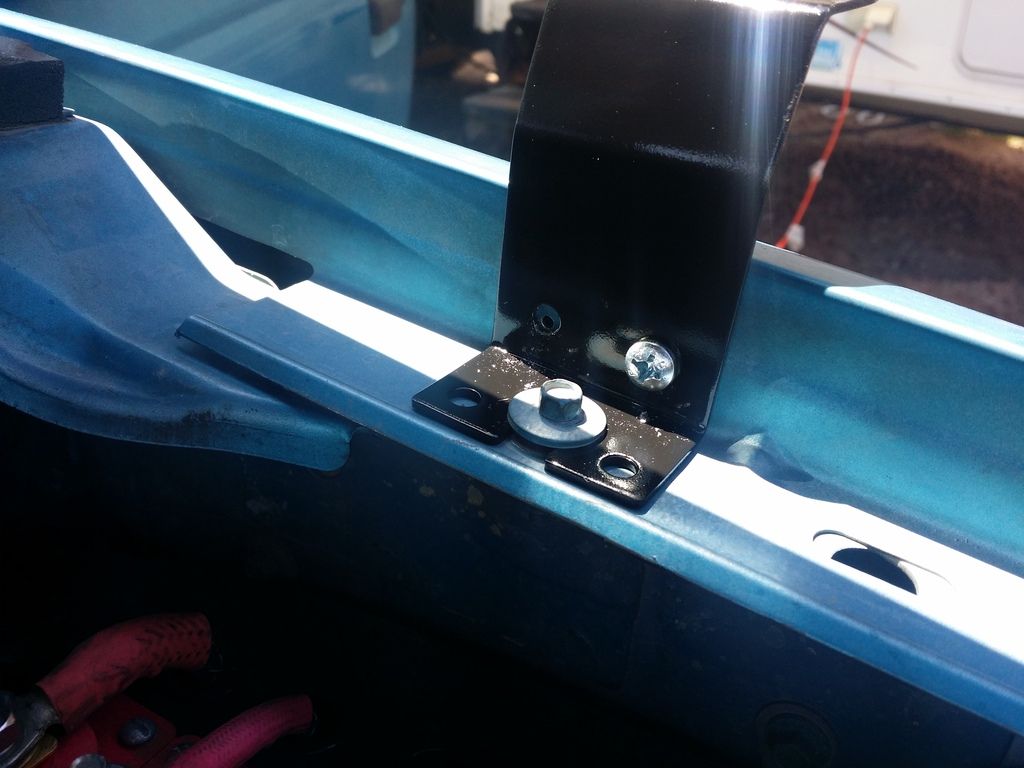
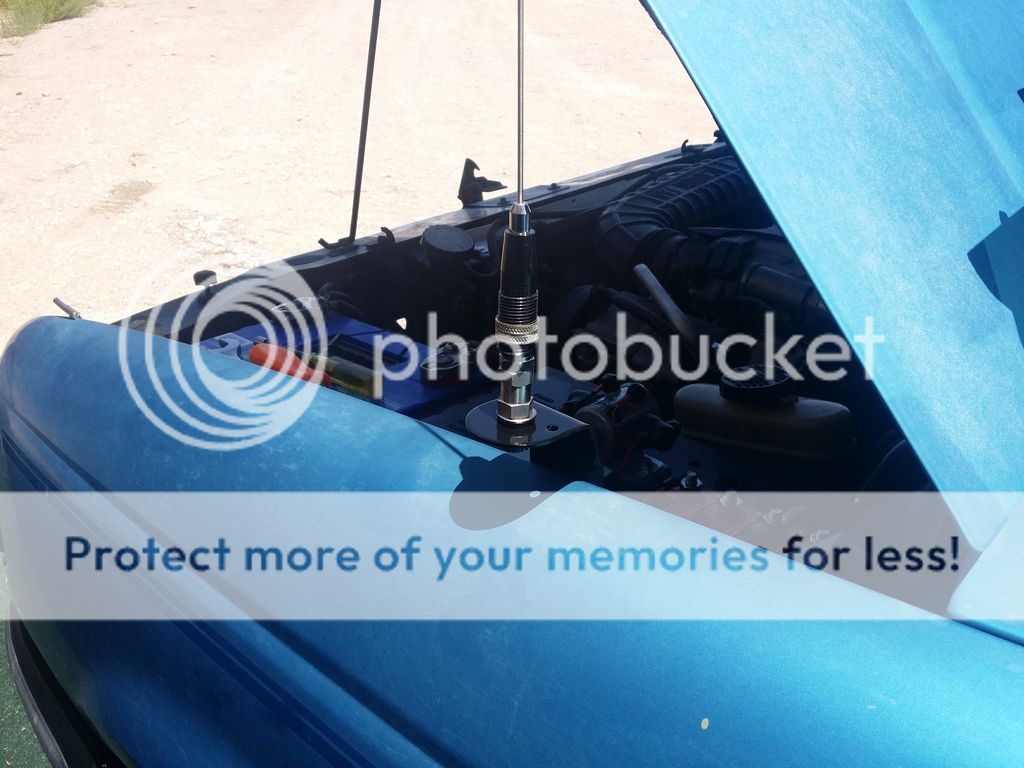
On another note, I visited Kelly the CB repairman local here to N. Las Vegas area and picked up a few parts and so I've added the citizens band radio antenna today as well this morning. I think it took me a fair amount of time to sand down the chrome bracket and shoot it satin black before mounting it as I am not a big fan of anything chrome really.
Not going to go into a lot of detail because this was just a bracket mounting but to show the work I am going to post the pics at least so you can see what was mostly involved and kinda how I did it and why.
And then finally...
_________________
____________________
"Be never first, never last and never noticed." - Unknown
"The slave is held most securely when he is held by the chains of his own will and of his own fears, and when he is locked down by his own slavish desires for a comfortable life." - Michael Bunker
"Mundus vult decipi, ergo decipiatur" - ~ attributed to Petronius (Gaius Petronius Arbiter (ca. 27–66 AD))
Roman courtier during the reign of Nero.
"Those who expect to reap the blessings of freedom, must, like men, undergo the fatigue of supporting it." - Thomas Paine
~ Undrstm8ed Truckumentry Write Up Pg.
~ Undrstm8ed Trailermentry Write Up Pg.
.