| PM | Quote | Reply | Full Topic |
Electronicals / Forscan Expert

Joined: Fri Nov 24th, 2017
Posts: 125
Status:
Offline
Reputation: 

Reputation Points: $user_rep
Been wanting to do this forever but it can be expensive. I had to work overtime over the Thanksgiving holiday and that gave me an awesome paycheck. Combine that with 25% from theretrofitsource.com on Black Friday I had to pull the trigger.
Ok so here is what I got:
Mini D2S Projector X Lens (Square)Square Gatling Gun ShroudsXB35 BallastsXB 5500K D2S Bulbs9007 HarnessSquare XSB Switchback Halos (wasn't dying for them but they were on clearance).Set of EBAY clear lens headlights (98-00 factory headlights have a diffuser lens).

Process:
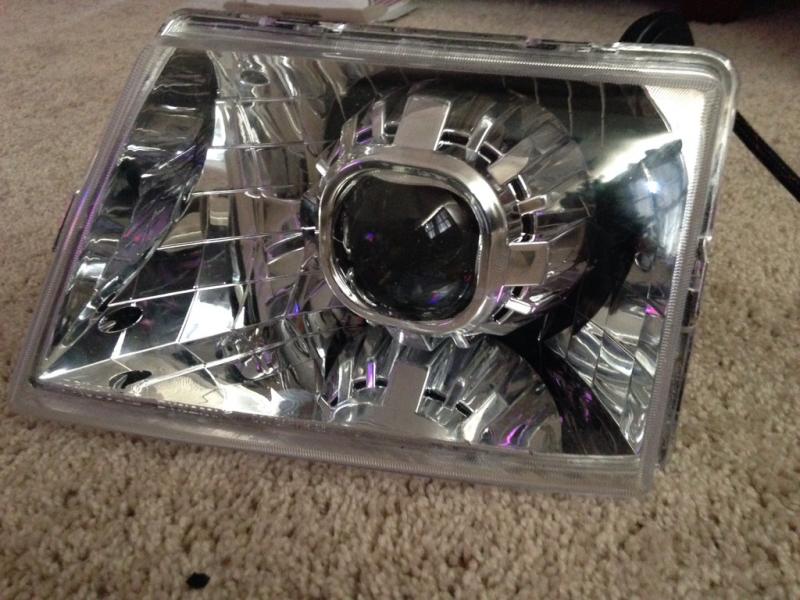
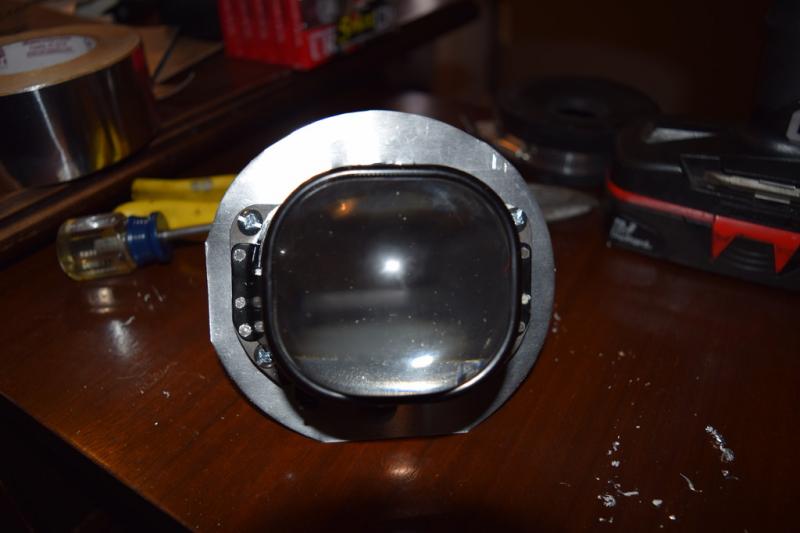
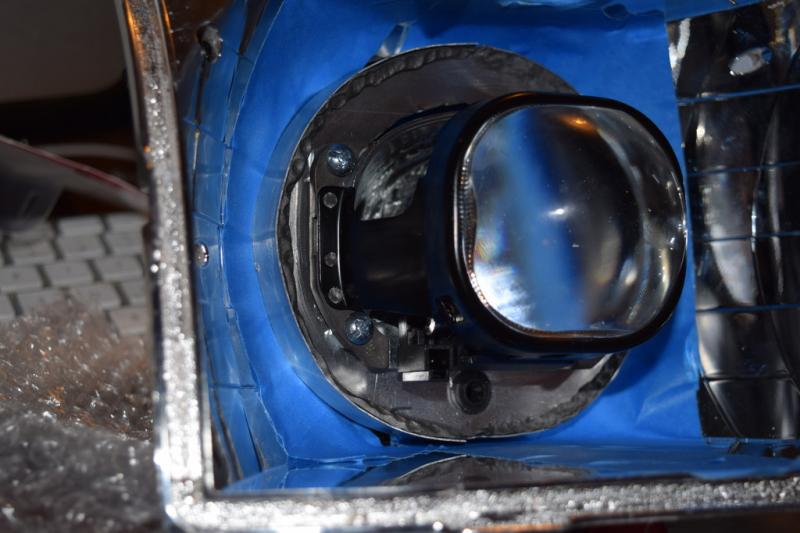
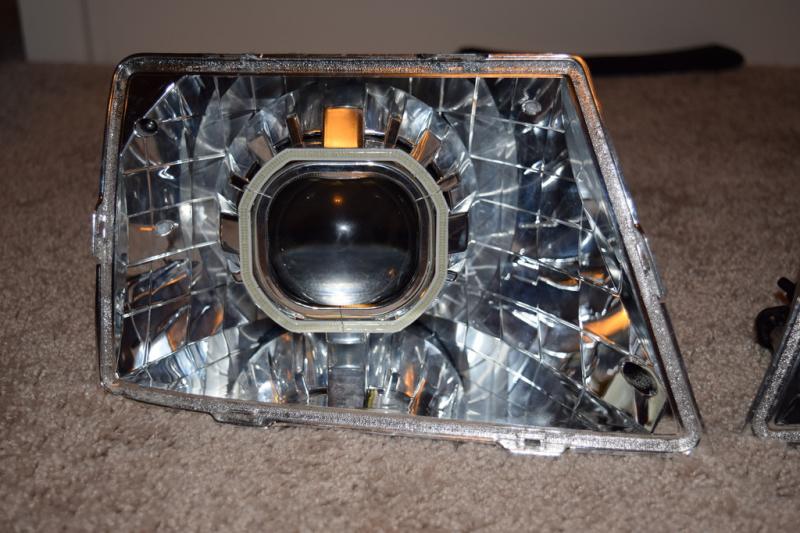
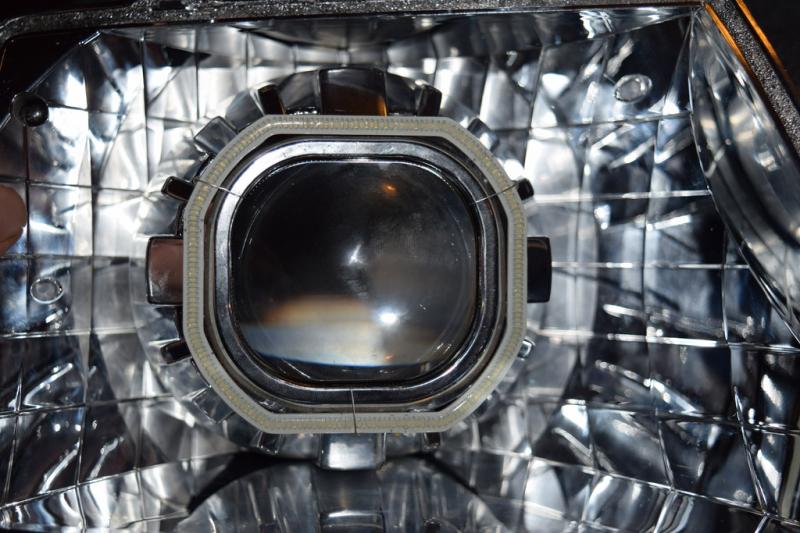
Here is the new headlight:
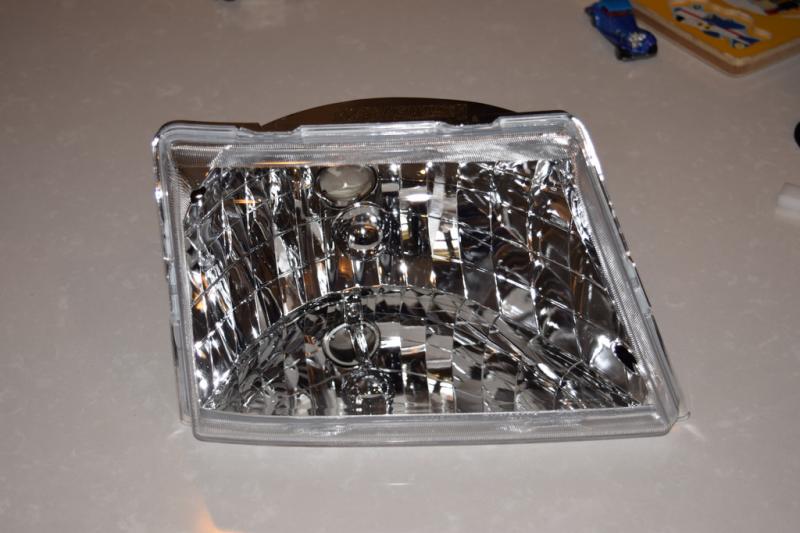
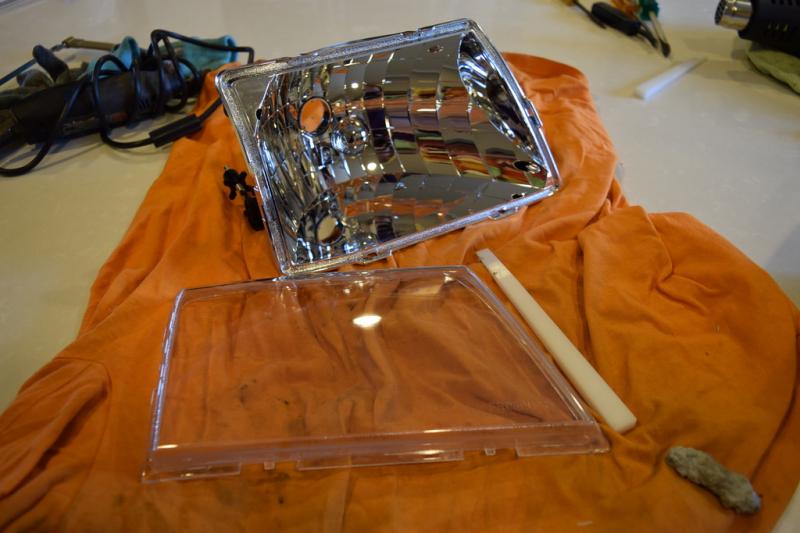
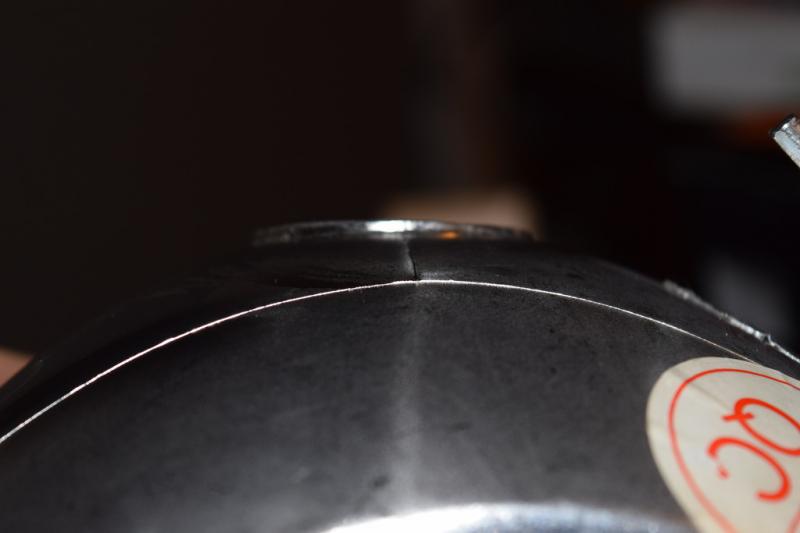
Bake at about 275 for 7 mins and pry lens off and remove old butyl.
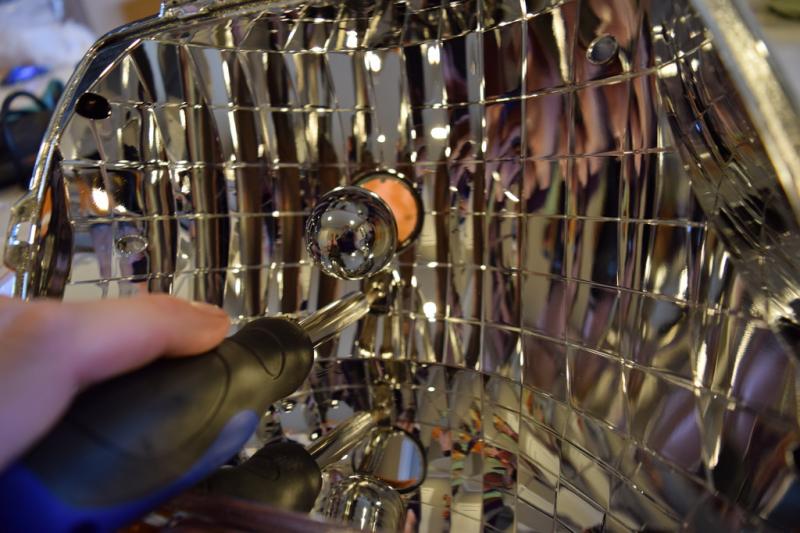
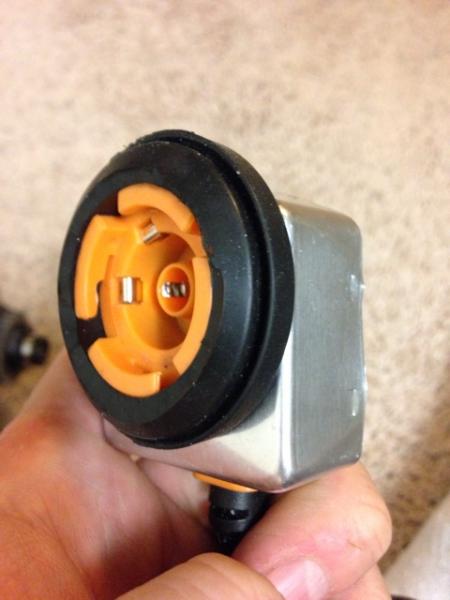
Remove the old halogen "cap"
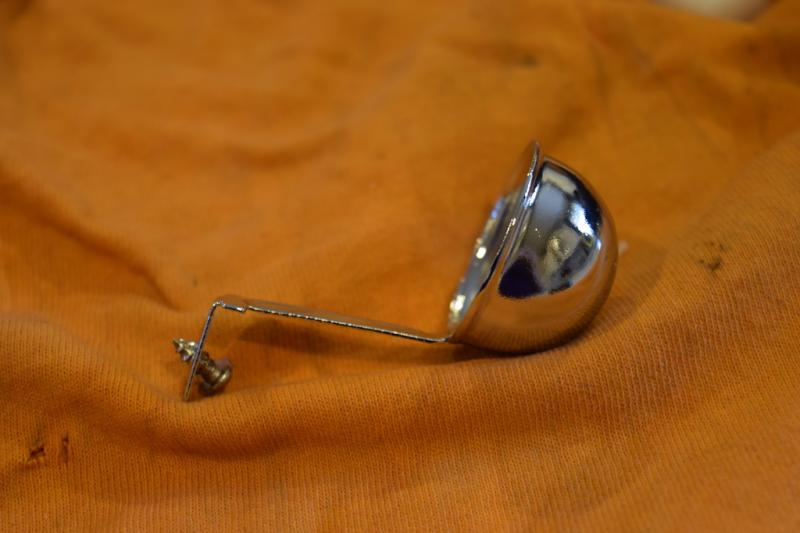
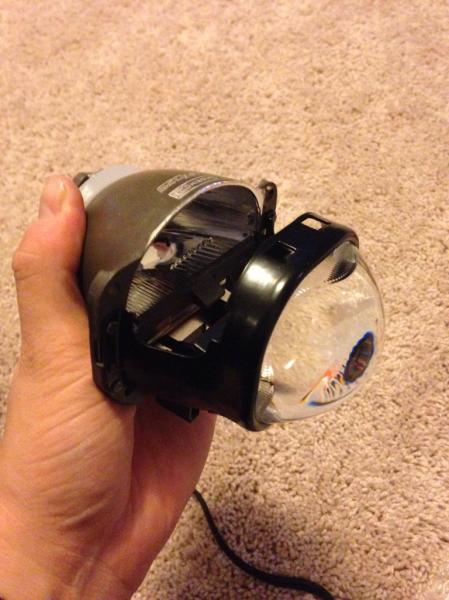
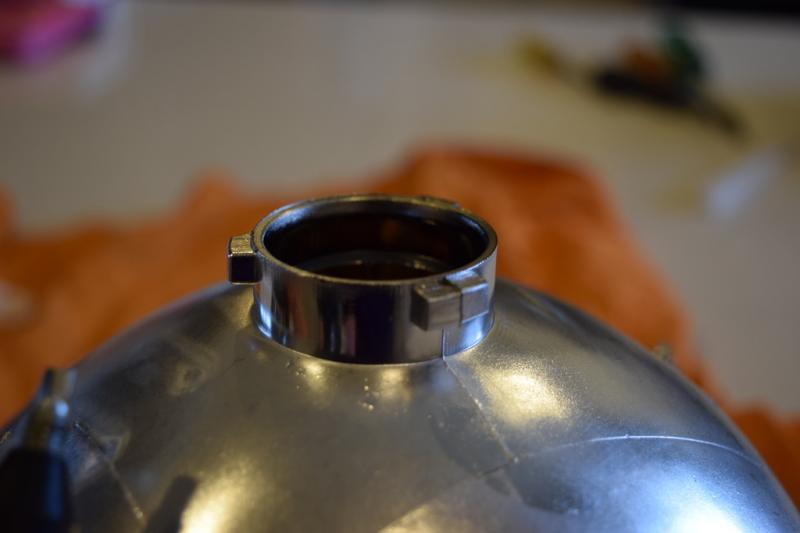
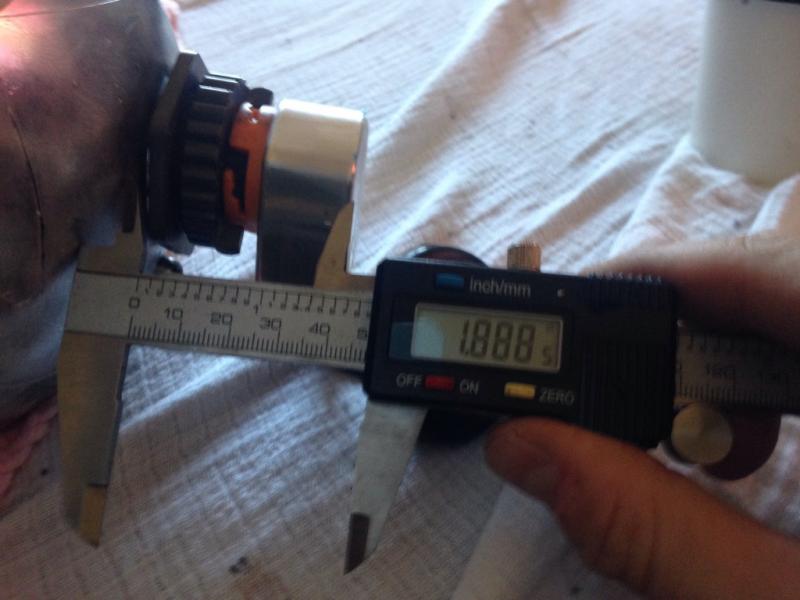
The the threaded shaft of the Mini D2S projector is larger than the 9007 bulb hole and is also too long to get the lock ring on. Need to take material out of the inside and cut the shaft down.
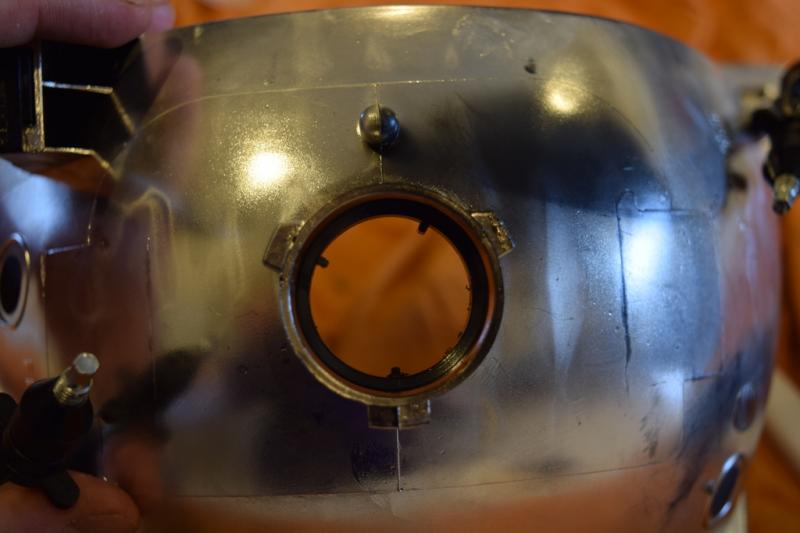
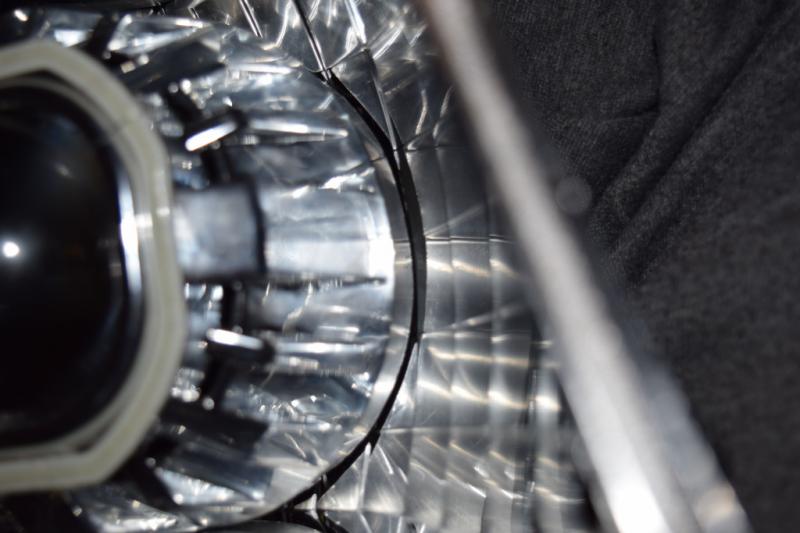
The 98-00 buckets are really deep and wide so the shroud doesn't need trimming. But due to me keeping the chrome finish on the reflector I don't want to see this black ring in the reflection of the back of the shroud/projector.
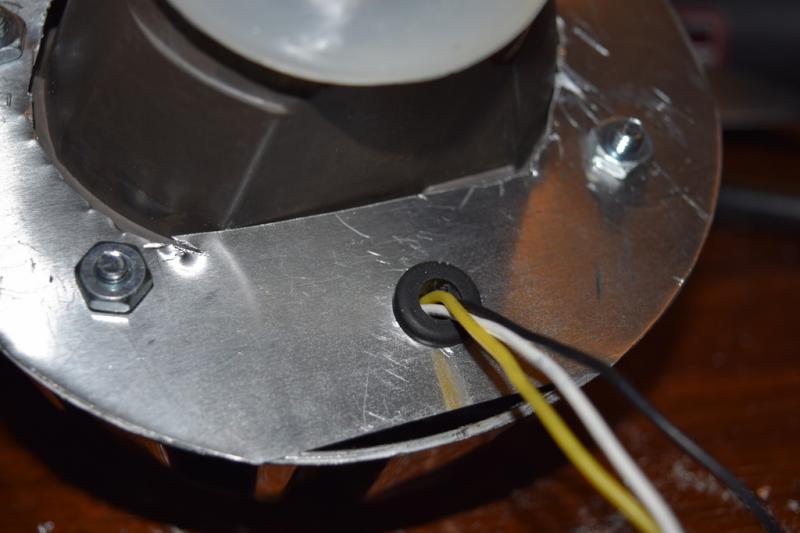
So what I did is make an aluminum plate that is bolted to the projector. Cut it so there is small gap between it and the shroud and then steelstik aluminum strips around take up the gap. Pretty much it's a shroud extension. Added foil tape to get all of the light sealed and added a grommet for the wires.
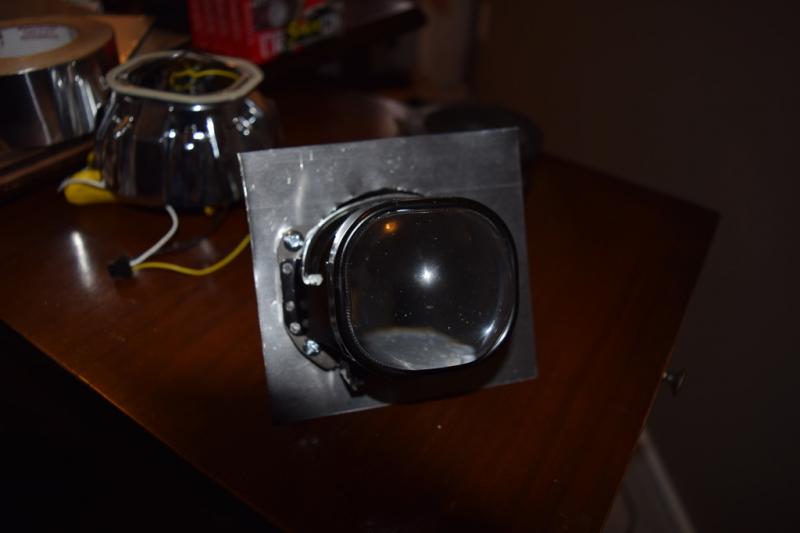
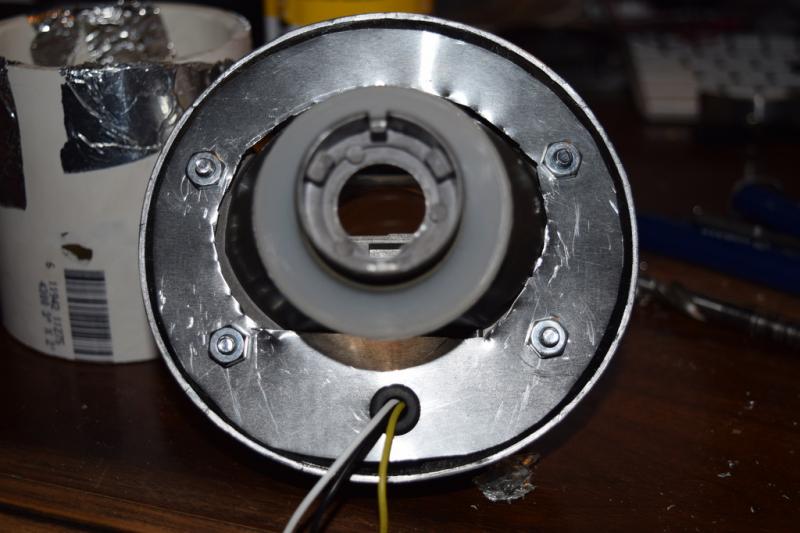
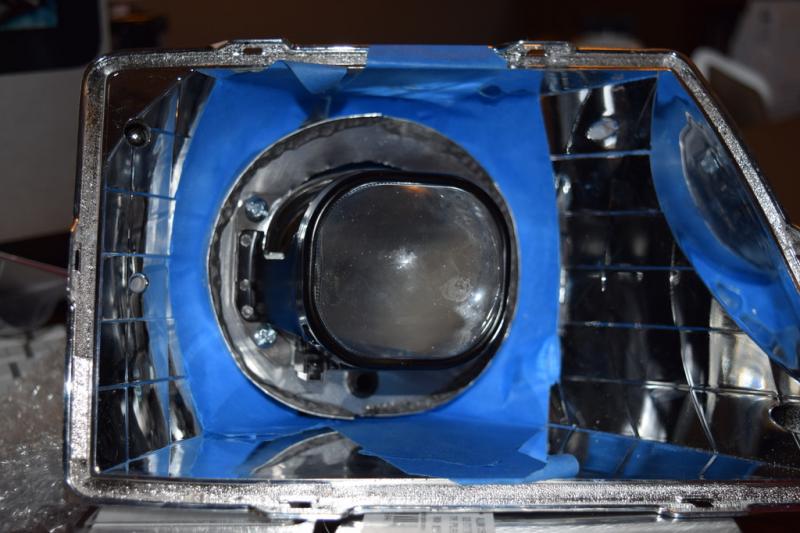
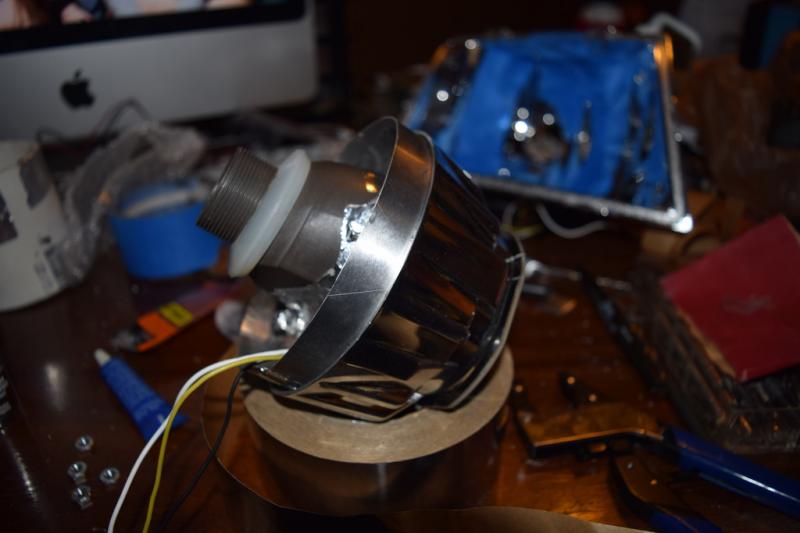
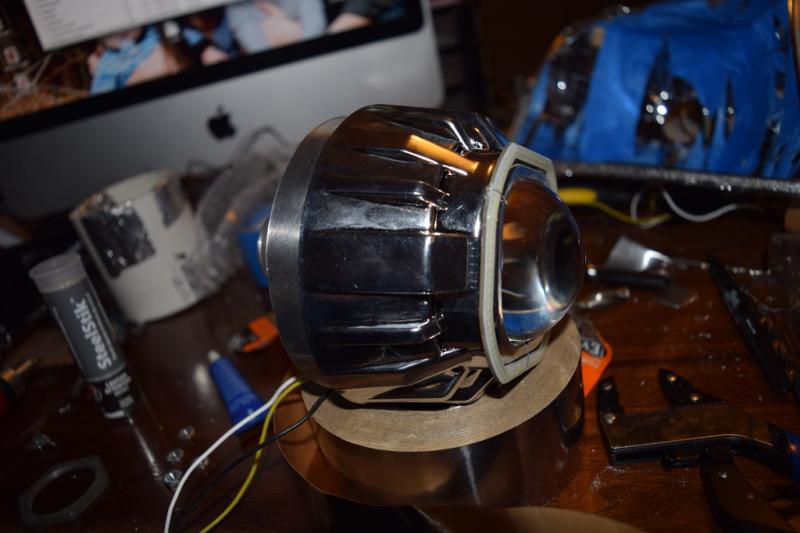
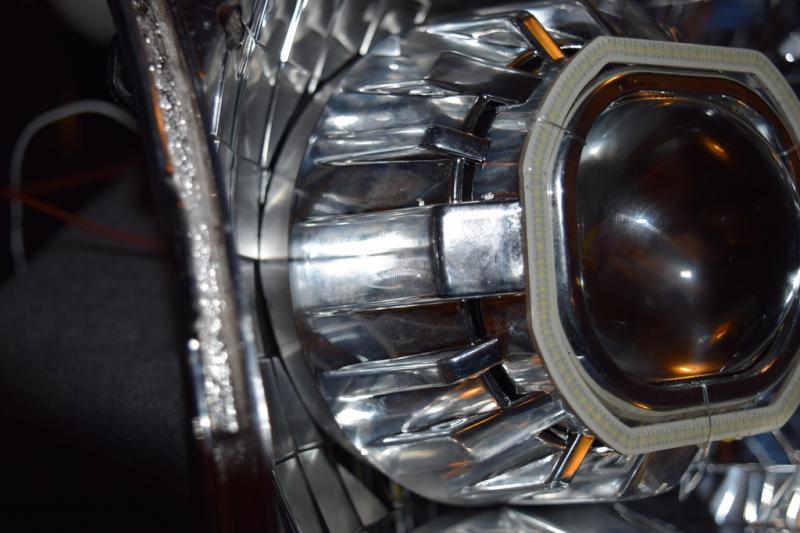
Added the switchback halo to the outside of the shroud using 26 gauge wire.
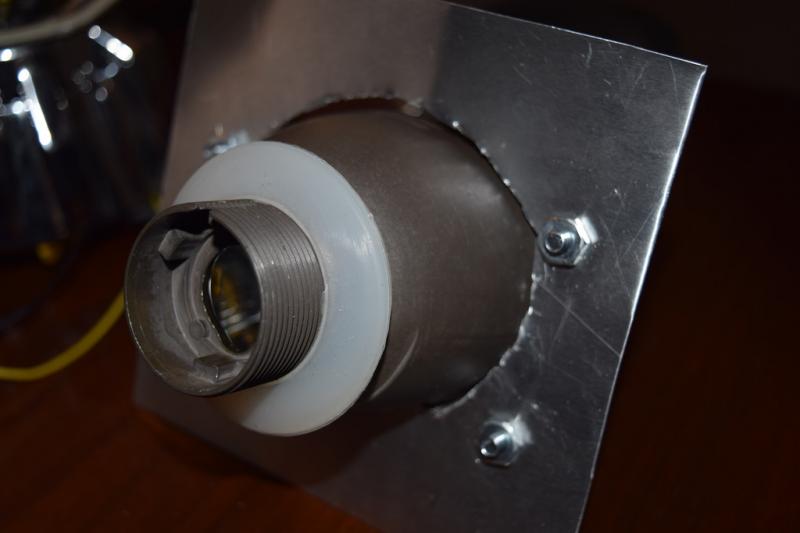
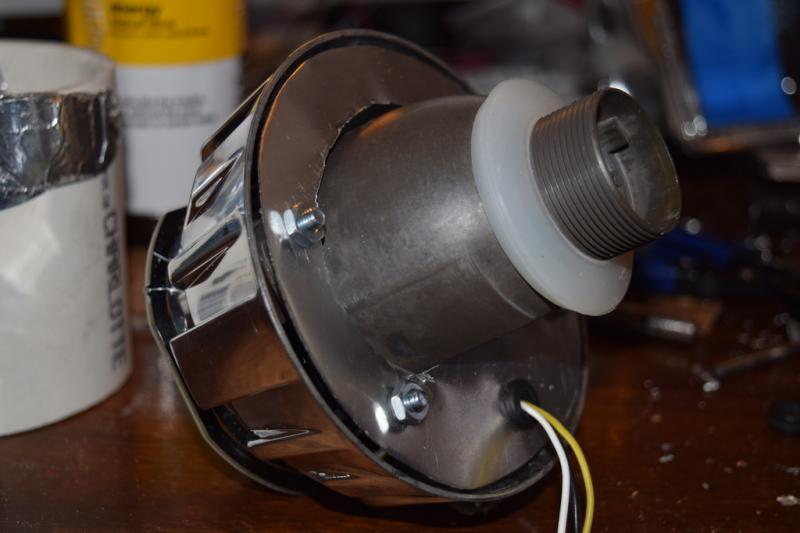
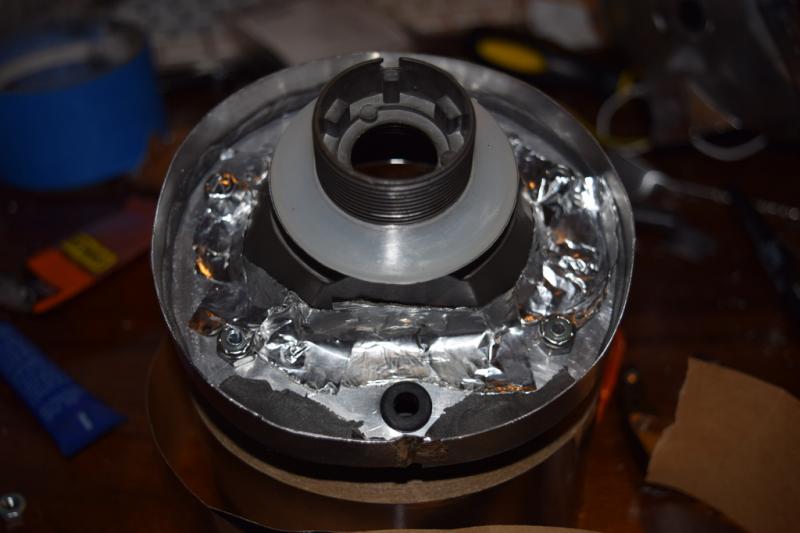
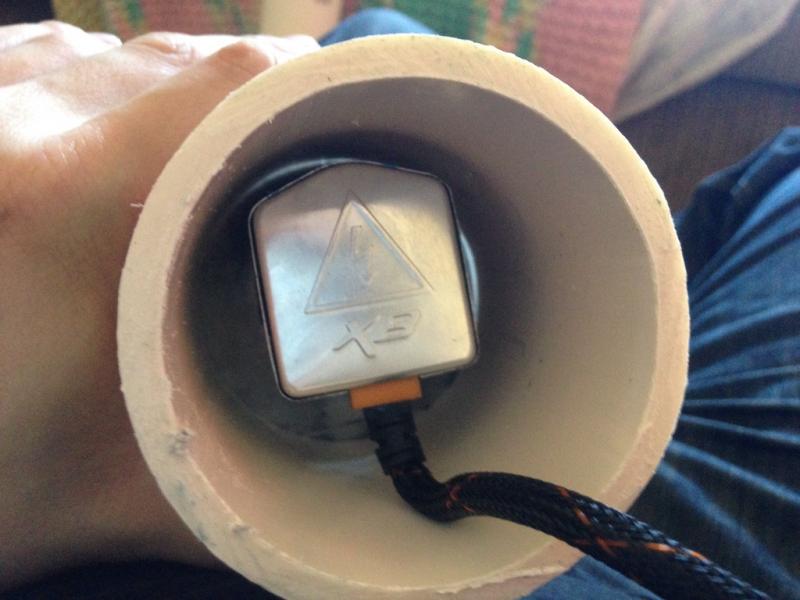
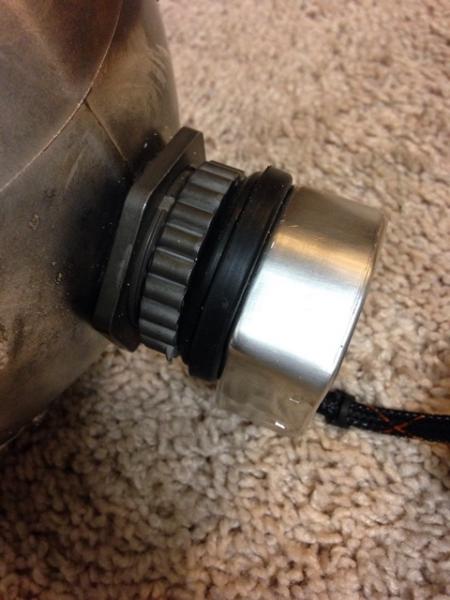
Everything looks like it would seal well except for the D2S igniter to the bulb. I looked at adding a 3" PVC pipe and a rubber cap like JP7 did on his Mazda retro (he had a straight connection). Due to my igniters being at a 90 degree angle I didn't see this as a good way to do it. Plus there is not much clearance for the pipe so the header panel and radiator support would have to be trimmed.
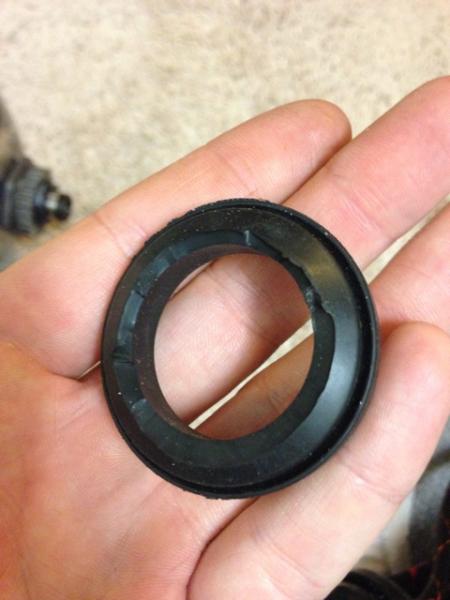
So I found an old grommet and cut the inside and it fit the igniter and had enough thickness to seal between it and the nut.
Here are the halos lit up with the amber turn signal:
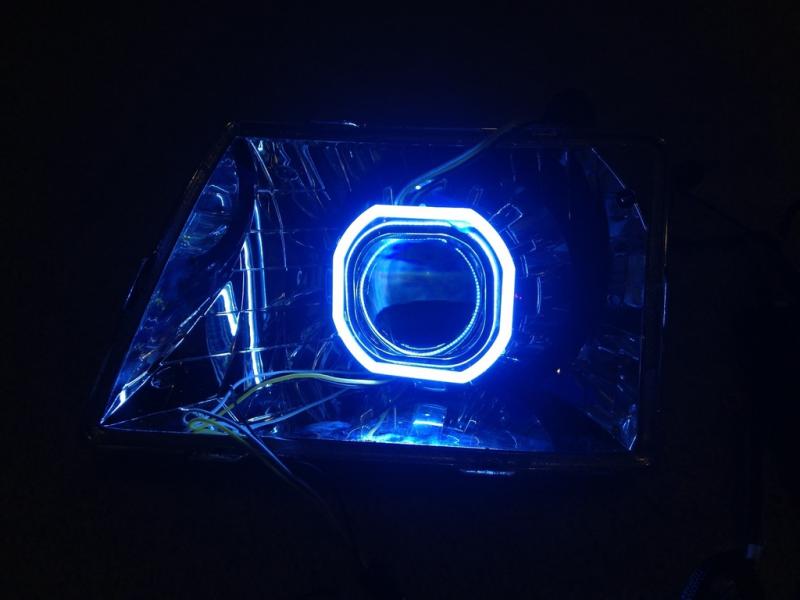
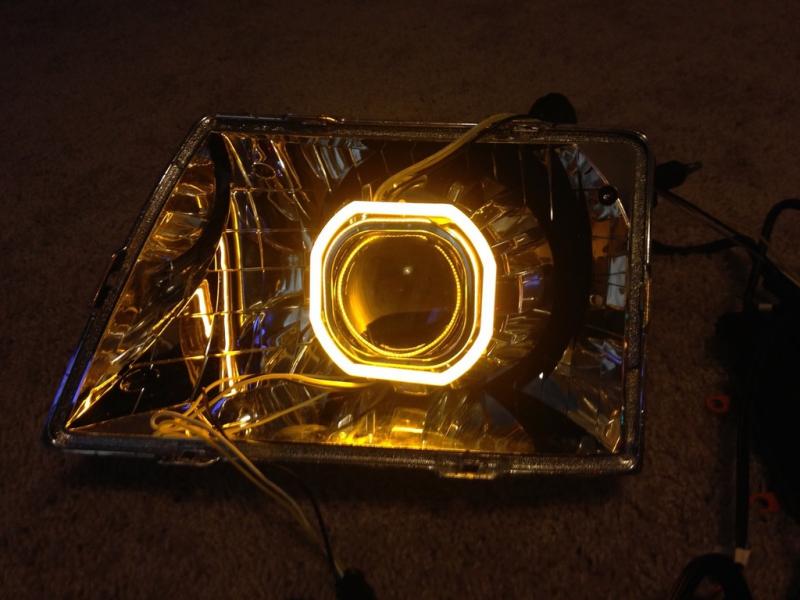
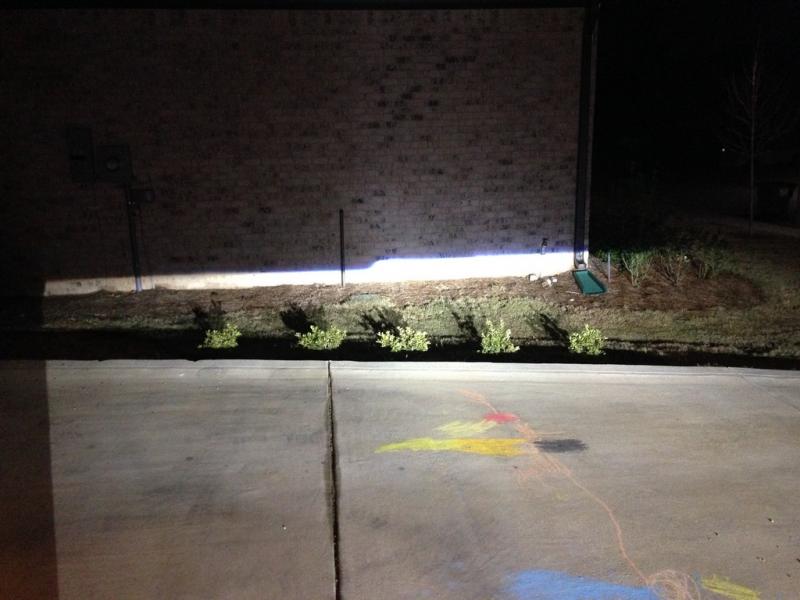
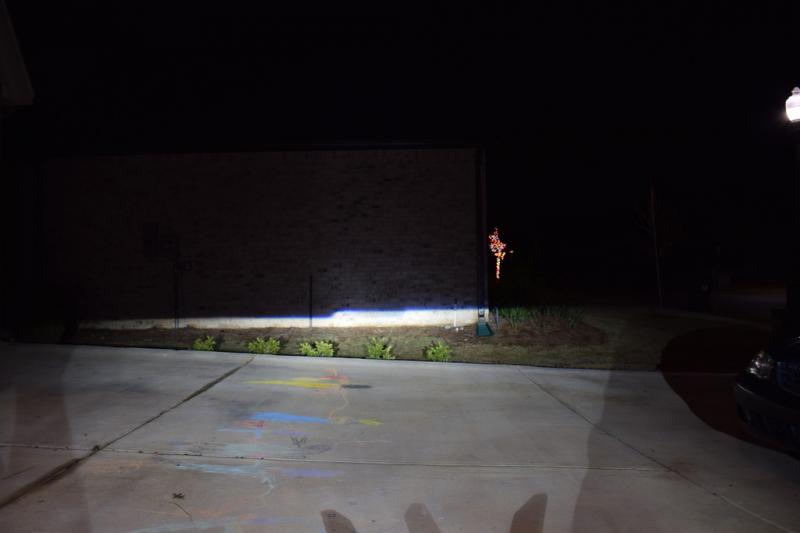
Pictures of it lit up (without halos) and the cutoff on my neighbors house.
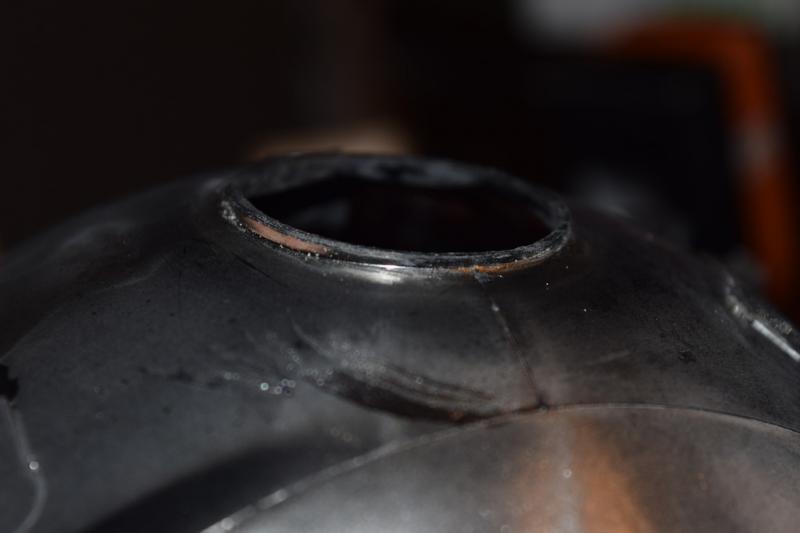
I sealed everything back up with new butyl. I added silicon to the hole in the back where the wires come out and also ran some around the lock ring.
I'm still in the process of aligning up everything right.
If you are familiar with the 3 adjustment/attachment posts you know that the top post is the vertical adjustment, the one on the other side is for horizontal, and the one left is the "stationary one". I say stationary because there is no 4mm hex end to change it while on the truck.
I believe the halogen bulbs in the factory buckets are setup in a more downward slope than an HID projector would be. Because of this I have to tilt the bucket up more to compensate. I ran out of adjustment so I took of the headlight and adjusted the "non adjustable" post.
This messed up my horizontal alignment and also causes my housing to stick out past the other lights like 1/2".
If I thought of this before I sealed it I would have shimmed the projector alignment in the bucket by doing something like adding layers of foil tape between the projector silcone ring and bucket at the bottom to push the projector up.
Still working this out. Once I get this figured out and my halos wired up I will post pictures.
I've been driving with them the past two days and keep making vertical adjustments until I can find a perfectly flat area with a flat wall to do a true adjustment.
If you do this don't take your maiden voyage on wet payment. You will think you just wasted your money. Something about wet asphalt just sucks up light.
Took it out today on dry roads and the results are amazing. Looks better than the Mercedes LED headlights at work. Definitely need to get the horizontal adjustment fixed. When I come up on a hill the steps are separated but as the truck levels off and cutoff is casted farther down, the steps merge into one. They need to stay the same distance apart.
____________________
2000 XLT 2.5L A/T 2WD
Mods:
Power Windows/Locks Mirrors using OEM harness and parts
Explorer Sportrac White Face Cluster
Explorer OHC and Auto-dim Mirror
Auto Door Locks
Full HID Projector Retrofit