| PM | Quote | Reply | Full Topic |
SITE SPONSOR

Joined: Thu Nov 23rd, 2017
Posts: 389
Status:
Offline
Reputation: 


Reputation Points: $user_rep
I took the time to break down the simpler aspects of the whats been as long as I've known and taught as the "military splice". The idea behind it is to create a secure splice into an existing circuit without damaging the integrity of the original circuit and that is designed to not work its way lose even when assisted. I personally have used both methods I will show and describe but I prefer the latter one which comprises of using heat shrink. Mostly because when creating harnesses the wires lay down better and are slightly smaller when complete.
The red wire is our original circuit. It can be in a harness or a stand alone situation. The circuit is over emphasized for clarity more than to scale. Generally we don't strip the wire(s) back that far but for the demonstration of the circuit splice, we have.
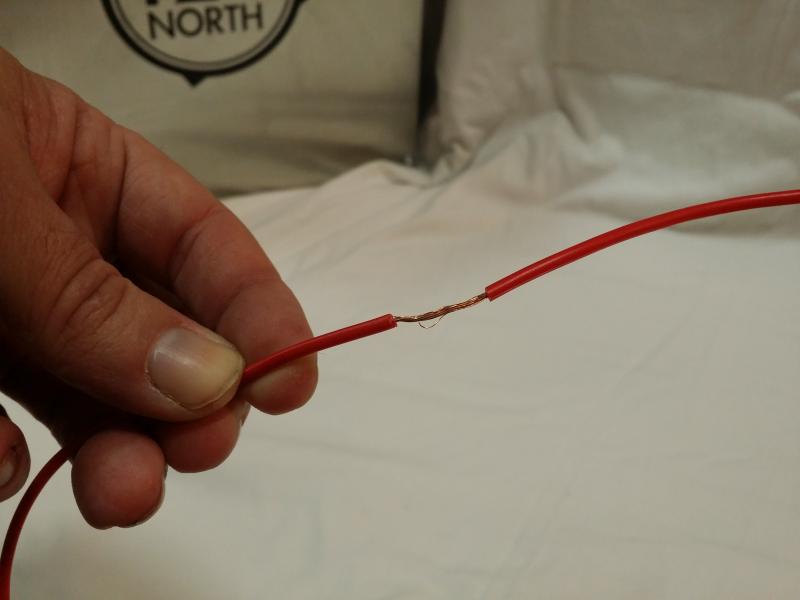
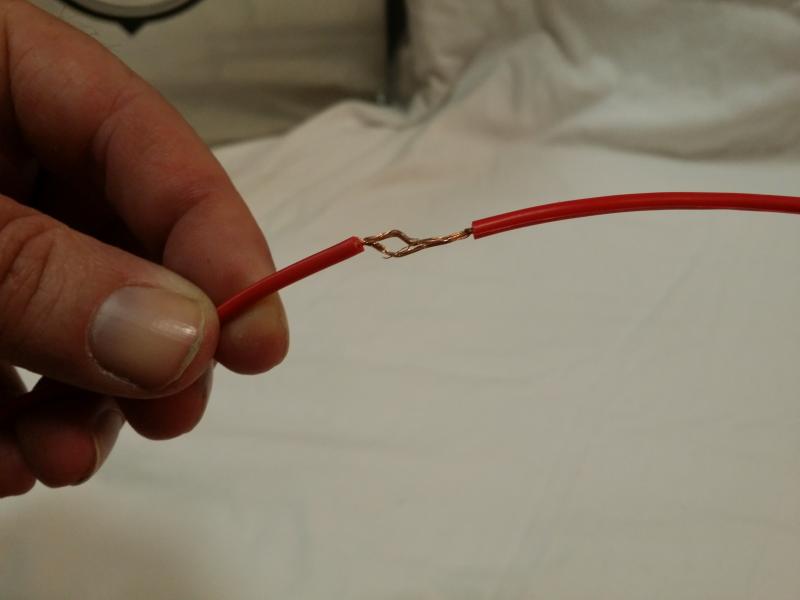
Using the tip of a test light or some times when de-pinning circuits from connectors I will use the de-pinning tools pointed tip to protrude the wires as to make a loop in the center of the wires.
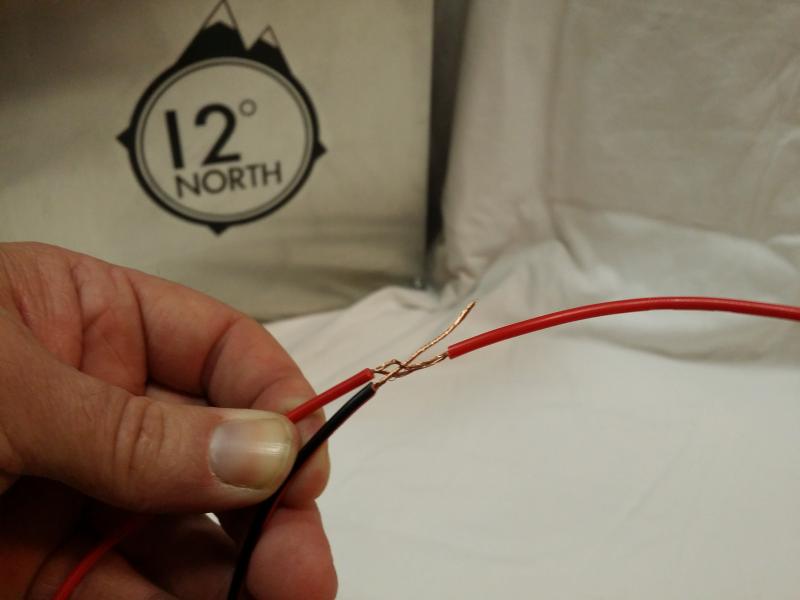
Next you will take the wire of the circuit you are going to introduce into the splice and thread it through the hole as seen below.
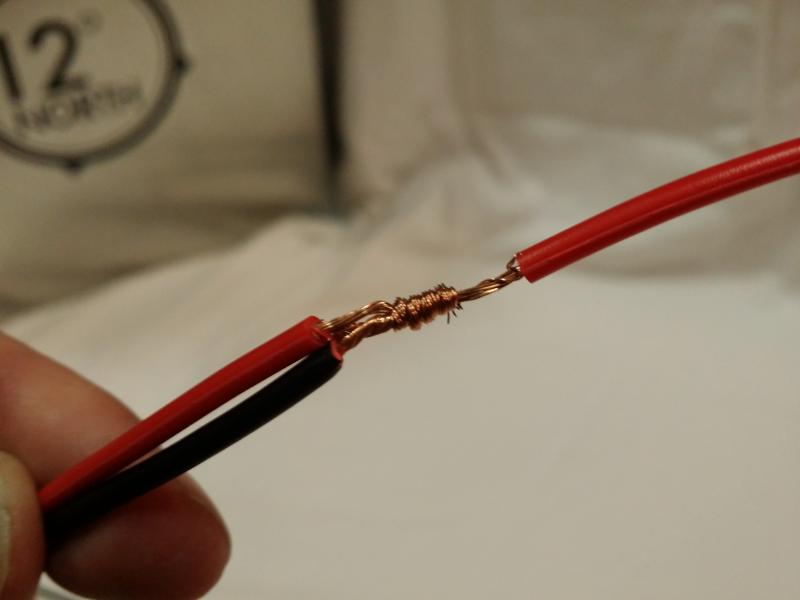
From there you are going to pull the wire up or in this case down and begin to wrap it around the wire. this not only creates a small binding lock mechanism against itself closing the loop but provides strength to the integrity of the tapped in circuit from being pulled out.
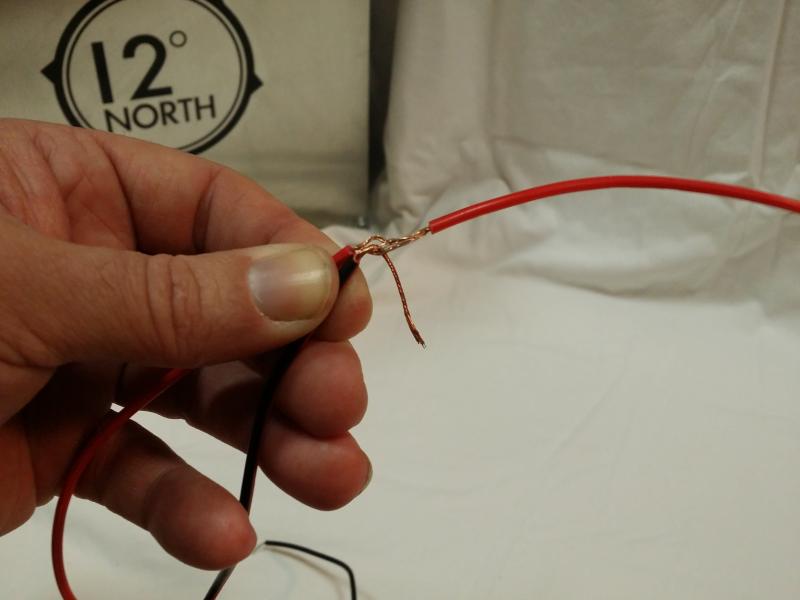
The end result should look like this.
Now to finish this as a military splice you should wrap the tape around in a way that adds to the circuits protection and security of the insulation of the circuit. Tape is meant to insulate wires and NOT USED to hold the circuit together initially. Then the use of a 4" cable tie to securely keep the tape from coming undone long term by wrapping it around the taped areas center, don't forget to trim the excess off the cable tie and discard it.
Depending on the take out, amount of wires in the circuit(s), or design of the harness itself will depend on how you finish the circuit. Ideally this is meant to maintain harness integrity because for a period of time if you had an issue, took your car to the dealer and they found "T-taps" or "Scotch Locks", they would deem the harness integrity compromised and not cover electrical issues under warranty regardless of the offending devices removal or not.
With the military splices we were able to meet the criteria for the dealerships and manufacture warranty reps because as the most times "Proper" T-Taps and Scotch locks used wouldn't necessarily pierce and cut through the wires. However, many shops being cheap or shop managers more concerned with saving $50 in their parts orders would only order red (sm), Blue (Med), sized connectors and maybe just the Blue T-tap male connectors rather than the 3 sizes needed to make proper circuits. making it easier for smaller gauge wires to pull out or or larger wires cut down so only a few of the wires fit into the too small male connector vibrated lose and pulled out.
Personally, I will take my splices as such and make them more permanent when possible by soldering them before taping them and if and whenever possible the use of heat shrink is used.
Hope this explains the process better and helps you on your next project.
____________________
North Industries
Las Vegas, Nevada 89118
Web http://www.12degnorth.com