| PM | Quote | Reply | Full Topic |
Idahome

Joined: Wed May 2nd, 2018
Posts: 2165
Status:
Offline
Reputation: 
Reputation Points: $user_rep
"there is only one way to do a job"
Before we go too much further with this engine bay it was time to swap out the throttle cable, remove the old v6 and replace with v8. v8 cable is much longer

and mount the throttle cable bracket to the throttle body
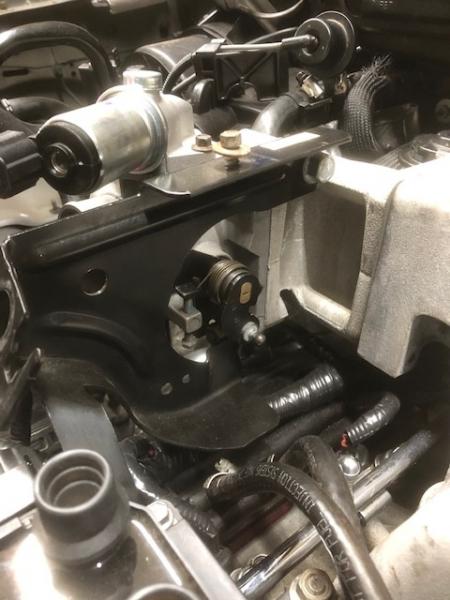
The bottom right bolt on the throttle body is a double sided stud, for mounting this bracket
Next we mount the coil pack tripod
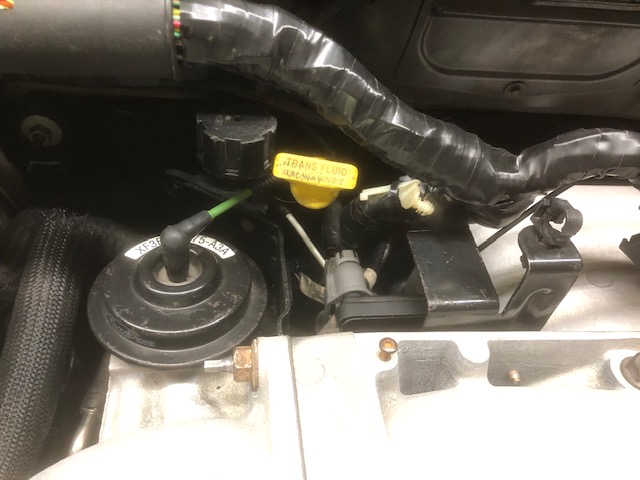
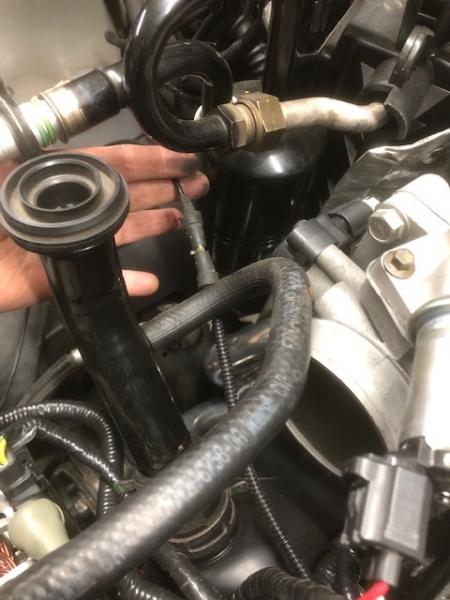
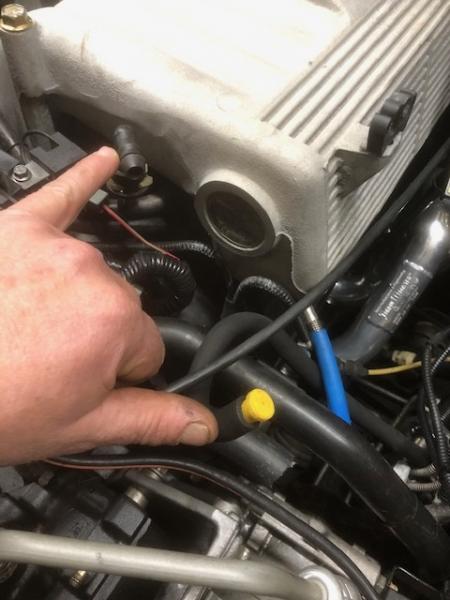
Proper placement of the EGR wiring and vacuum, the main wire harness and trans dipstick
Lets begin the vacuum routing and plumbing
Here is where the two main truck vacuum feeds come from
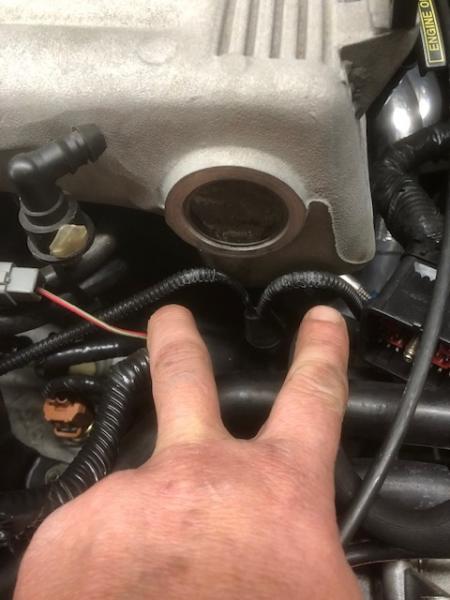
The drivers side connects here
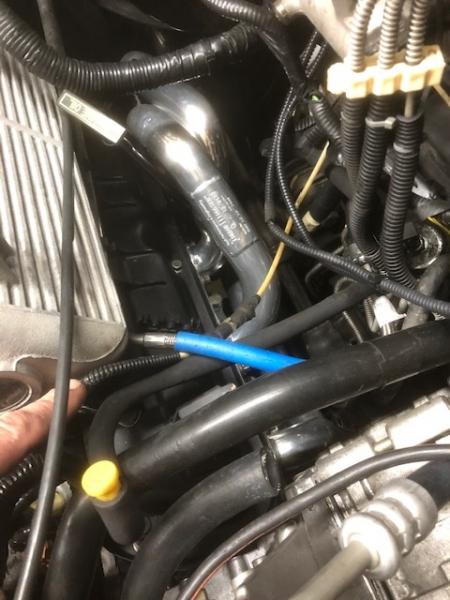
Pass side connects here
The EVAP (fuel vapor management system) hose will get plumbed to here, that happens later I haver to cut a custom hose
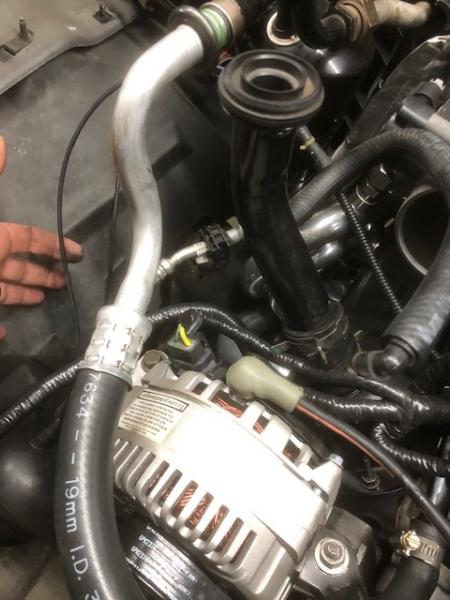
Now time for the starter, there is a bracket that goes on drivers side engine mount double stud, it retains the starter wiring harness and the trans cooler lines
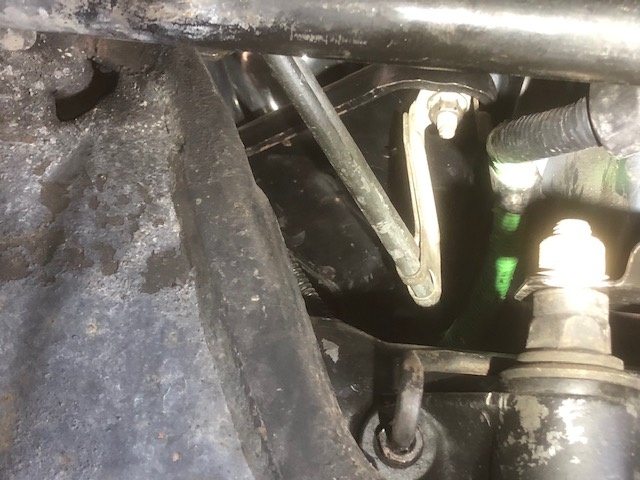
here
Next round of parts
cleanup and paint x member
Had to source a PS reservoir, as this one has been melted!
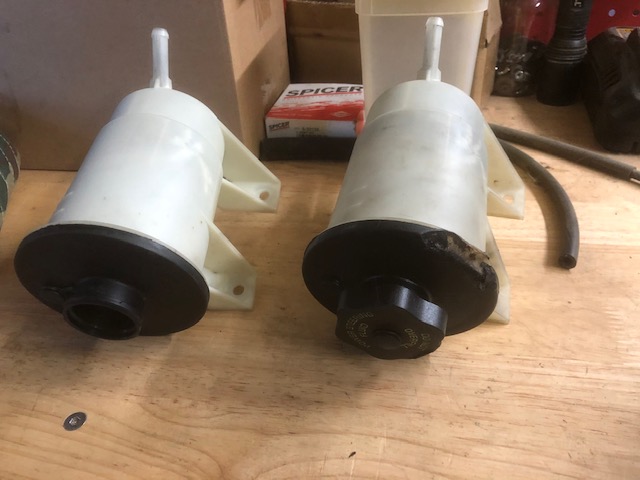
A good soak in purple power = clean!
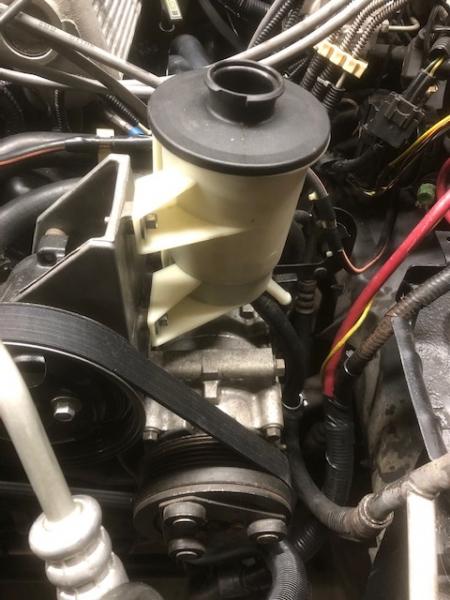
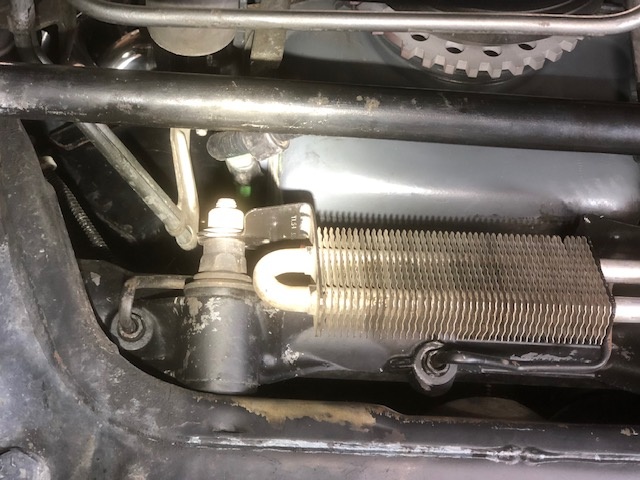
Notice the power steering return hose is mounted on its 10mm stud, bottom of the ac compressor bracket
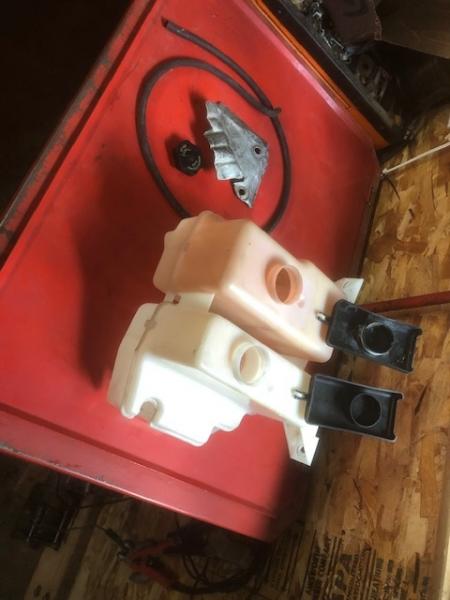
Now this was filthy, 301K miles on a coolant reservoir will do that. This one has been slightly stained with the Amsoil red coolant.
Much time was spent getting this clean. Soak in purple power and water, scrubbed with a brush and then the final trick up my sleeve....put pea gravel inside and shake like a washing machine
Next up
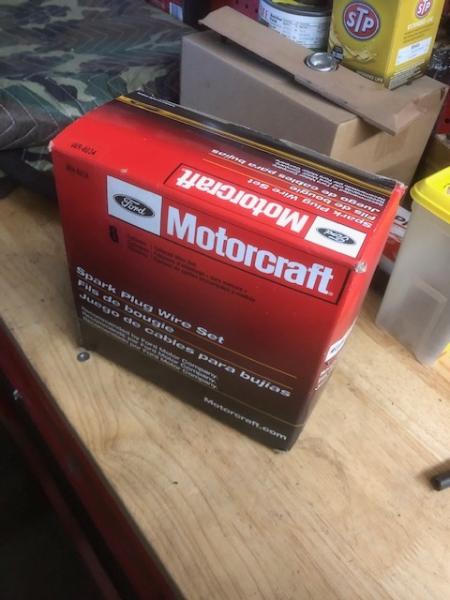
Before the plug wires go on, the alternator charge wire needs to be routed like factory, this involves putting all 4 of the factory plastic clips in place

Then the plug wires are carefully laced. We cannot use factory routing with the TMH, have to take the factory wires away from the hot header tubes
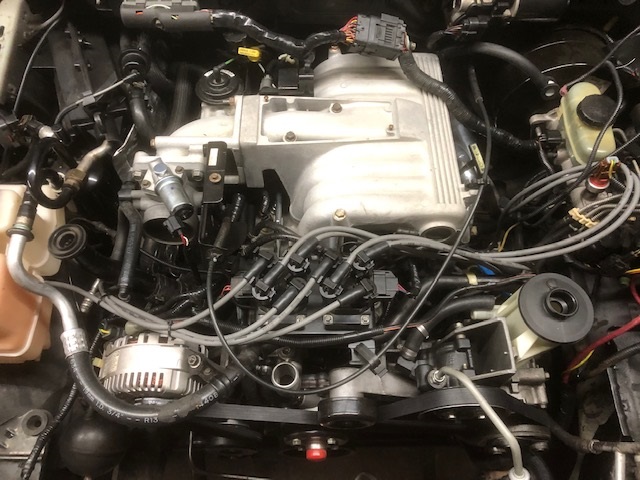
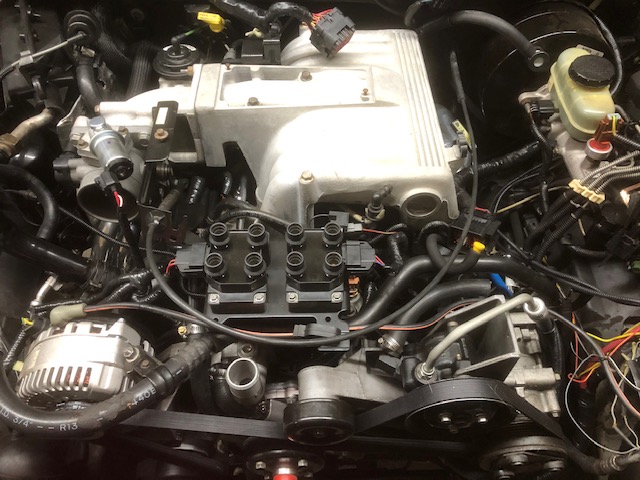
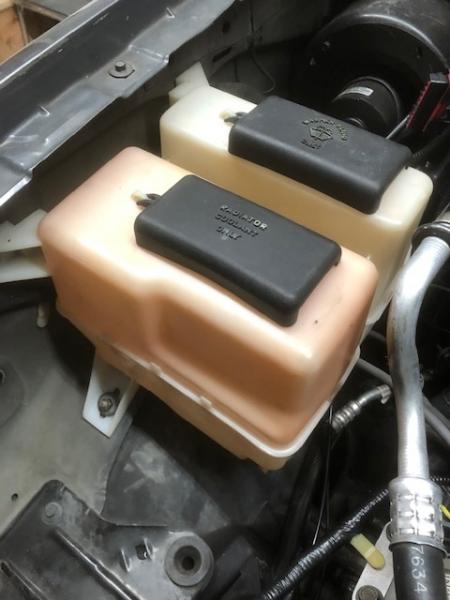
Now ready to install cooling system, airbox and then do final wiring
Now I turn my attention back to underneath the truck. Time for downpipes, transfer case and transmission crossmember
No that is not the final spark plug wire routing....its close, but they will be carefully tied into position along the fender skirts
Although the factory Motorcraft wire set is nice, and can work with these headers I would prefer to use something with a little more "meat on the bones" like a Taylor 8.8 wire set along with some fiberglass heat protective "socks"
____________________
I build custom RBV, specializing in drivetrain conversions, wiring, suspension and complete custom trucks