| PM | Quote | Reply | Full Topic |
Idahome

Joined: Wed May 2nd, 2018
Posts: 2165
Status:
Offline
Reputation: 
Reputation Points: $user_rep
Easier to install when stripped down plus I needed to install new elbow and throttle body gaskets so.....
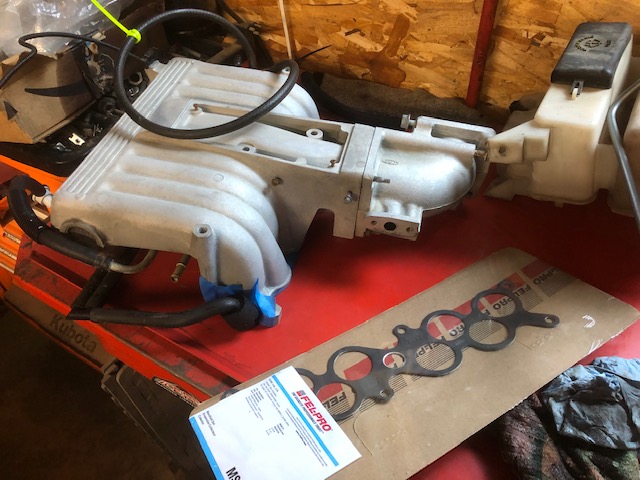
prep parts for install

Place upper gasket and plenum on lower intake CAREFULLY
You must have the rear most long bolt in place before you can install/line up plenum.
Plenum in place and torqued down
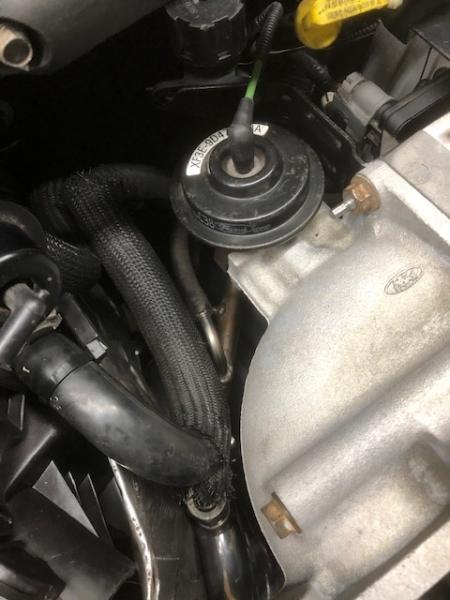
Next up to plumb the PCV valve and EGR. Our PCV valve is gummed up and I was provided with a replacement seen here
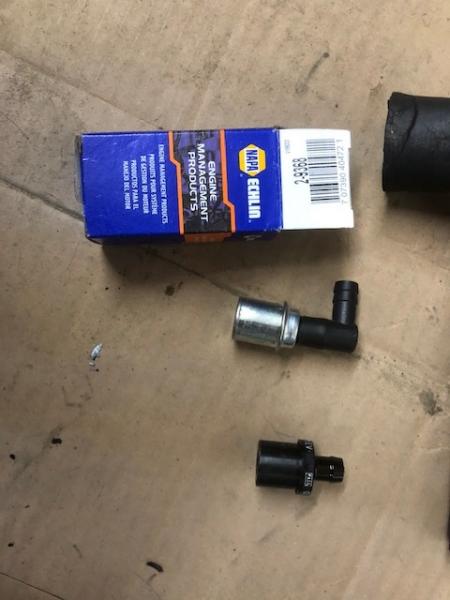

I use some permatex on the PCV valve body to keep it inside the 5.0 rubber PCV holder
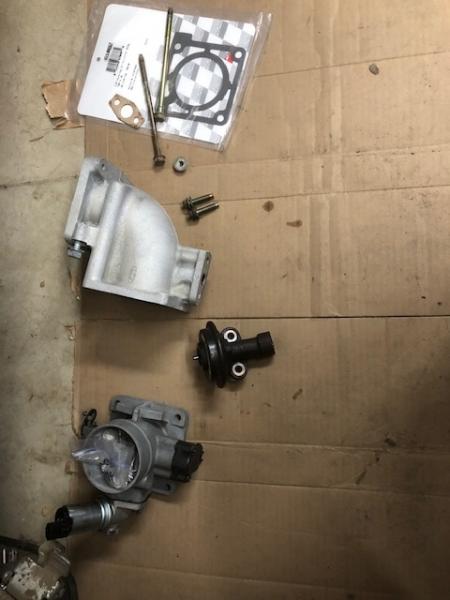
EGR parts are added to the back of the intake before the elbow goes on
I use a 1-16" wrench cut in half to access the EGR hard line fittings
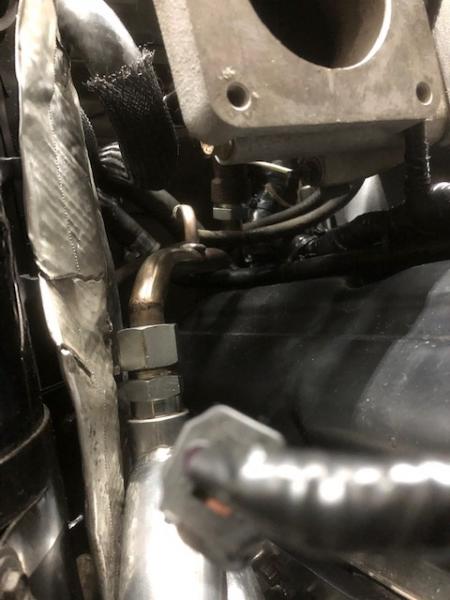
That is the new EGR line provided by Robert with the Torque Monster Headers
DPFE and bracket installed to back of intake plenum with two 7mm bolts, EGR lines plumbed, EGR valve seated with new gasket and anti seize on the bolts
Now time for the elbow, gaskets and throttle body
Also a new Gates belt went on

Don't forget your AC line, its a BITCH to install later
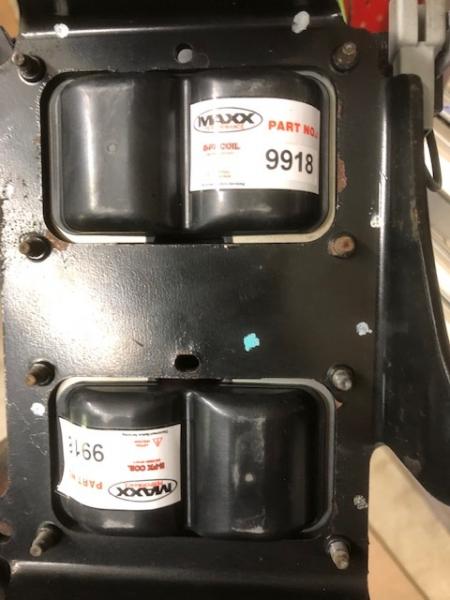
Time for throttle cable bracket and coil pack tripod, also alternator to power dist box wire

Wicked performance coil packs! Need to look into these dudes
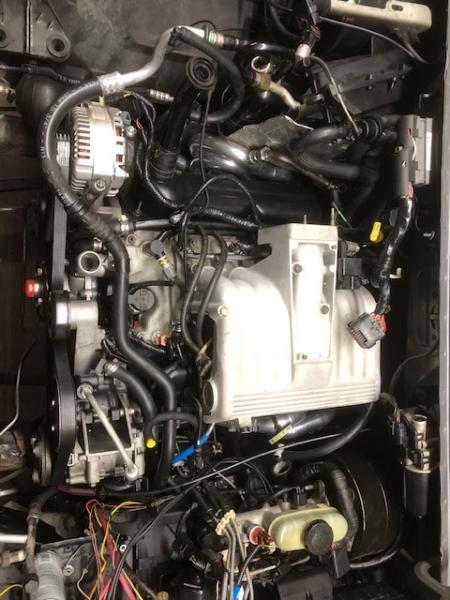
I sourced some tiny clamps for the small intake heater coolant hoses, and I started to clean the next engine bay parts...the coolant overflow tank, AC compressor heat guard, and more....
For now I leave you with this, a very clean, well organized and STOCK looking engine bay

Stay tuned!
____________________
I build custom RBV, specializing in drivetrain conversions, wiring, suspension and complete custom trucks