| PM | Quote | Reply | Full Topic |
Idahome

Joined: Wed May 2nd, 2018
Posts: 2165
Status:
Offline
Reputation: 
Reputation Points: $user_rep
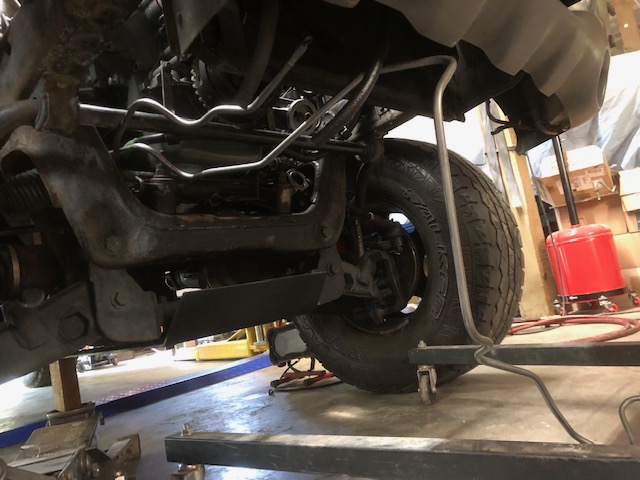
First up we need to install the starter harness metal bracket that holds the harness out of harms way, under the oil filter mount and away from the cooling stack
The explorer has a hole here for this bracket, ranger does not. So I drill a 11/16 hole and use a self tapper bolt
bracket in, just like if Ford made a 5.0 Ranger :)
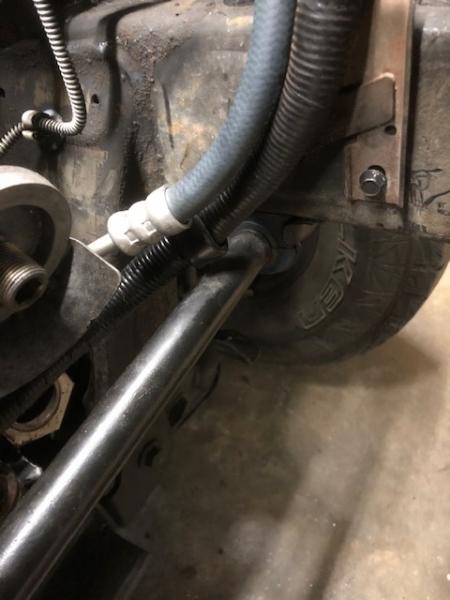
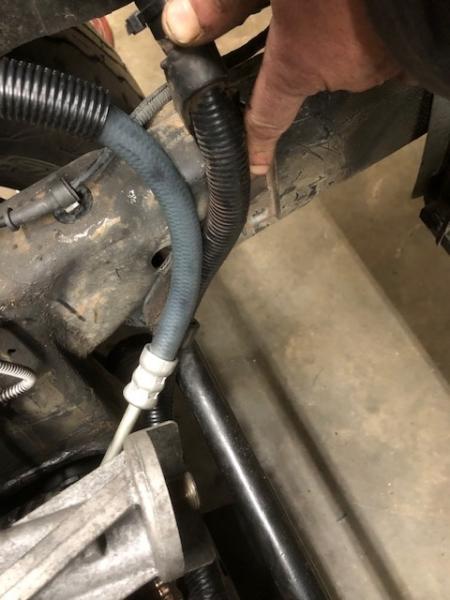
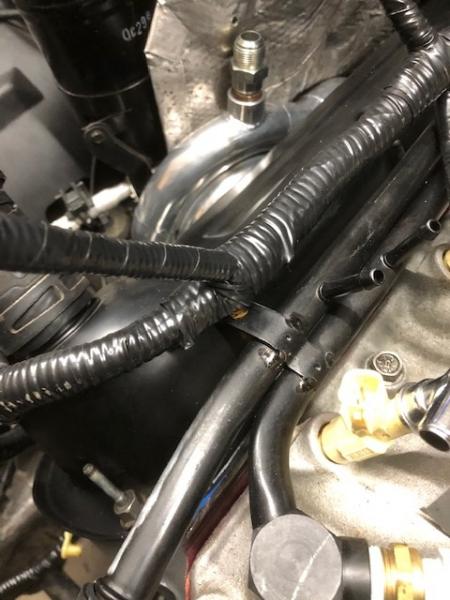
Now this starter/battery ground wire loom runs along the front of the 5.0 oil pan and there are supposed to be two studs in the 5.0 timing cover to accept it. The Jasper reman 306 does not have these studs, so I had to swap out there bolt for one of my own....I only have one of these studs/double sided bolts in the shop! So I used it on the important side....where the main drivetrain to battery ground is:
The other side just uses the Jasper bolt

Oddly enough when I went searching my "spare" 302 engines that I have in the shop for these bolts I could only find one....why? Because the other engine I have is also a 306 Jasper reman with only 18,000 miles on it I have been holding onto to install in my own personal Sport trac build next year..............
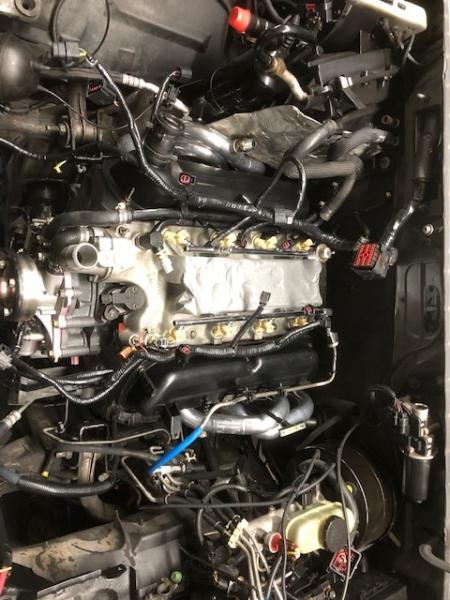
Now time for the wiring harness!!
Our harness was cleaned and re wrapped by the truck owner....bitchin! Saves me more work...I did however add a bunch of zip ties, anywhere the electrical tape wrap ends I like to zip tie so it never un wraps
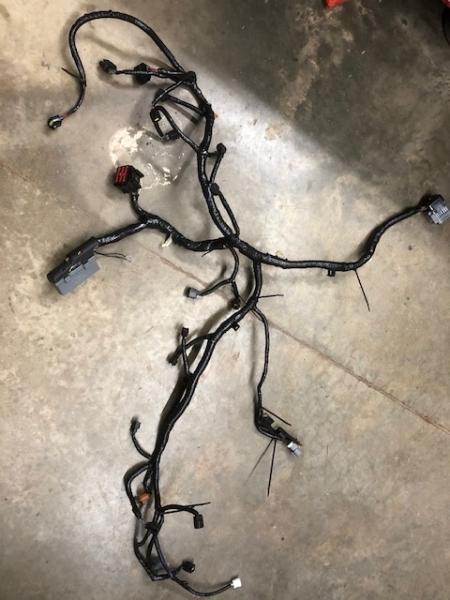

Wiring harness laid in place
DONT FORGET to use the factory plastic wire clips to keep this a stock like conversion
Wiring is in!
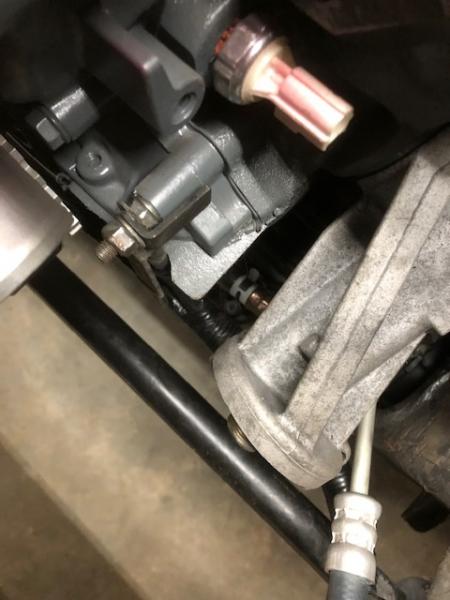
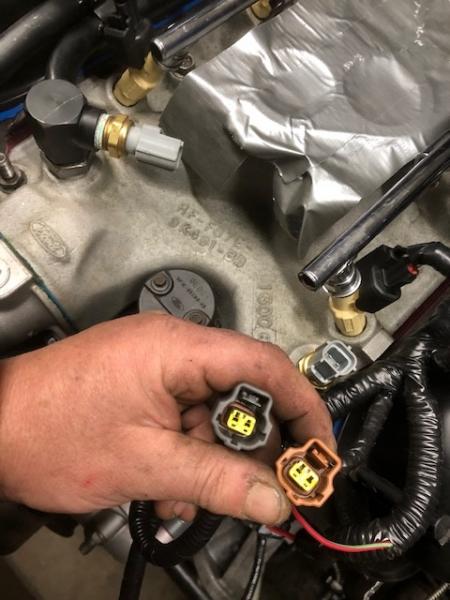
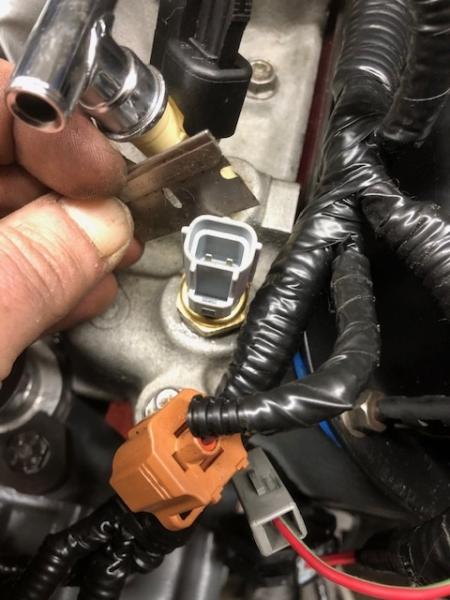
Small issue, the owner installed new coolant temp sensors, one of them is not the correct part, or at least it does not match our wiring harness. I shaved off the wiring pin so the harness will plug in, if the coolant temp does not read properly we will swap for the oem sensor

Time to install trans cooler lines, scatter shield, flexplate, torque converter and finally transmission
Fish in trans cooler lines while there is still room
Now to stage the transmission parts
Holey moley pink lettering? This trans better work better then it looks! LMFAO!!!!!!

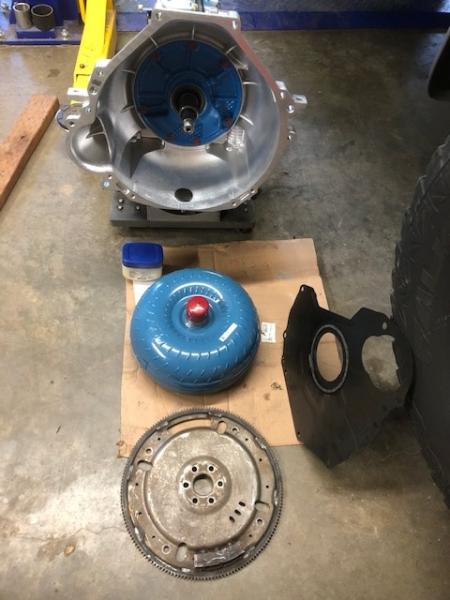
Scatter shield had to be drilled out slightly ti fit over Jasper locating dowels, rest in place and then flexplate was installed to engine with stock explorer bolts and plenty of red loc tite
Torque converter was filled with 1+ quart of Amsoil mercon V compatible ATF, hub was cleaned and lubed with vaseline so front pump seal never sees a dry surface

Truck was lifted, converter fully seated in trans and finally trans was stabbed.......I have done a few "how to's" on stabbing up an auto trans, if anyone needs to see this let me know.
No need to clutter it up in here any further.
Trans is stabbed, bolted to engine with all 6 bellhousing bolts, the converter is bolted through flexplate with 4ea 9/16 nuts, engine is turned over clockwise with 15/16 socket to accomplish this.
Converter pulls forward 3/8" when you install the first nut, this is how you know you have properly seated the converter.
Next up is the trans dipstick, new Motocraft starter and the torque converter cover plate
____________________
I build custom RBV, specializing in drivetrain conversions, wiring, suspension and complete custom trucks