| PM | Quote | Reply | Full Topic |

Joined: Mon Nov 13th, 2017
Location: Pacific North West
Posts: 1587
Status:
Offline
Reputation: 
Reputation Points: $user_rep
I ordered the factory color in a spray can and bought some glossy clear coat. I bought an orbital and an assortment of sandpaper in a range of grades for my orbital, DA buffer, and some wet dry for blocking. I also bought some quick dry filler and a bunch of primers, sandable, filler, and high fill for any deep spots in a couple colors.
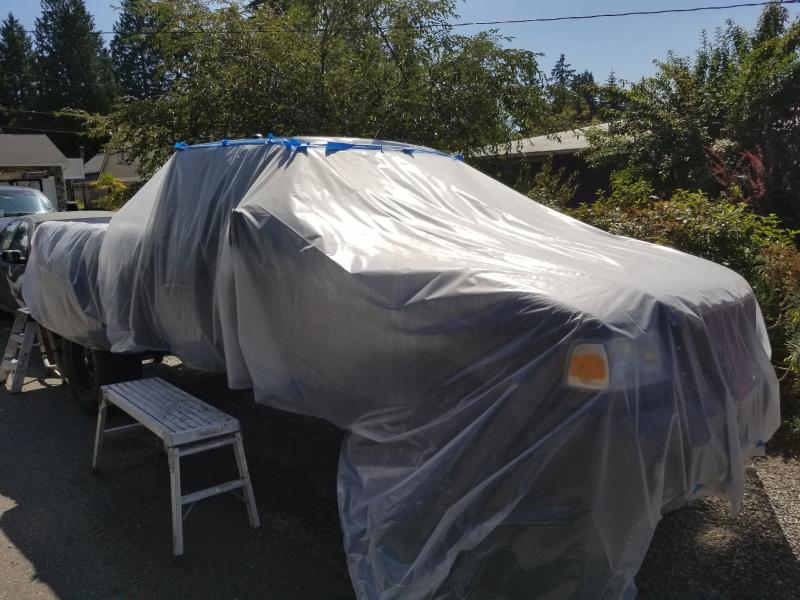
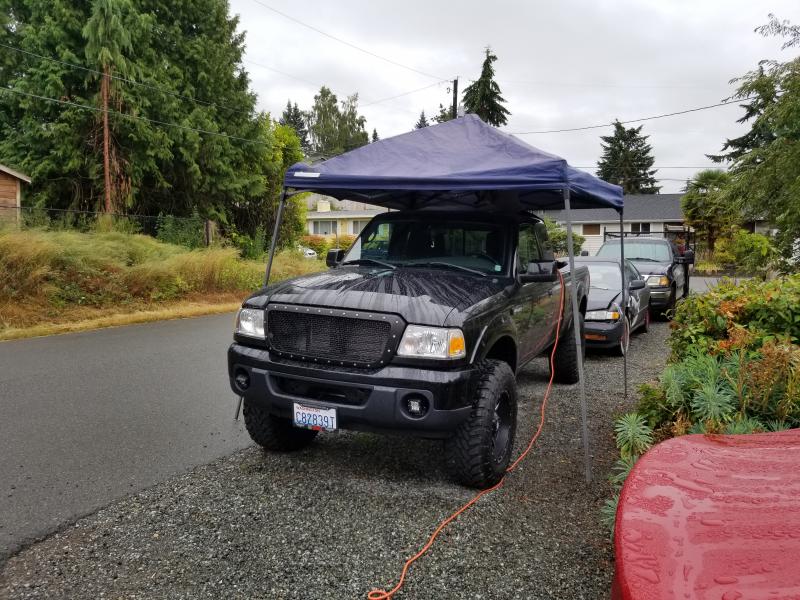
My nephew and I started by covering the truck and feathering the chips and scratches.

Ranger brain surgery...
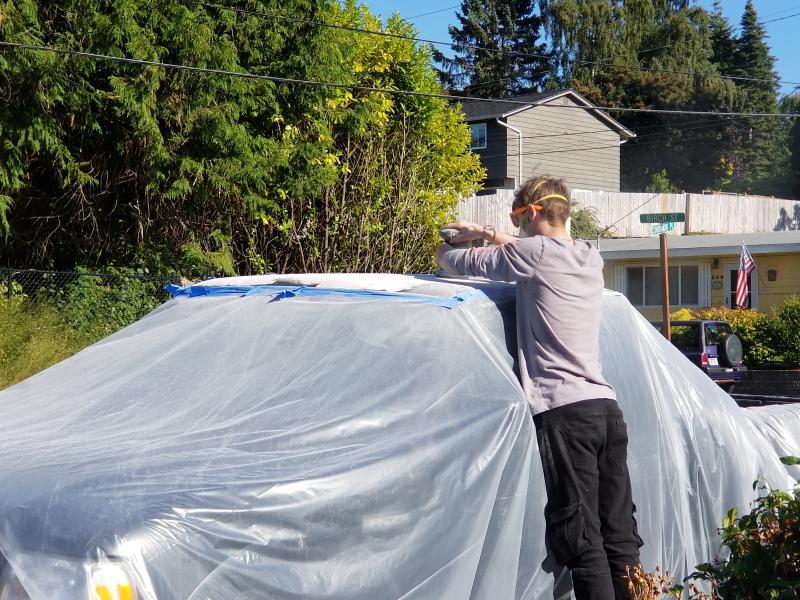
After we sanded it all we feathered the edges
Incase you're wondering why we didnt take it all down to the metal, we were trying to keep it as small as possible. Lol. I have no idea what I'm doing. I watched a guy on youtube and figured I could do that.....„
Then applied the quick drying filler and sanded the roof smooth.
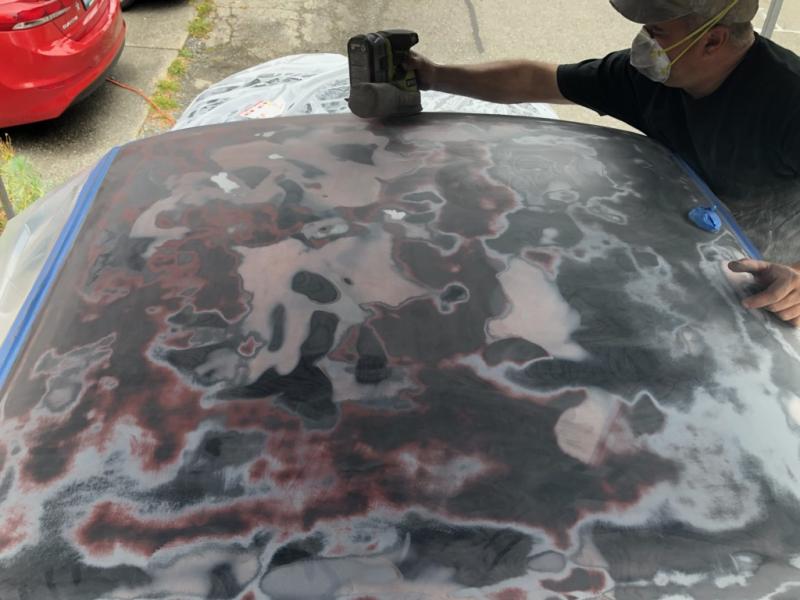
We only have a few hours each weekend because the nephew works a graveyard shift so hit it with primer and sealed that with some rustoleum flat black I had leftover to keep the primer on.
This is the following weekend. It didn't look too bad for how windy it was and how narrow a fan I applied that with but it was just to cover the primer.
I sanded again and hit it with another coat of primer.
This was the final dab of filler and primer.
I washed it, degreased it, masked off and used a tack cloth to remove any dust, lint and cat hair. Lol.
With a deep breath and inspiration from velociRangers hood project I began the first coat.
At this point it was too windy and we ran out of paint.
I ordered more paint and fortunately it arrived just in time. I scuffed the coat from the previous weekend and applied 2 more coats. Towards the end of the second coat I started a new can and that can dripped. We called it for this weekend and planned to let the paint cure for a week so I could fix the drops and apply clear coat.
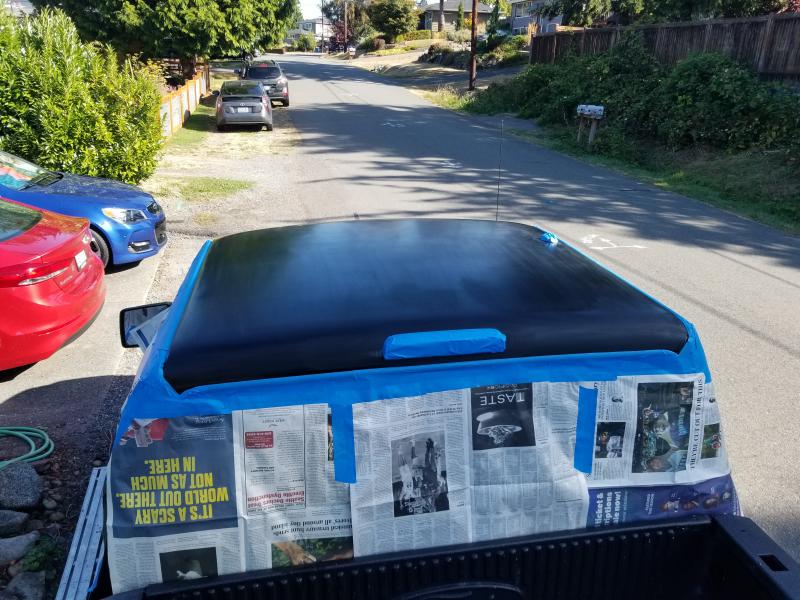
It didnt turn out too bad given the circumstances. After I smoothed out the drops using a paint stick wrapped in 1000 grit wet/dry and scuffed the rest I was going to just spray it with clear coat but something made me want to do one more coat of black before the clear. That's when I grabbed the same defective can and made the same mistake and laid another coat of drips. Ugh....so I waited another week for that to cure and fix.
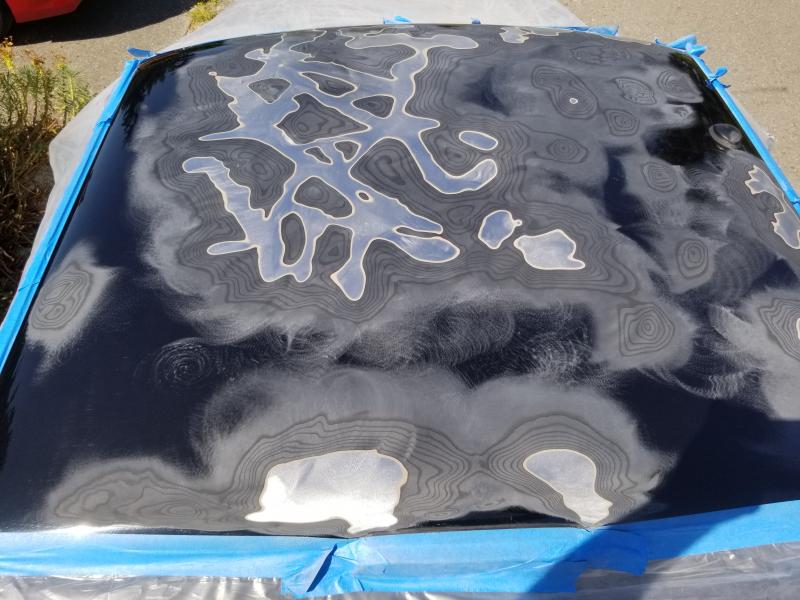
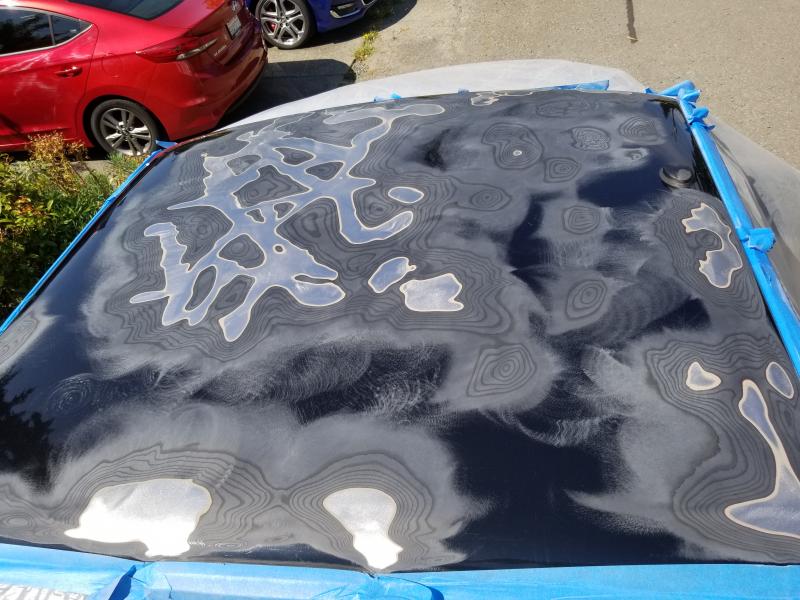
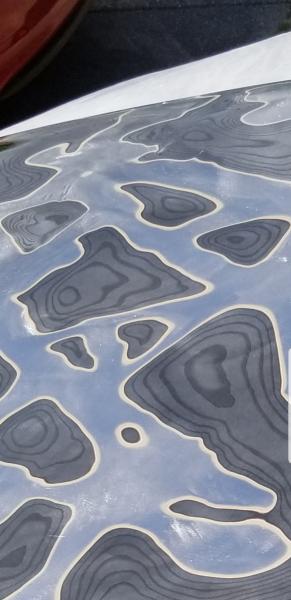
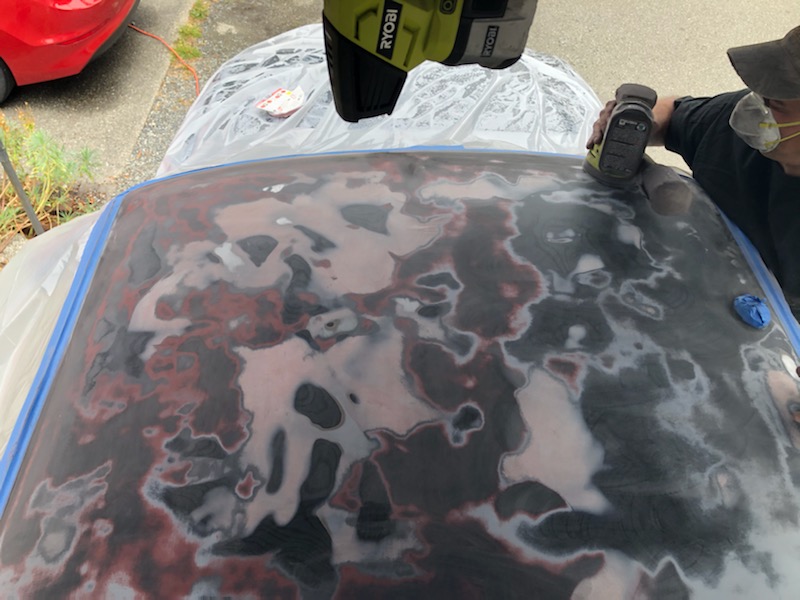
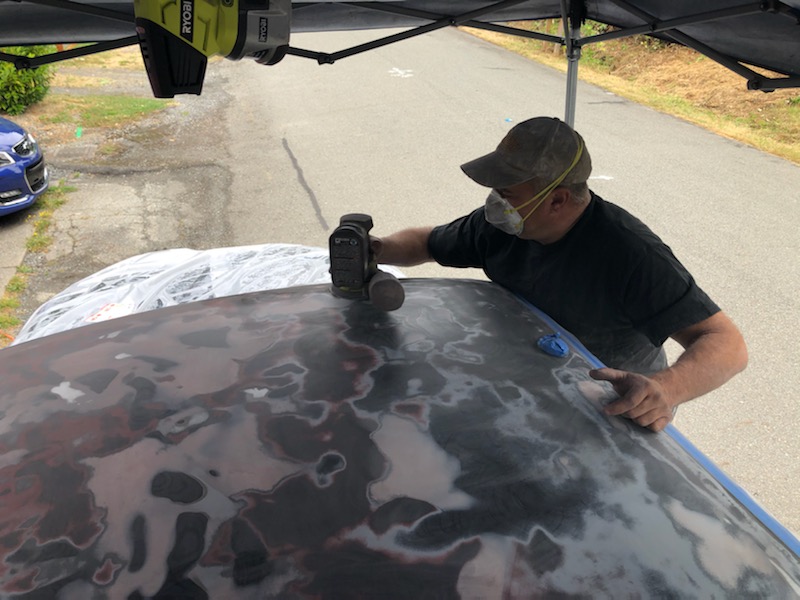
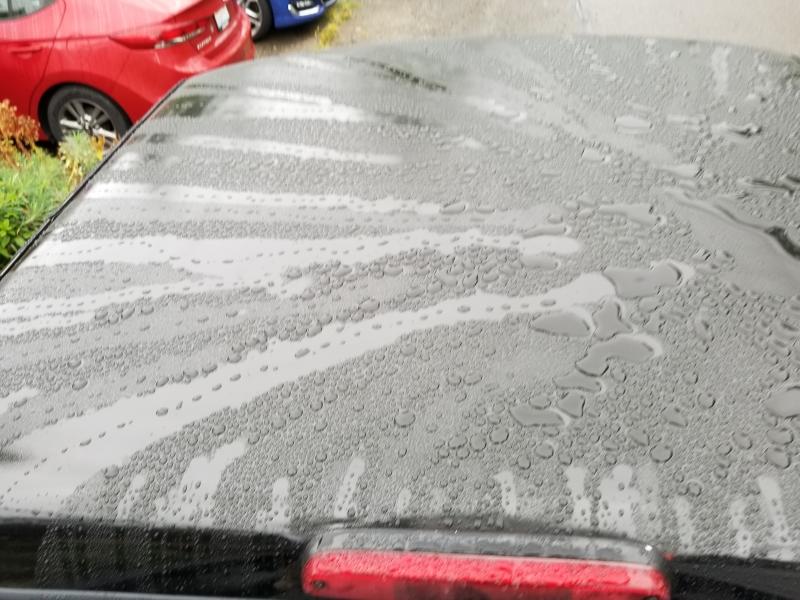
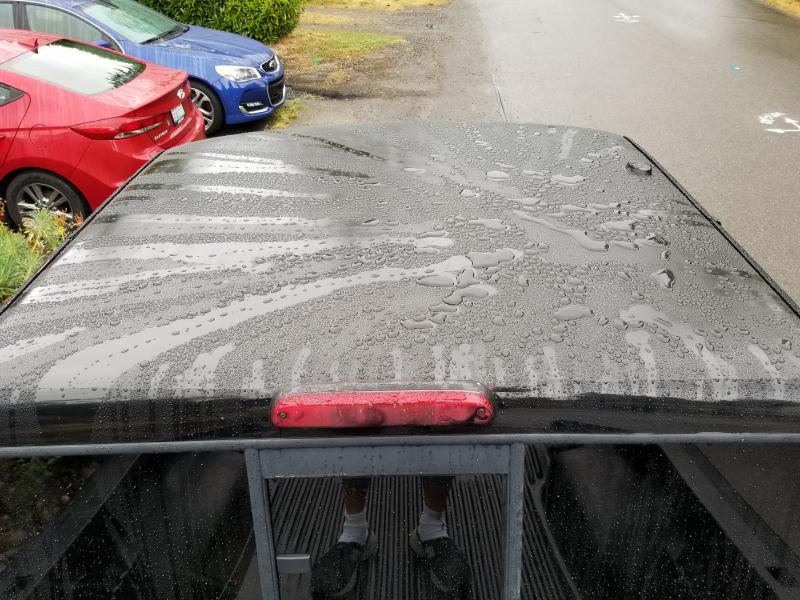
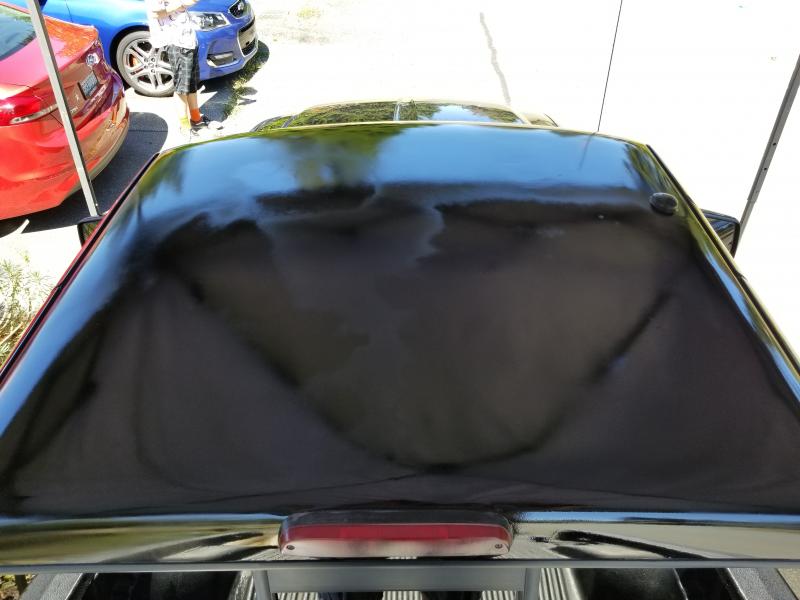
So here we are this weekend after I wet sanded again only this time I'm sticking with the plan and only spraying the clear coat.
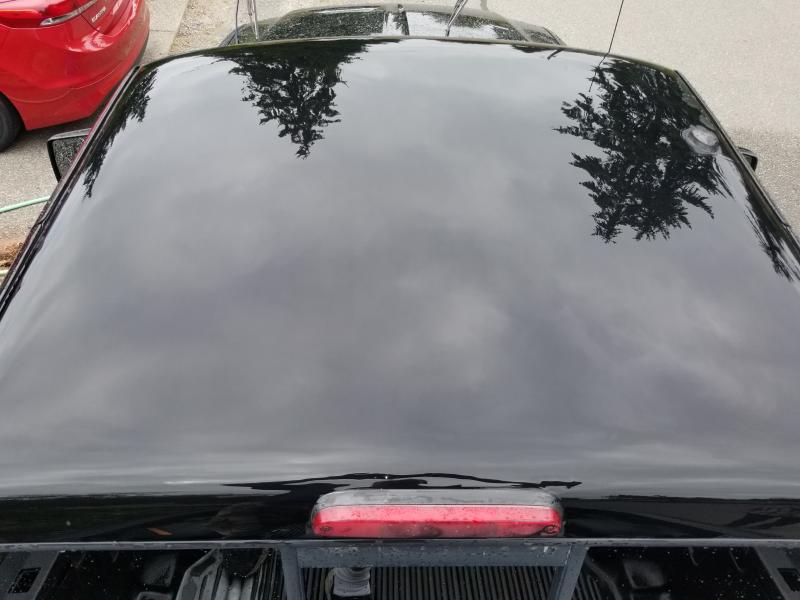
The 2 pics above are wet.

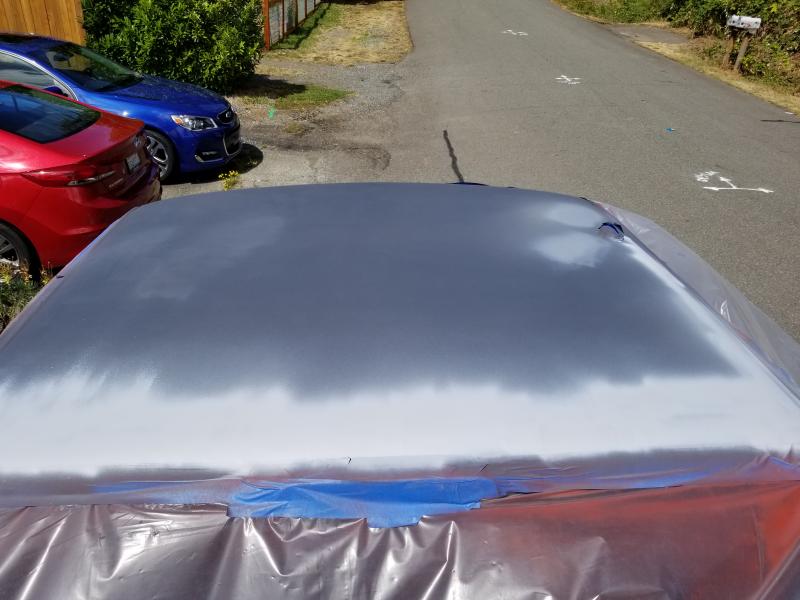
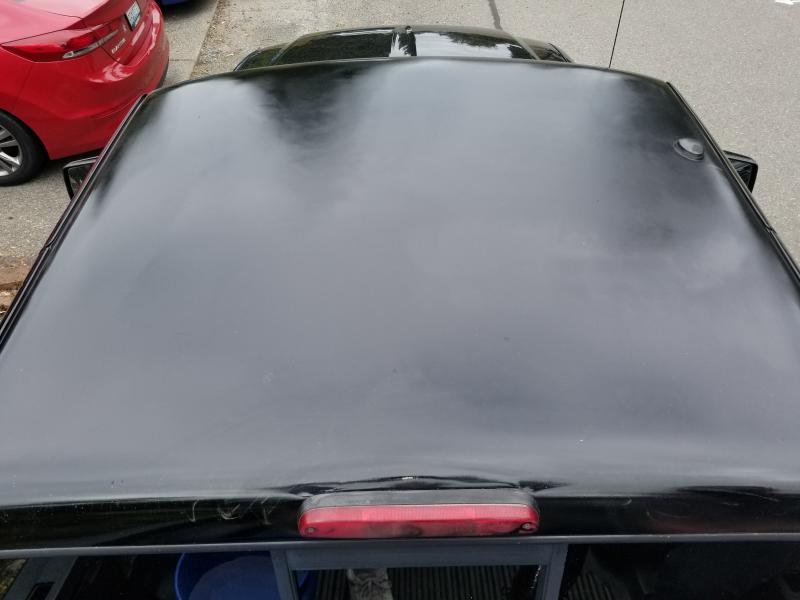
This is dry scuffed and ready to mask off.
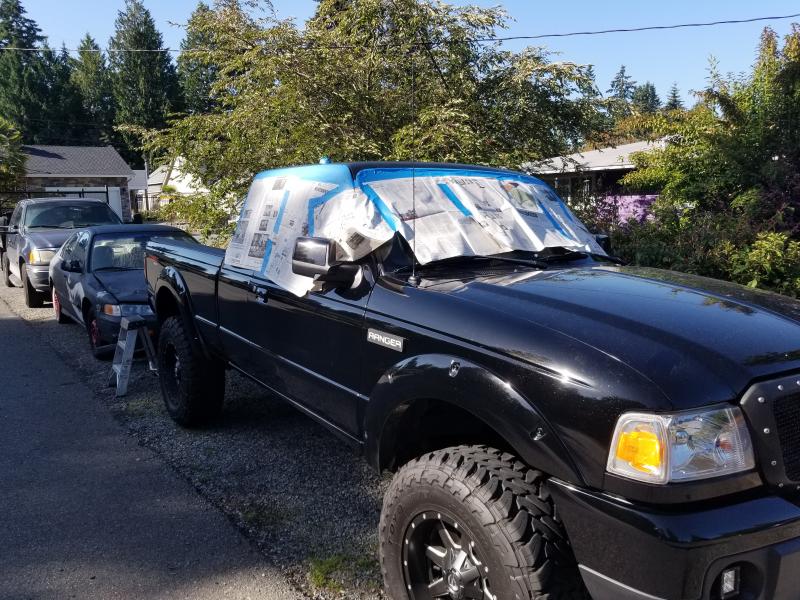
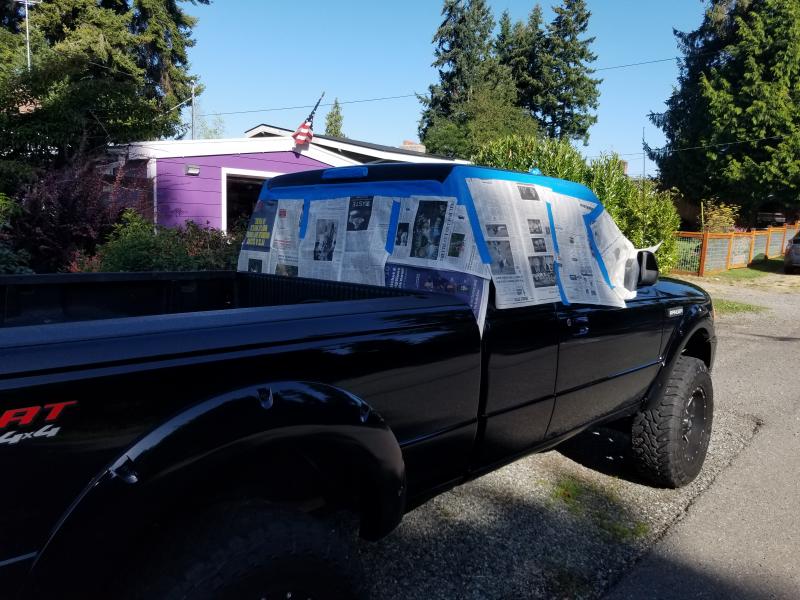
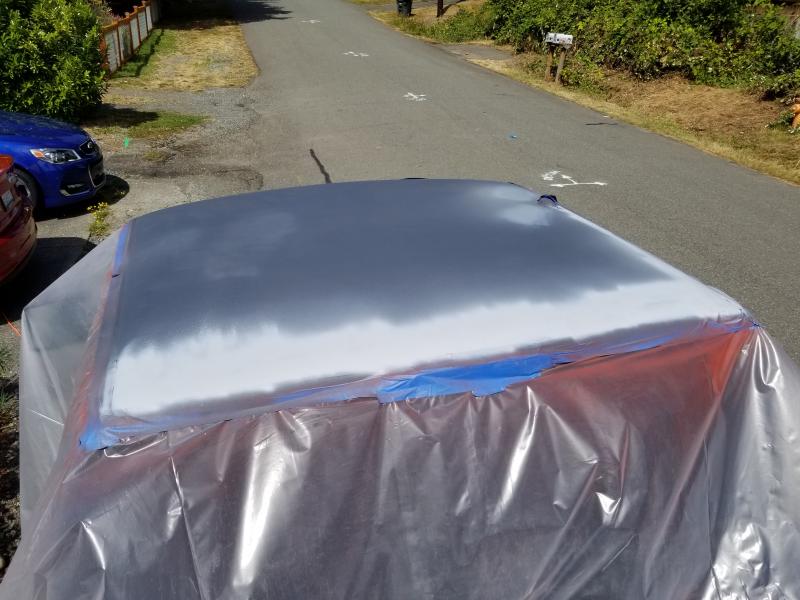
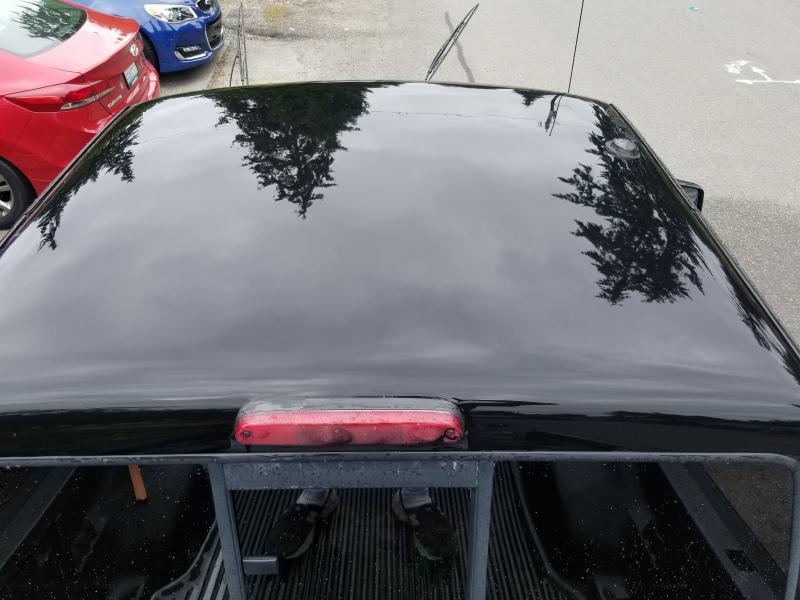
Masked off and ready for the clear coat!!

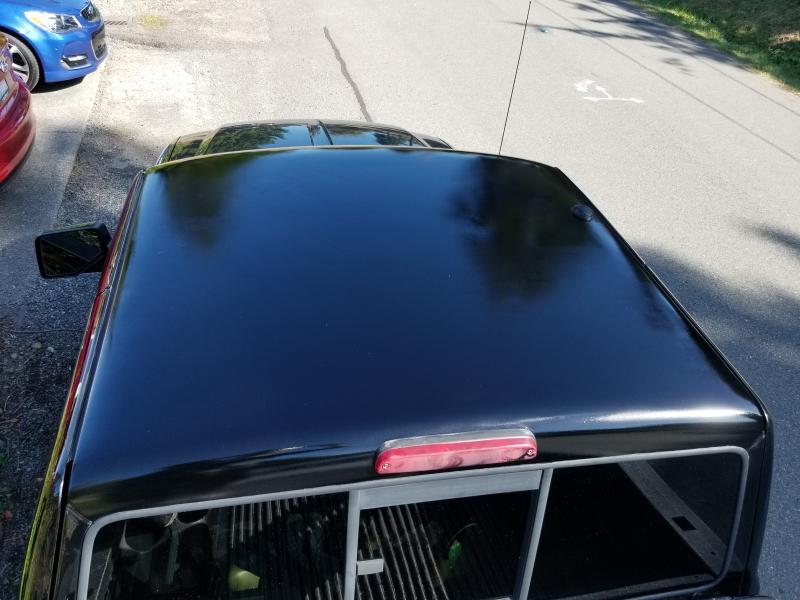
Then ofcourse it had to rain. It had 10 dry hours so fingers crossed🤞
I know I'll need to buff n polish the orange peel.
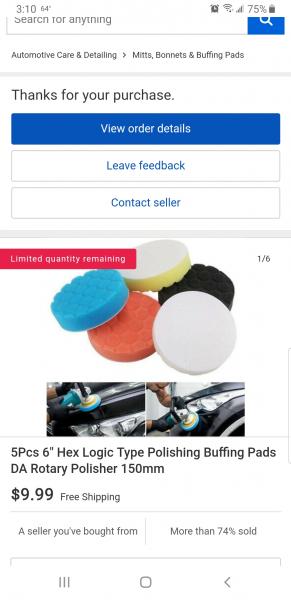
Hopefully one of our members who previously owned a body shop will help me figure out what compounds to order and which pads with which compounds to use on the new pads I ordered... (Mhoward)
Last edited on Mon Aug 31st, 2020 12:28 am by Eddie Money
____________________
I know my crazy! Do you?
2007 Sport 4door 4x4 4.0L SOHC V6 Ranger