| PM | Quote | Reply | Full Topic |
Old Bastard !

Joined: Fri Dec 22nd, 2017
Location: California USA
Posts: 2108
Status:
Offline
Reputation: 
Reputation Points: $user_rep
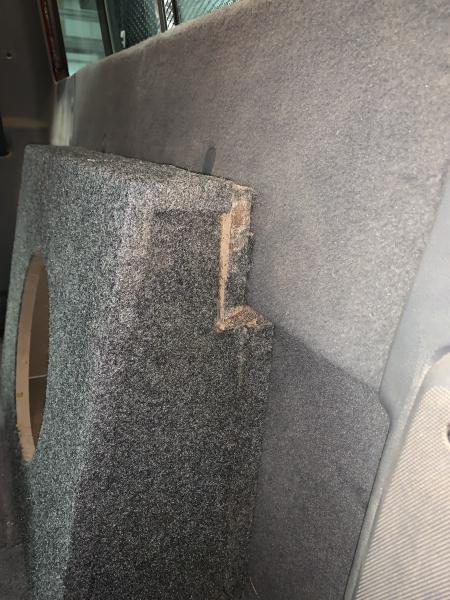
I took a 10" Wedge Enclosure, cut a notch in upper back to fit the step in the back wall of the cab.
Then cut the back off approximately 1.5".
Cleaned up the Cut Off pieces and glued the back to the enclosure and flipped the notch cut and glued it back in place.
Effectively, and this is an approximate guess, I cut 0.19 cubic feet of volume out of an Enclosure that started at 0.88 cubic feet, so I end up with a volume of 0.67 !
The sub I want to order requires 0.20 to 0.60 so this enclosure isn't too far off, hoping it works.
Here is the pictures are the enclosure now sets, it still need to have new felt add to the enclosure and the Wire Connectin.
Full View from Passenger showing top mod.
You can see the Cut Notch but the back looks like it wasn't touched.
it fits tight, I have to put the top under the lip then push the lower end in place.

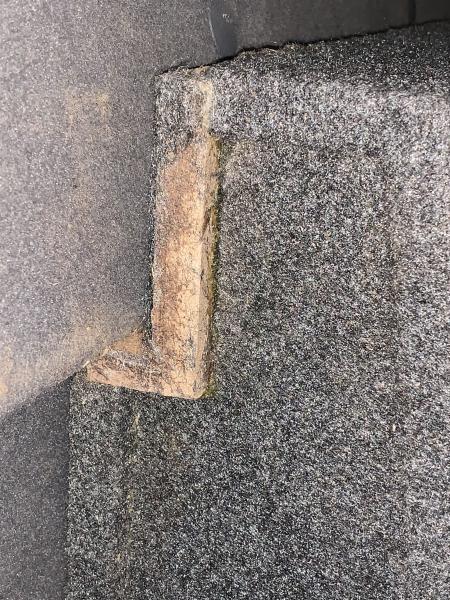
Driver's side view fo the Notch Cut out and reversed.
The notch was cut to fit under this lip, but it is a little tight; should have cut it a 1/2 to 3/4 of an inch lower, I was trying to get a tight fit but didn't allow for the felt.
After some sanding hoping it will fit better.
Passenage side view of the Notch.
The piece that was cut from the notch, has been flipped and glued in place.
You can see the lip that used to go around the outside of the box now follows the new lines... that worked out better than I thought.
Also, I left the side pieces on the notch (the step portion) until I glued everything together, this helped the notch piece to hold its shape.
Once the glue dried, using a hammer the side pieces on the cut out piece were removed with no I'll affect. ( Hope you can understand that )
Full view Driver's side.
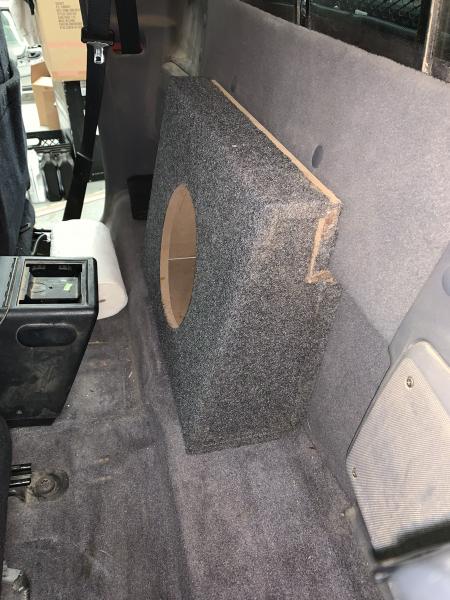
I still to do some sanding, add the felt and the wire connection.
The Wire Connection used to on the rear but will end up on whichever side has the wires coming at it !
I plan on the passenger side but I am leaving that up to the installation shop.
The Console can fit back in OEM Position but I am not sure if I will be keeping it, time will tell. ( New automatic shifter will dictate where things go )
There you have what has been done, sorry I didn't even think about taking pictures along the way.
Ltr
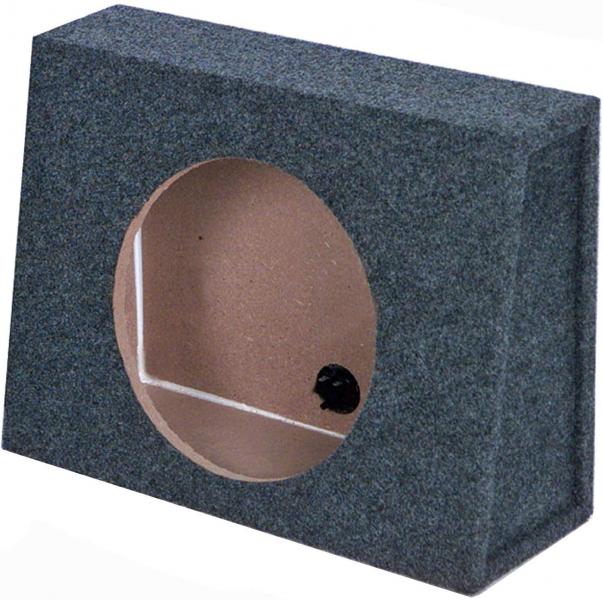
here is what I started with:
Last edited on Thu Feb 20th, 2020 10:29 pm by Scrambler82
____________________
Ltr,
2003 EDGE, Std Cab, Steppie, E4 Red, 5sp, 4x
5" SuperLift, 33" x 12.50 x 15"
Hurst Shifter
Mod'd Backrack to fit Steppie
Front and Rear Bumpers by Custom 4x4 Fabrication, OK; now Mike's Welding and Fabrication.
Working on more Mods, just need more time, longer days would work !