| PM | Quote | Reply | Full Topic |
Gunslinger
Joined: Sat Nov 4th, 2017
Posts: 426
Status:
Offline
Reputation: 

Reputation Points: $user_rep
I made more progress today, and I have photos to prove it.
I have been gifted tools, a couple of which were put to work immediately. The star of the show was a new Chicago Electric sawzall with Diablo blades.
I thought I would need a carbide blade, I was wrong. I got a five pack of plades, technically six. I think. I forget the fine print, but it was a pack of diablo bi-metal blades with a bonus carbide blade.
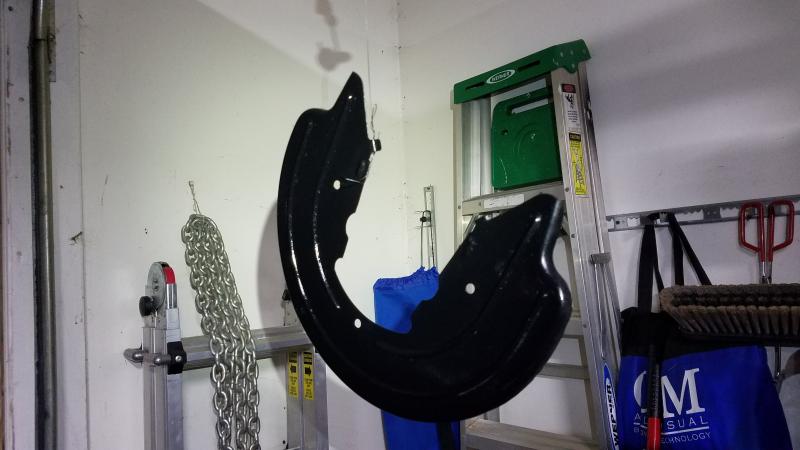
I tried a bi metal blade to see if that would cut the mustard on those backing plates, and Diablo ate it for breakfast.
I laid out some sharpie lines according to a how-to over on a neighboring site. Left plate got cut and fit the first try. Right side, not so much.
I laid out the left over the right as a template and made marks from it, forgetting that the sharpie's thickness would throw the dimensions off, thus the slot was too small for the axle tube to fit. No problem. I whipped out the angle grinder with a grinding wheel and went to work opening up that channel.
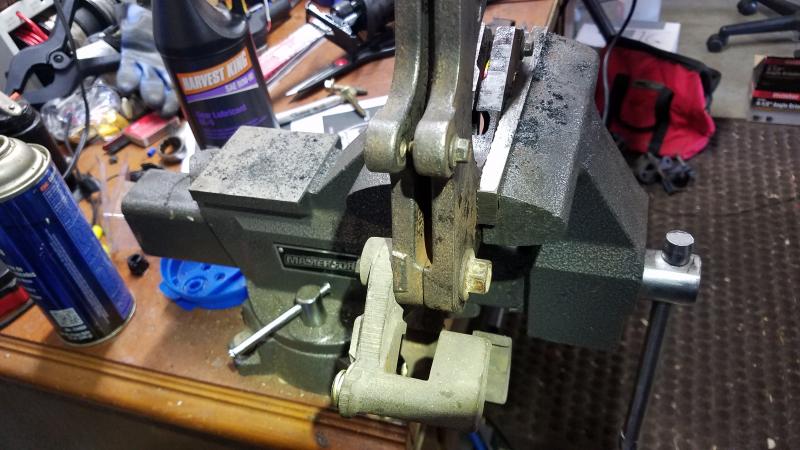
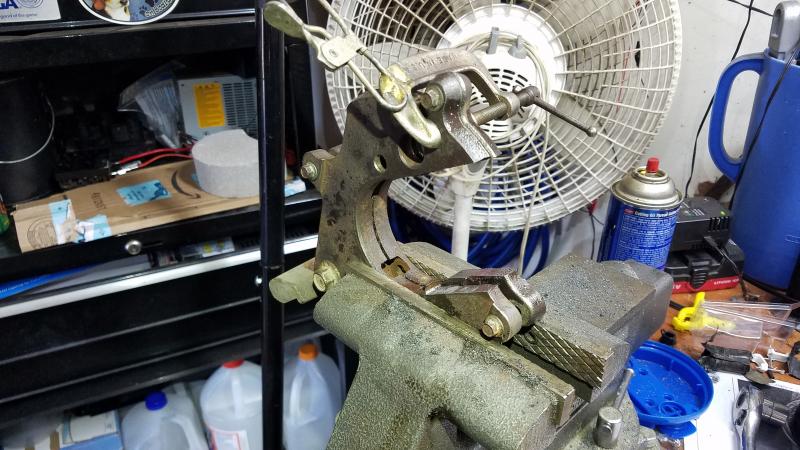
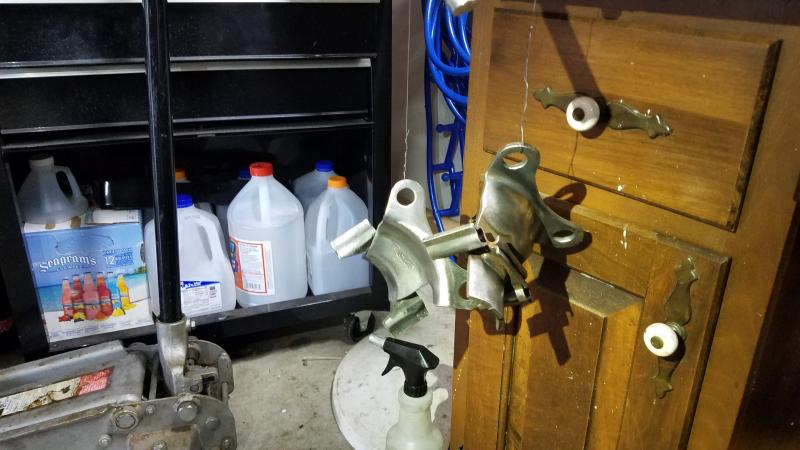
Here's my setup. I used as many bolts and clamps as I could (including an old caliper bracket) to hold the pieces together firmly, so I could again use the one as a template. No precision necessary here. I say it worked rather well. Not all the bolts wound up doing anything. Unfortunately I got too far in and nicked the backing plate where I didn't want to. Oh well, no big deal. I doubt you'll even see that minor damage when it's installed.
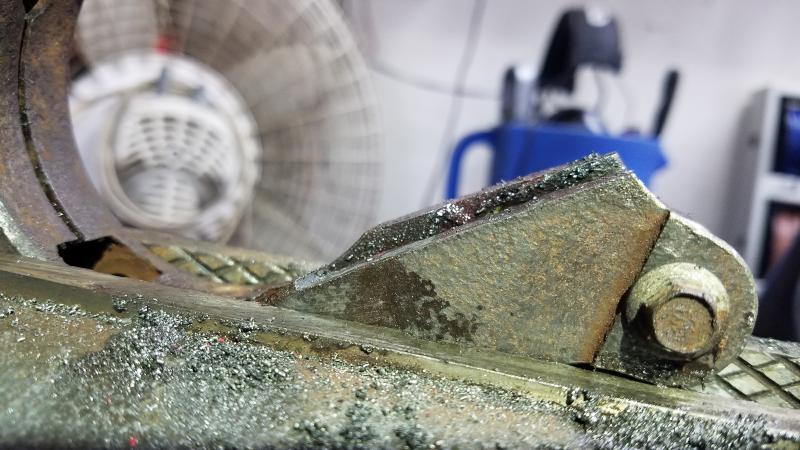
In the last photo, you can really see just how much material needed to be removed. Angle grinder made short work of that, though.
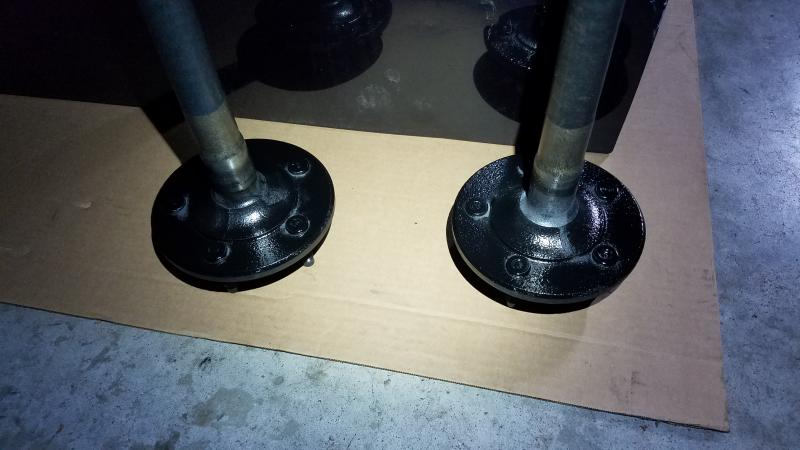
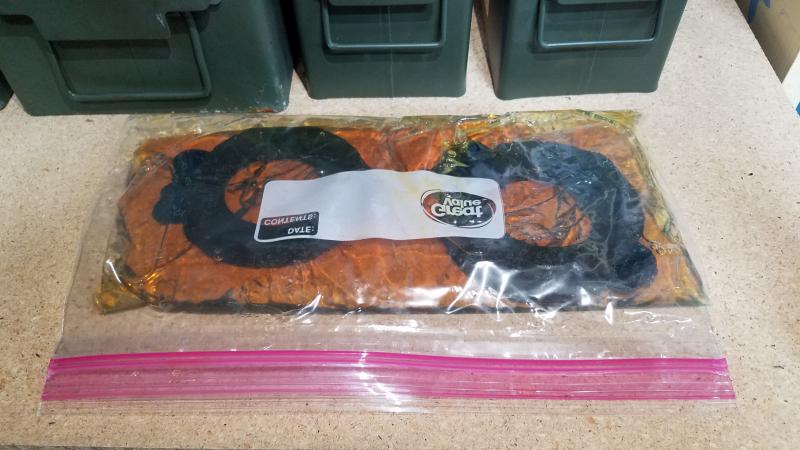
After they got cut, I hit them with a coarse wire wheel on the angle grinder, primered and painted. That same process was repeated for the ends of the axels, dust shields, anti moan brackets, and other components. They'll set up and harden over night, and then tomorrow, things will be assembled. Also, I have the clutch packs soaking in gear oil. A ziplock back on a shelf makes that easy. I also took some time to clean up the fasteners.
Once the backing plates are on, I'll shoot a bit of black on the bolts and nuts to pretty them up. They're just prepped and degreased, no paint. Tomorrow, we assemble.
Well, that's all I got for now. See you lot tomorrow!
____________________
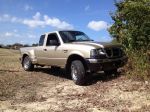
1999 Ford Ranger XLT - 3.0 V6 4x4 - Loaded (Totaled) 143k. Rest in Peace, Gold Dust.