| PM | Quote | Reply | Full Topic |
Mustang Nut

Joined: Sun Oct 22nd, 2017
Location: Horsepasture, USA
Posts: 1692
Status:
Offline
Reputation: 
Reputation Points: $user_rep
The tools I needed were,
1/4" drive ratchet,
1/4" drive long extension,
1/4" drive socket - 3/8",
1/4" drive socket - 5/16",
door panel/push pin remover,
Phillips head screw driver,
3/8" drive ratchet,
3/8" drive 8" long extension,
3/8" drive - T-50 torx bit,
3/8" drive - 13mm short socket.
*Note* - purchase a box of new push pins to have on hand because while removing the old ones 3 of them the heads tore off the pin when trying to remove them. I used Auveco products kick plate retainers part #- 19760. Also take note there are 2 different size push pins that hold on the trim panels that wrap around to the rear doors. There are the short ones, & 4 of the longer ones that push into the plastic stand offs that clip into the body. I also unhooked the battery since the doors will be open for a while so you do not kill your battery.
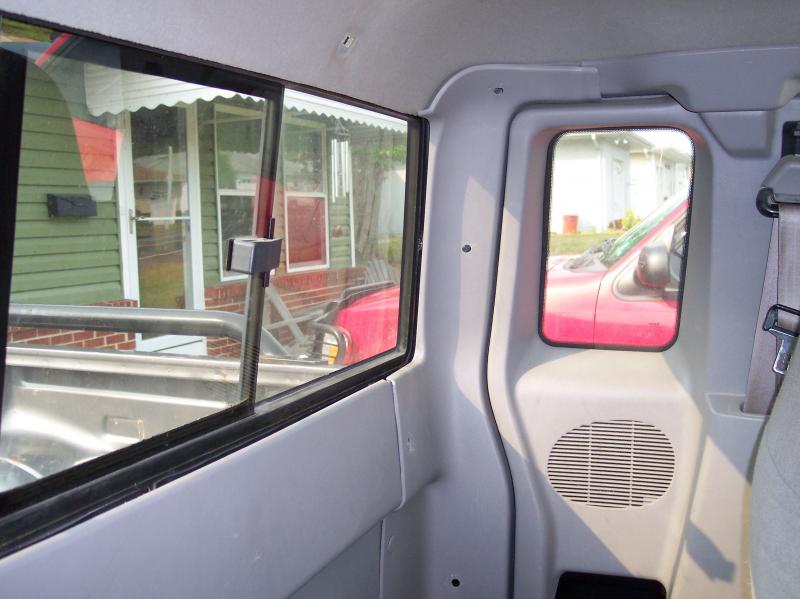
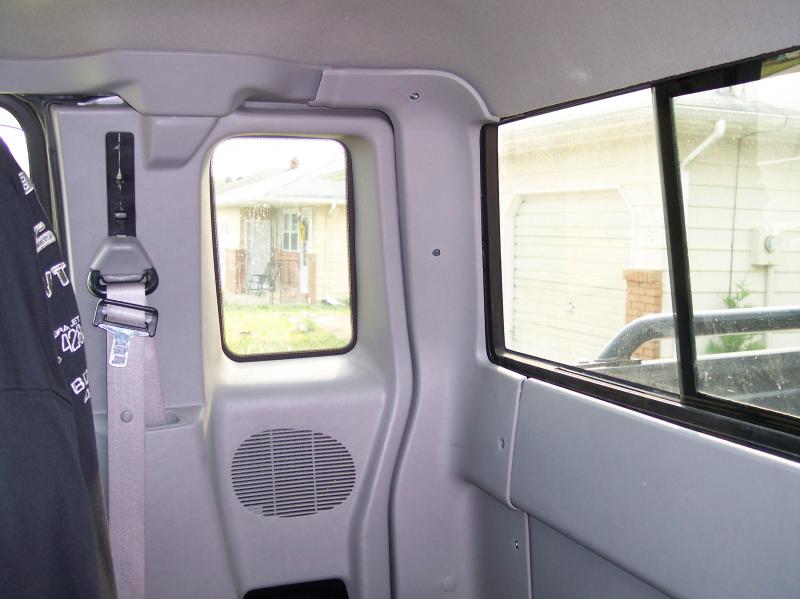
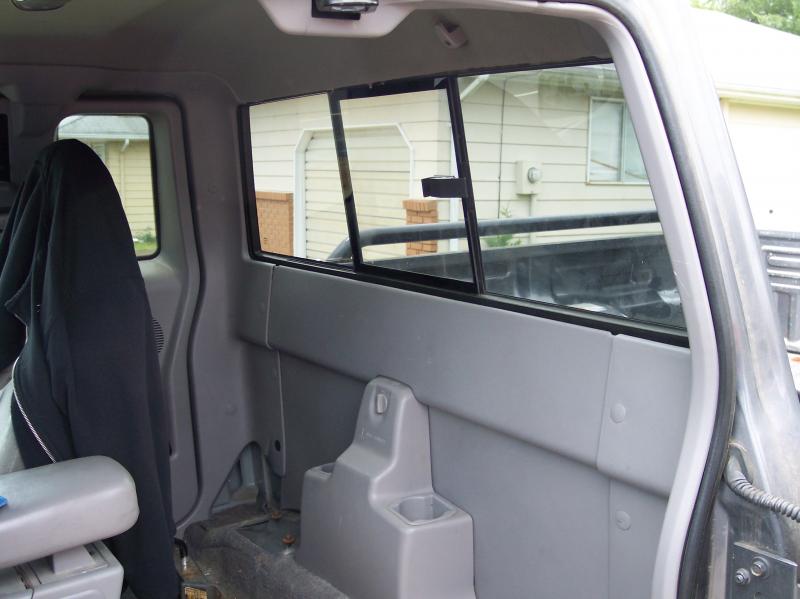
1) Remove all the push pins that are in the rear center & rear side interior trim panels, remove jack cover, jack holder assembly, 1 push pin that was behind the jack, 2 Phillips head screws at the bottom of the center trim panel, remove both jump seats, remove the Phillips head screw from the coat hook, remove coat hook, & remove all 3 interior trim panels. You could probably do this without removing all the trim panels & the jump seats but it just made it easier for me.
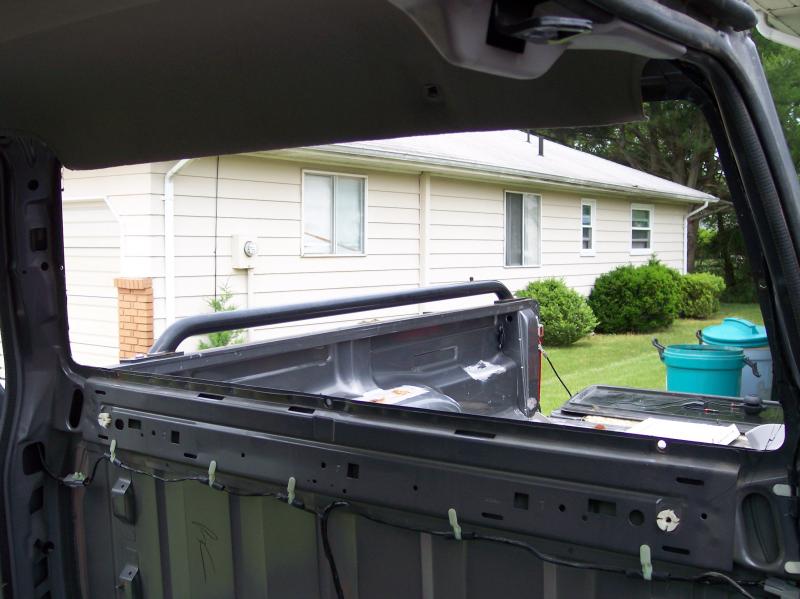
2) Remove 7 of the 8 3/8" nuts from the rear slider & using the door panel remover (you could also use a small pry bar) I worked my way around the inside of the rear slider assembly between the pinch weld & the rear slider assembly prying the rear slider loose. Then with a helper (my wife) I then removed the last nut on the rear slider & we both removed the slider assembly.
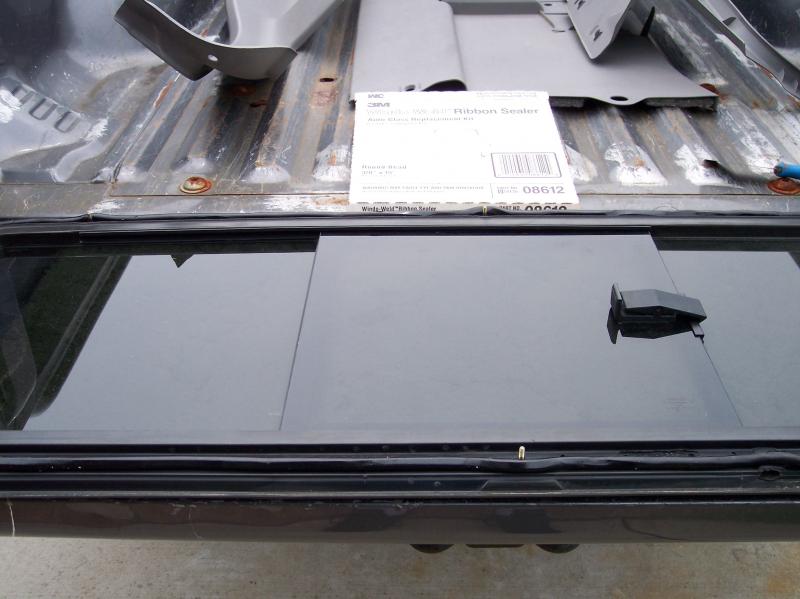
3) Clean all the remaining sealer off the pinch weld so there is a clean surface for the new sealer. I used brake clean & an old cotton t-shirt to clean all the old sealer off.
4) Lay an old towel or a piece of carpet on your tail gate & lay the slider assembly on it to protect the glass. I used 3M Windo-Weld ribbon sealer #- 08612 & ran it all around the sealing surface of the slider assembly going on the outside of the retainer studs & overlapped the sealer at the start/finish point. I purchased the sealer ribbon from Advanced Auto Parts.
5) Using your helper set the new slider in place, & while your helper holds the slider in place install a few of the retainer nuts before your helper stops holding the slider
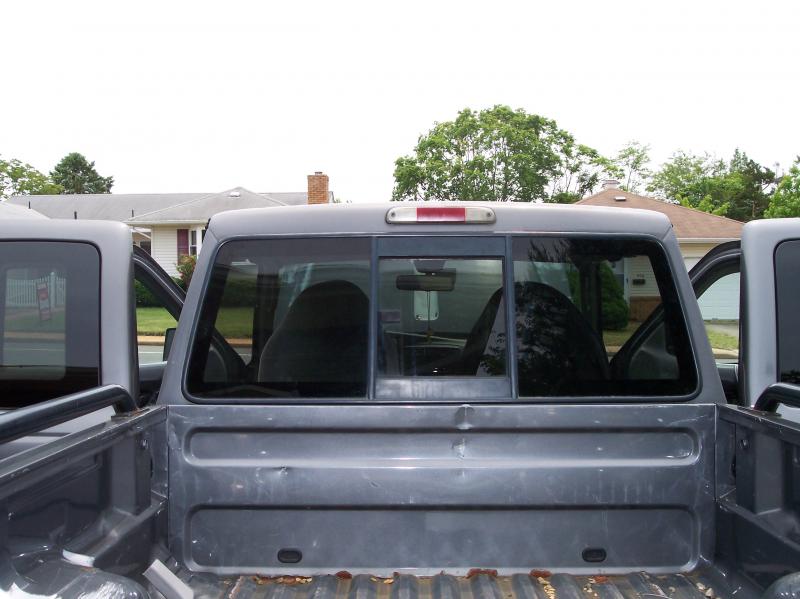
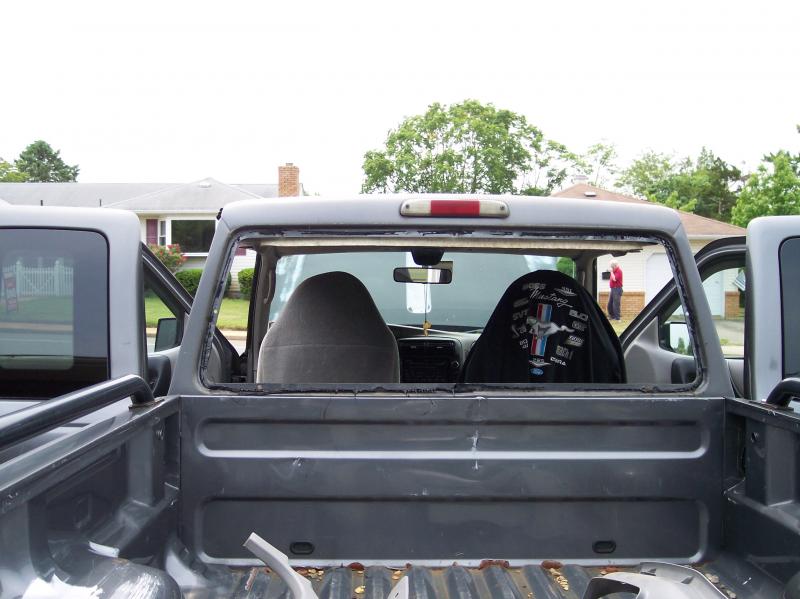
6) Install the rest of the retainer nuts & snug them all down, then go a couple more turns on each nut. Reverse the removal procedure of the interior trim to install completing the swap. I chose to leave the rear jump seats out as I might build a storage box & use the mounting points of the jump seats to anchor it in the interior.
____________________
21 Bronco Sport Big Bend (Wife's DD)
05 F150 XLT Reg Cab, 2WD, 5.4L, Auto (My DD)
69 Mustang Coupe 5.0, 5 spd 9" rear(Project)
14 Kawasaki Vulcan (Wife's Toy)