| PM | Quote | Reply | Full Topic |
Shadetree Mechanic

Joined: Fri Oct 27th, 2017
Posts: 114
Status:
Offline
Reputation: 

Reputation Points: $user_rep
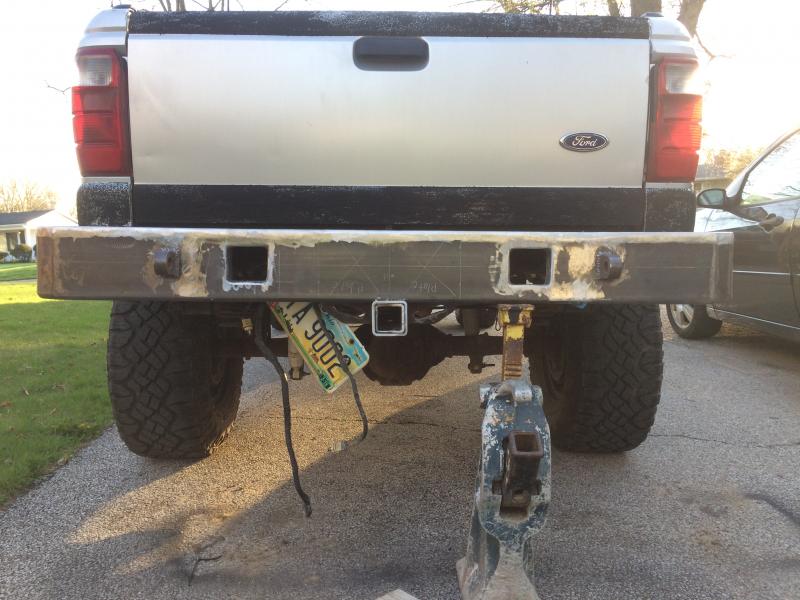
I started off boxing in the holes for the LED pods. This turned out to be a complete PITA, as I had to make a lot of butt welds in close quarters. Some of them turned out a little ugly, but they penetrated fairly well.

This one shows the tapped holes for the Pods as well.

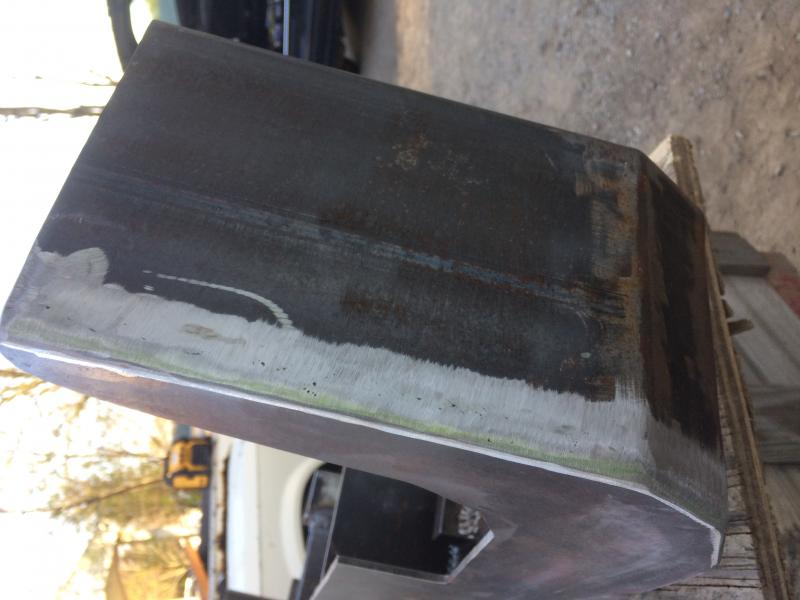
The rolled edge of the 2x6 tubing meeting the flat 3/16 plate posed a bit of challenge. Ended up Laying several heavy beads in it and grinding it smooth. Was really time consuming, but I like the way it turned out.
After getting the pod holes boxed in, I tackled the receiver tube and safety chain holes.
Mocking things up and doing some eye-ball measurements.
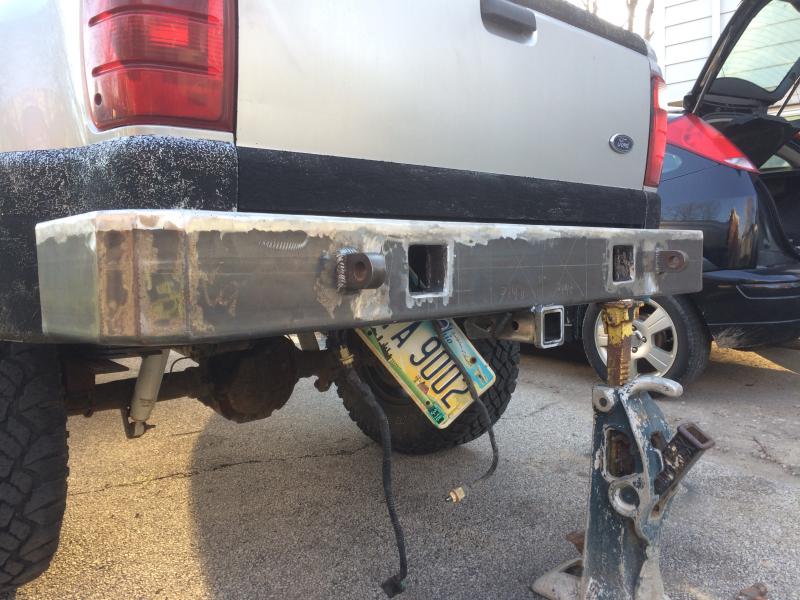


Lining things up and marking the mounting holes
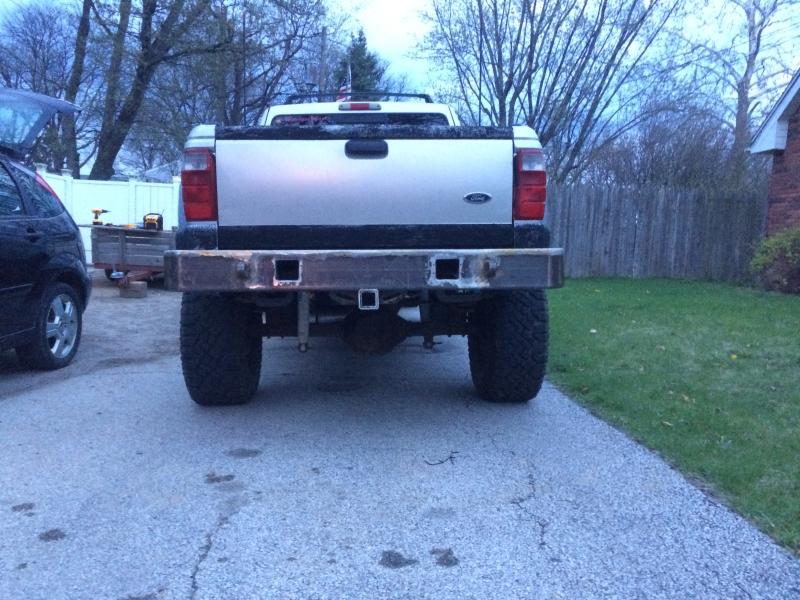
After getting the mounting holes drilled, I set in on the tire carrier. Drilling the hole for the spindle was less than enjoyable. Went through quite a few speed bits.


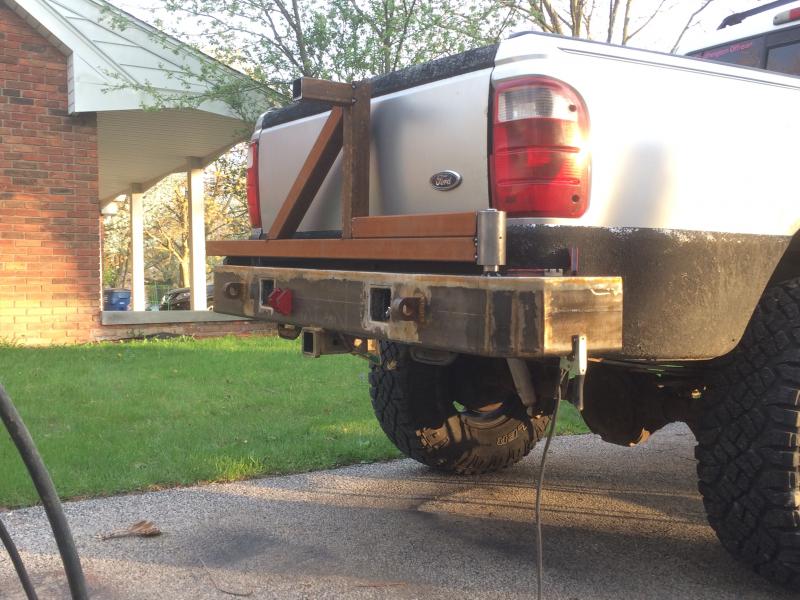
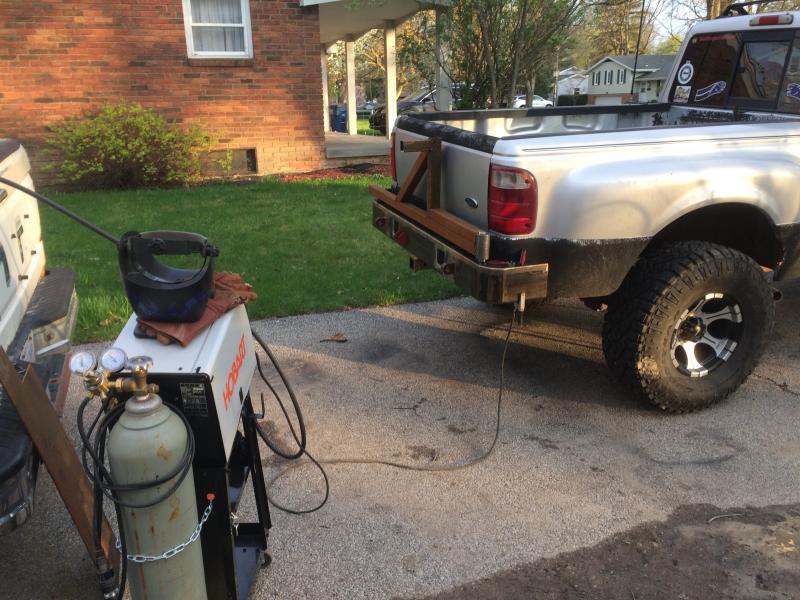
And that pretty much brings things up to date. This project has taken way longer than I originally thought it would, but there's light at the end of the tunnel. Still need to mount the latch on the tire carrier and weld it all together (its just tacked right now), do some final welding/grinding on the bumper, and then it's time for paint.
____________________
2002 XLT 4x4, 4.0l V6, Silver Frost Metalic, Superlifted and stuff