| PM | Quote | Reply | Full Topic |
Shadetree Mechanic

Joined: Fri Oct 27th, 2017
Posts: 114
Status:
Offline
Reputation: 

Reputation Points: $user_rep
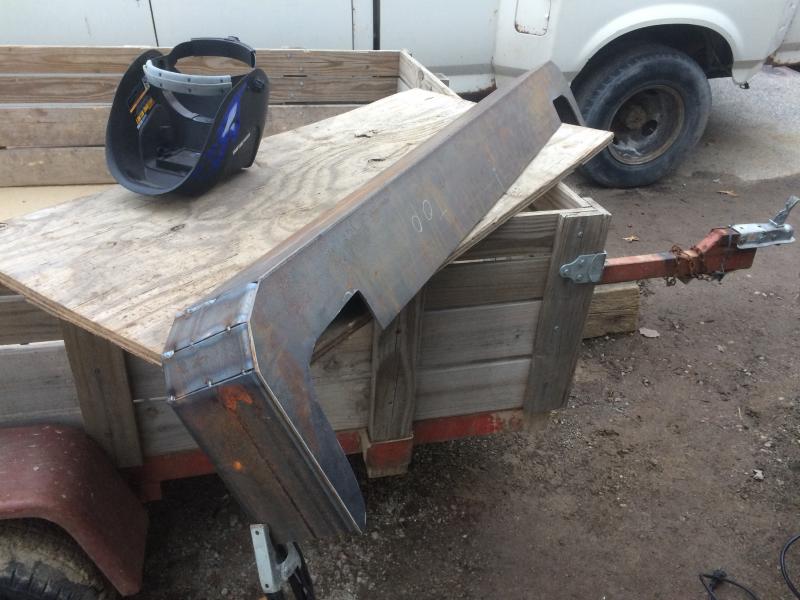
I think this is where I had left off, with the main body cut and tacked together and the top plate cut out.

First thing I did was get the all the pieces of 2x6 tube welded together.

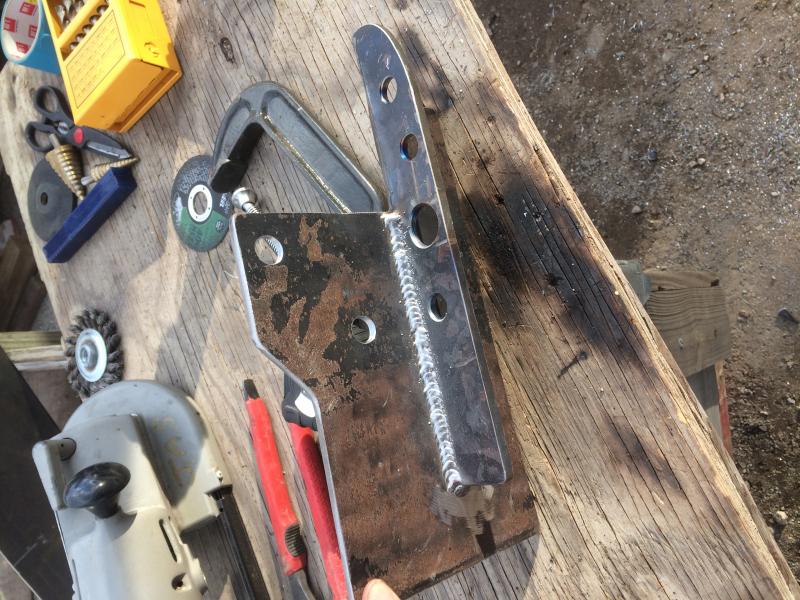
Next came figuring out how to tie the new bumper to the trucks frame. I ended up kind of copying the factory bumper and hitch mounts, and combining them into a single bracket. The brackets are made out of 1/4" plate and each one bolts to the frame in five places.
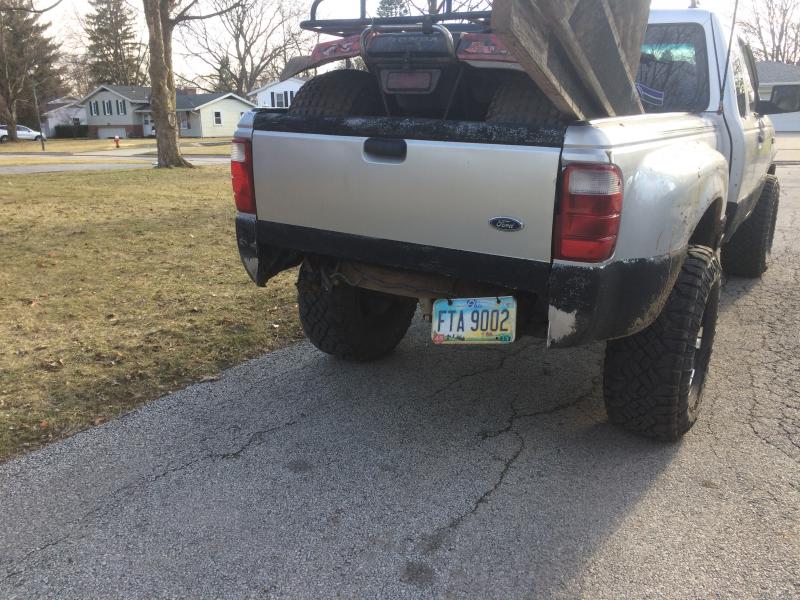


"Checking fitment" ( I was really just excited to see how it looked haha)
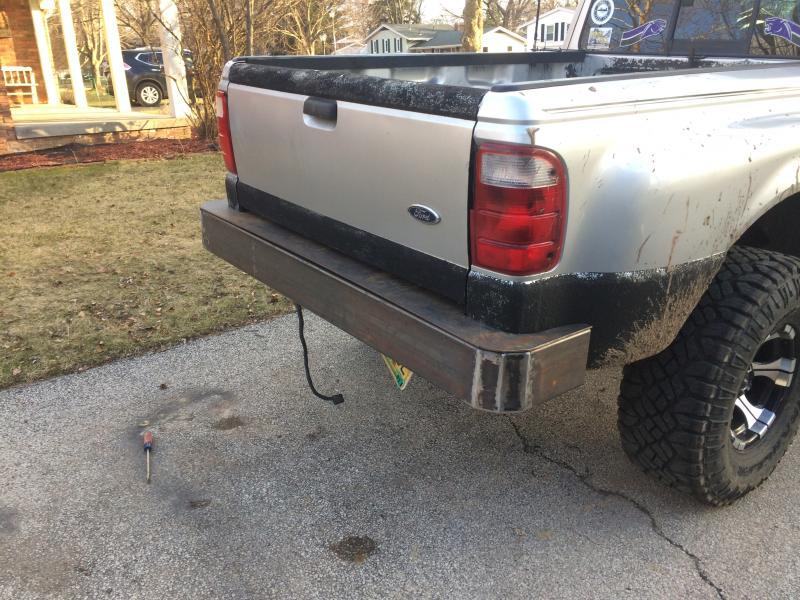
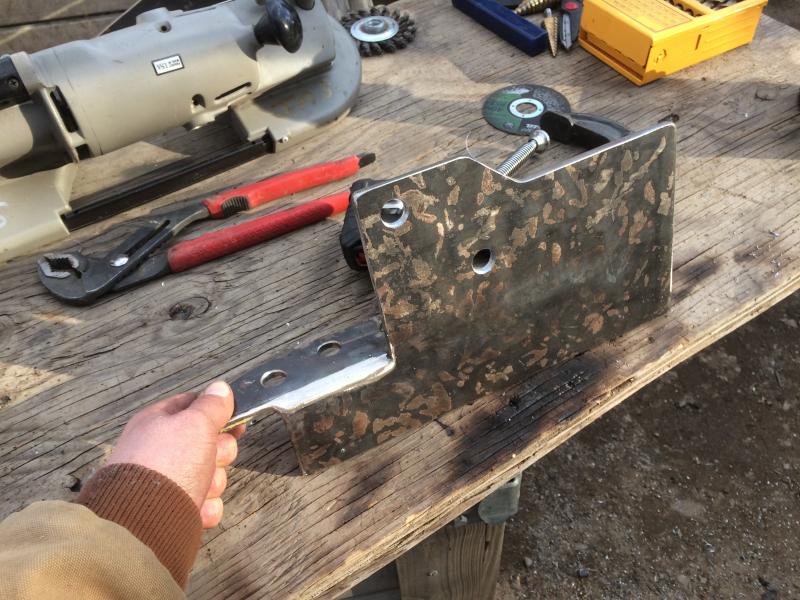
Next I cut out holes for the clevis mounts, rear facing lights, and the bumper mounting brackets. Again, the mounting brackets were cut out of 1/4" plate. The clevis mounts and mounting brackets were also welded to both the inner and outer walls of the 2x6 tube and the mounting brackets are tied into the top plate as well.


And that's pretty much where I left off. Next steps are to finish welding in the mounting brackets, box in the light holes, and add a 2" receiver. Then I can start in on the tire carrier.
____________________
2002 XLT 4x4, 4.0l V6, Silver Frost Metalic, Superlifted and stuff